
V10 | Create a Curved Wall in KD Max
Houses and rooms come in all shapes and sizes.
Here we go through the steps necessary to draw a room in KD Max with a curve in the wall!
1.
Firstly, begin drawing up the room using the line tool which can be found in Design > Line. This allows the room to be drawn freehand with assistance from the snapping tools. Remember this can be adjusted later.
2.
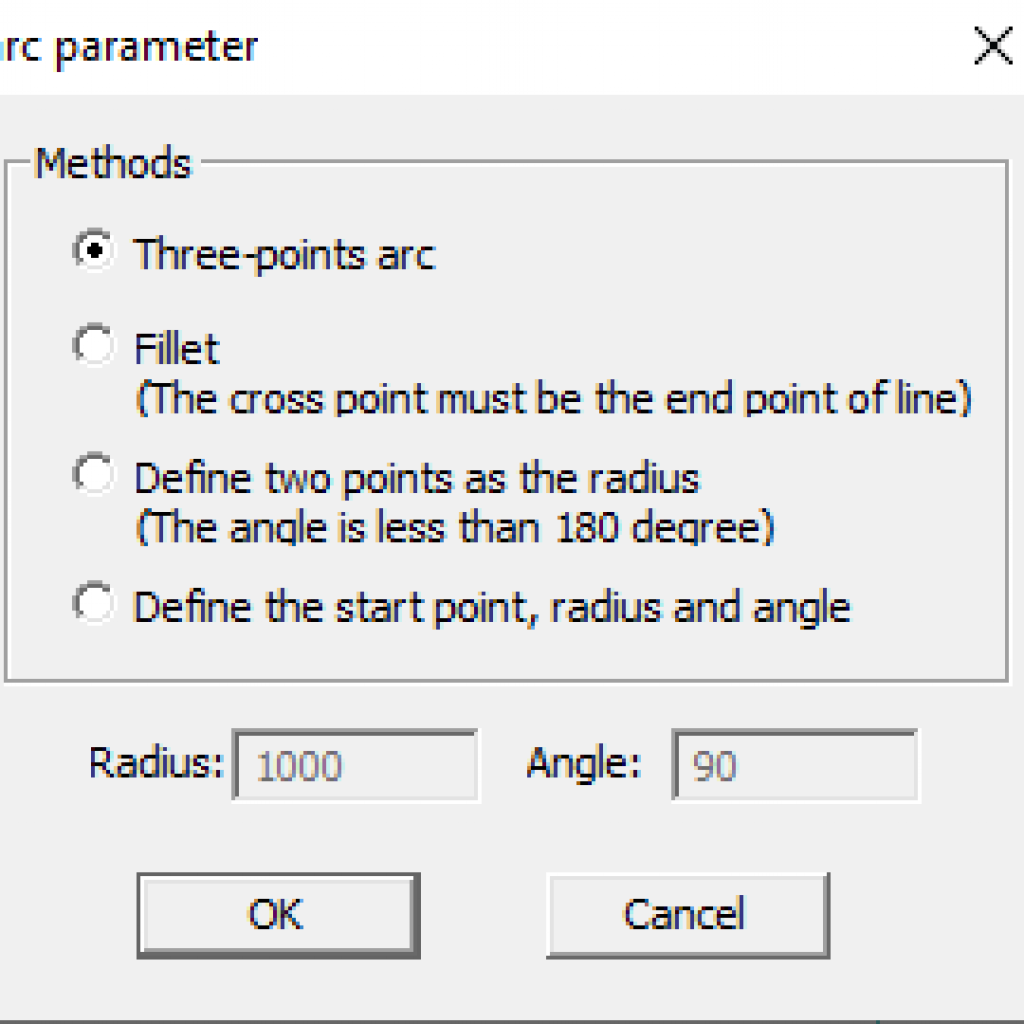
Next, select the arc parameter tool, which allows several methods of drawing.
Select the option that best suits the design you’re going for.
- Three-points arc allows you to select a start and an end point. You can then draw the arc manually.
- Fillet allows you to select two walls and draw the arc from the points selected.
- The third option allows users to define two points as the radius.
- The final option allows users to define the start point, radius and angle.
This example is using the three-point-arc option.
3.
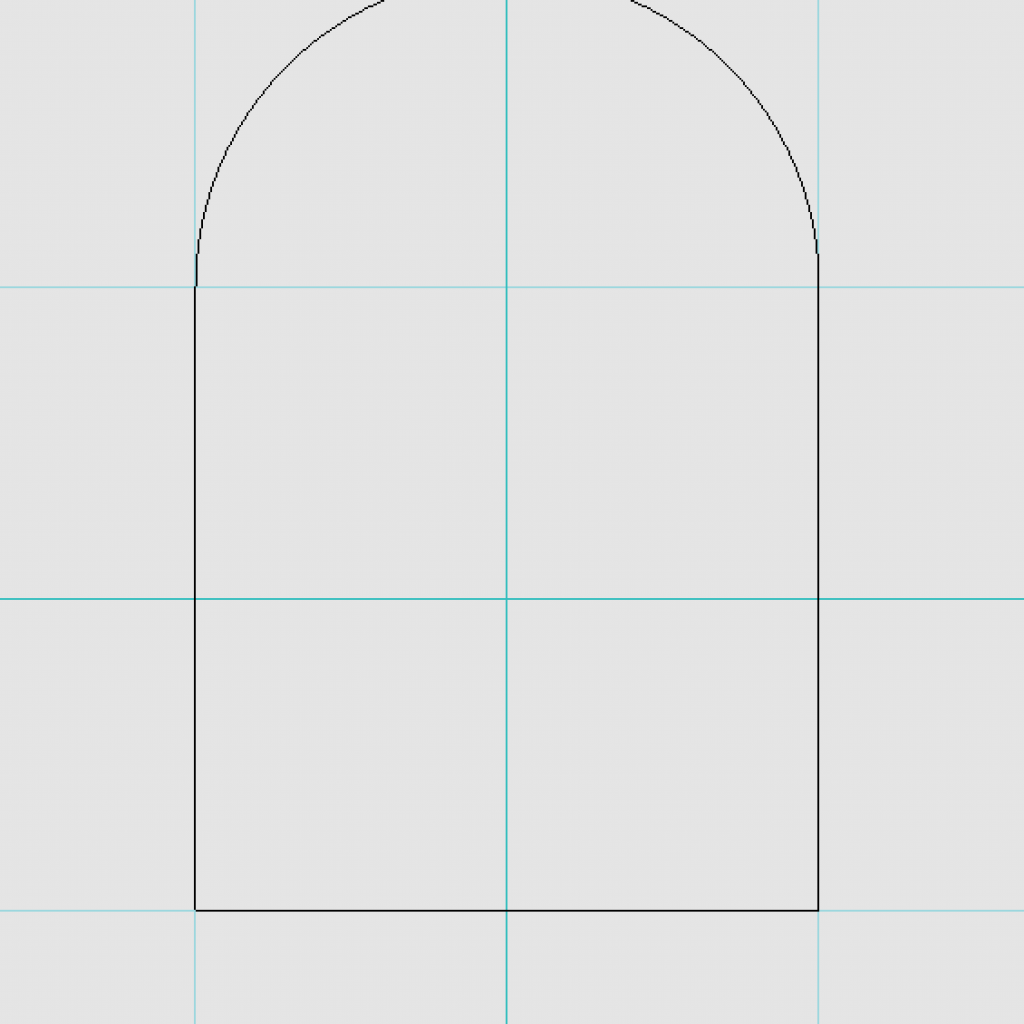
Now finish drawing up the room. Make sure that the room is enclosed as the next step will be turning the lines into walls.
4.
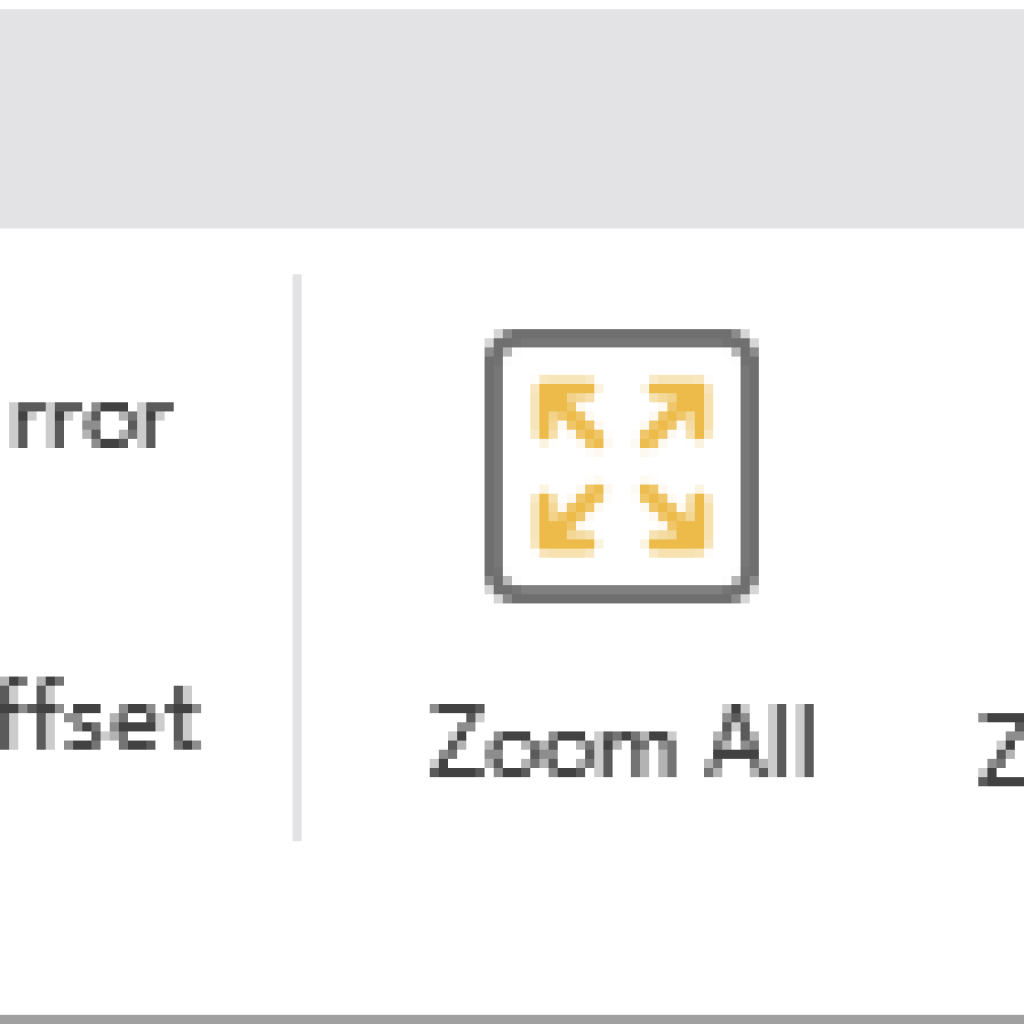
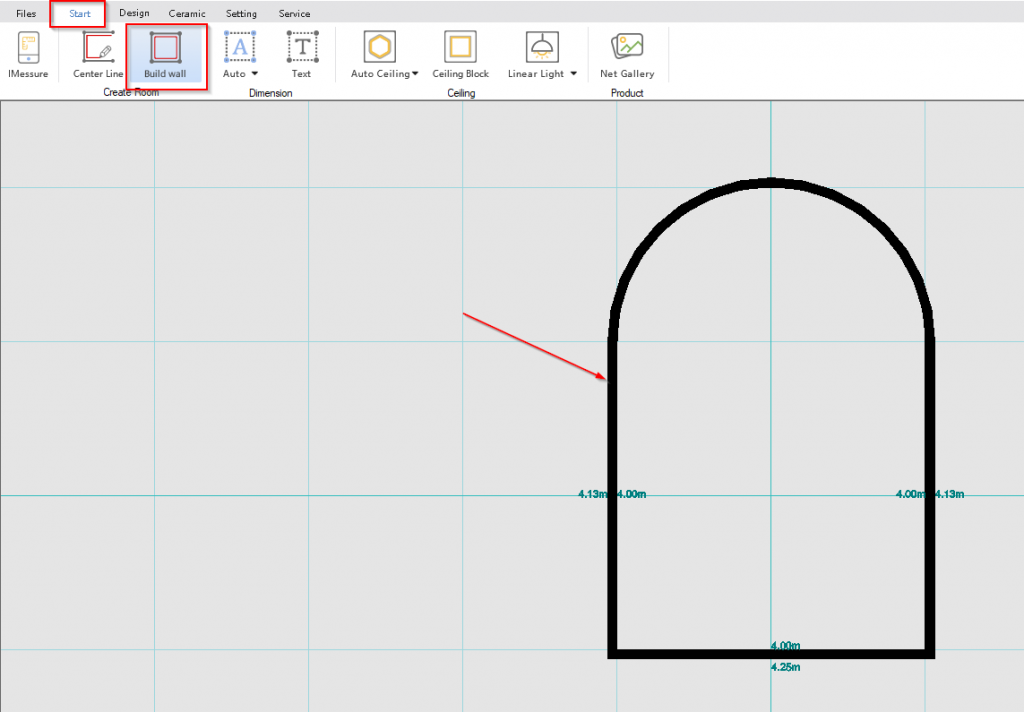
Once the room is enclosed, navigate to Start > Build Wall and left-click on the outline. This will create walls based on what has been drawn using the parameter tool.
5.
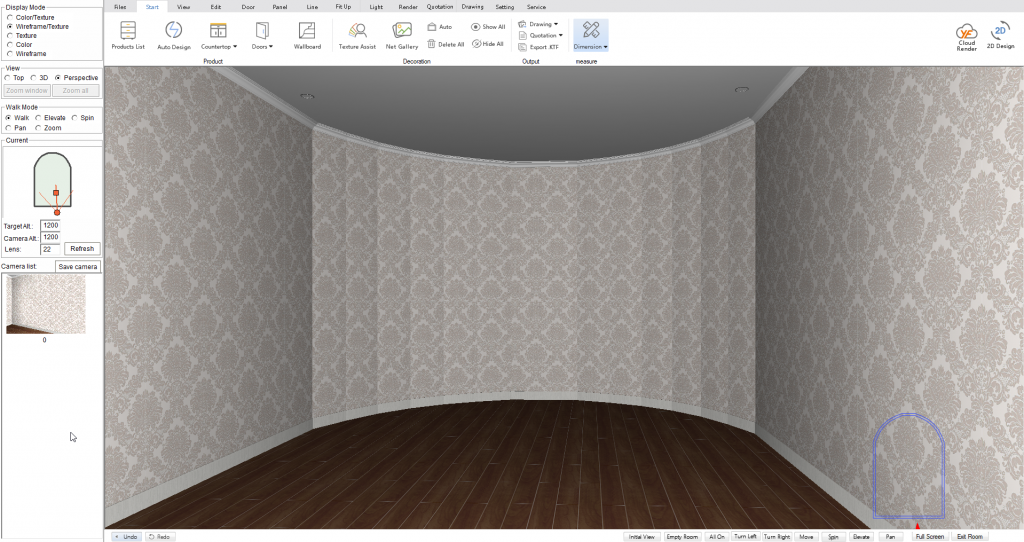
The drawn area will now be enclosed. Now add some windows, doors and a ceiling and the drawing can be switched into 3D mode for designing.
Join in the conversation on our 3D Kitchen Design Australia – KD Max Facebook Group.
Do you have any handy tips that you use in KD Max? Send them through to info@cabinetsbycomputer.com and we will feature them on our website & Facebook page!

