
V10 | Adding Internal Drawers to Cabinets
Need to make internal drawers in cabinets? Here’s how to do it with KD Max.
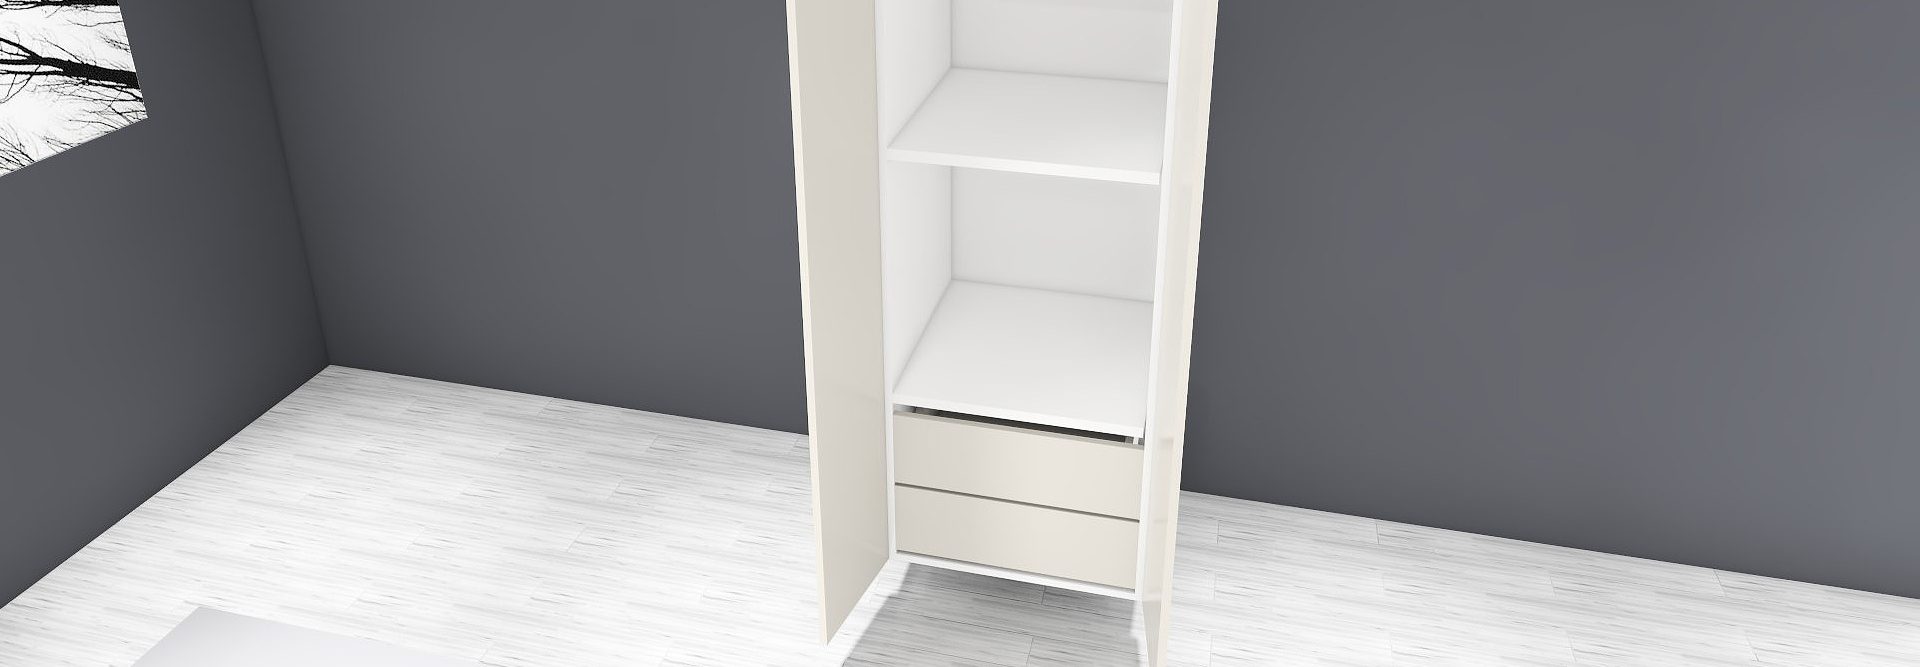
For this tutorial, we will be making internal drawers in a tall unit. Follow these simple steps to apply to any of your units.
1.
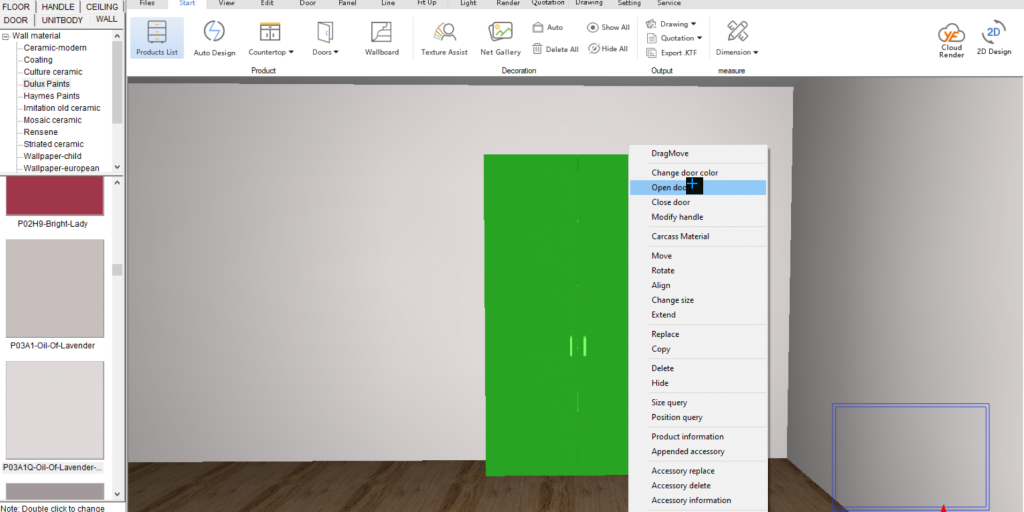
First, we need to gain access to the inside of the cabinet.
To do this we need to right-click and open the door, this will open the Open door or drawer menu. Click OK to open the doors.
2.
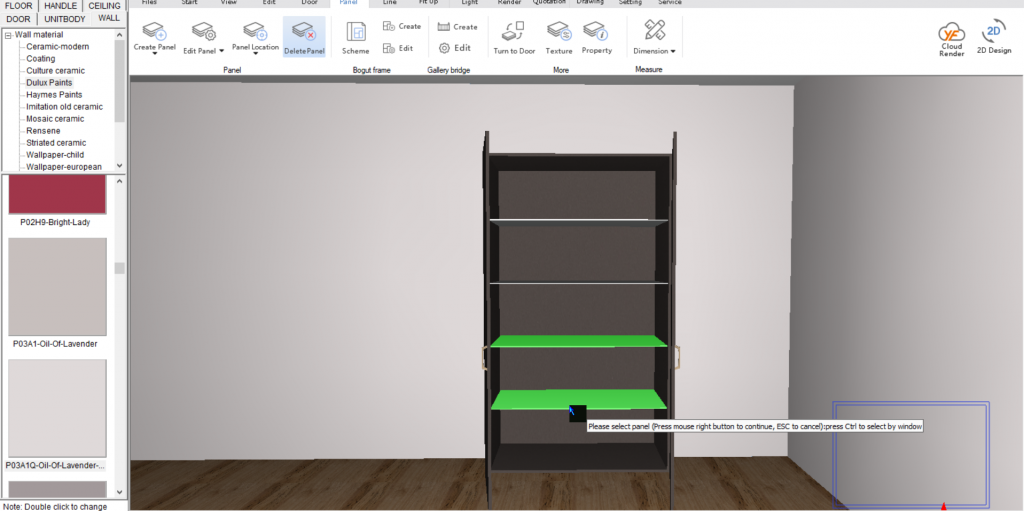
To remove panels in the cabinet that are not required we can use the Panel>Delete function.
Select the panels you wish to remove then right-click to confirm and Yes sure to delete.
3.
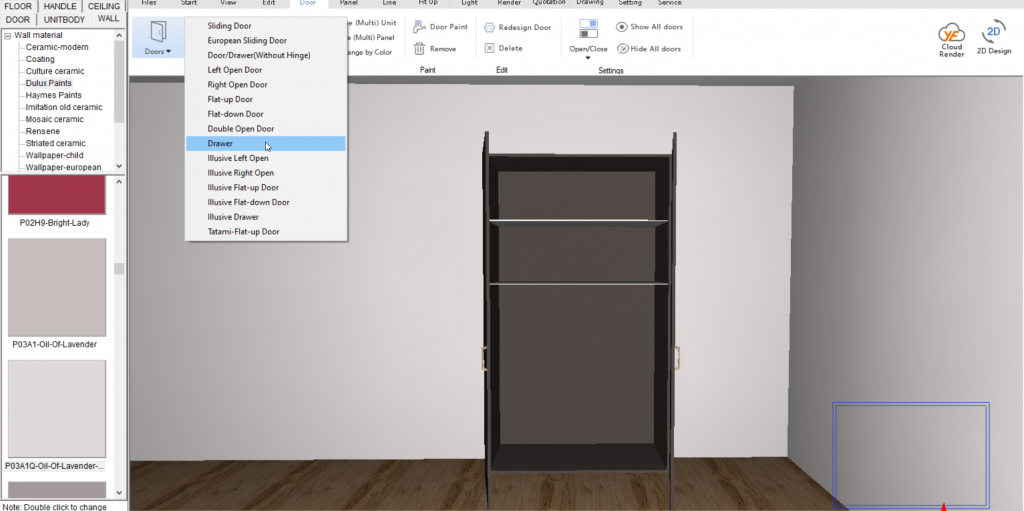
Now that we have the space required, we can then create our drawers. To create the internal drawers, we can select Door>Doors from the drop-down menu select Drawer.

4.
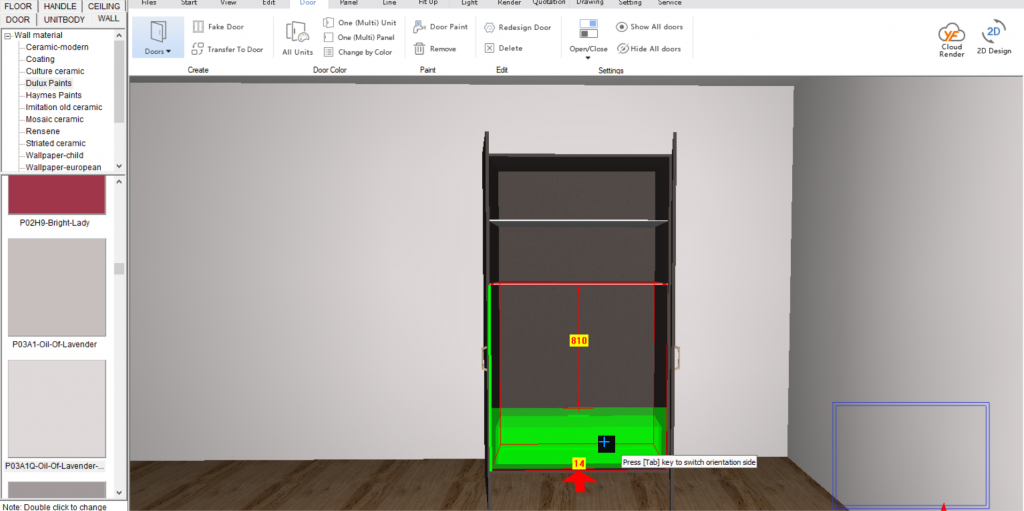
Simply hit Finish and move the drawer to the desired position.
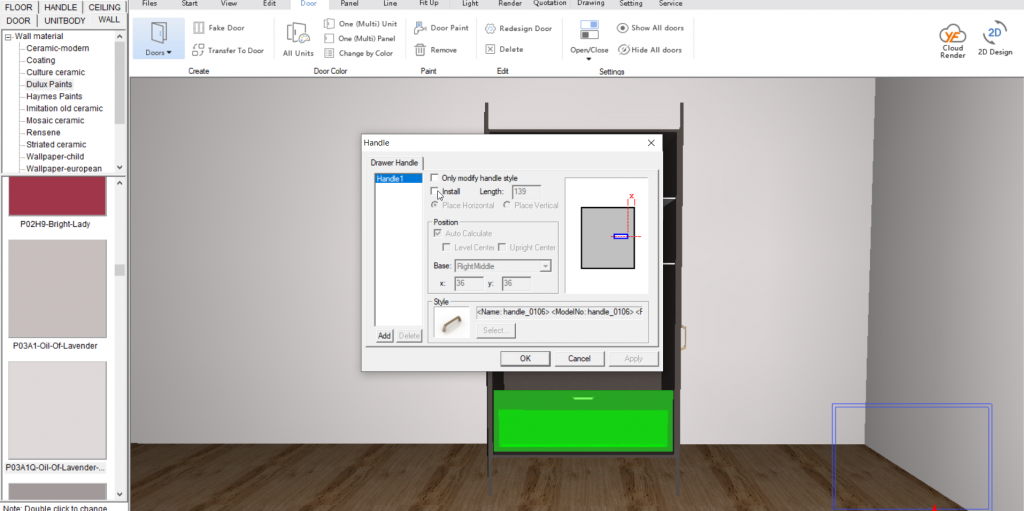
5.
Now we can remove the handle.
To do this we need to Right Click>Modify Handle and untick install, then press OK.
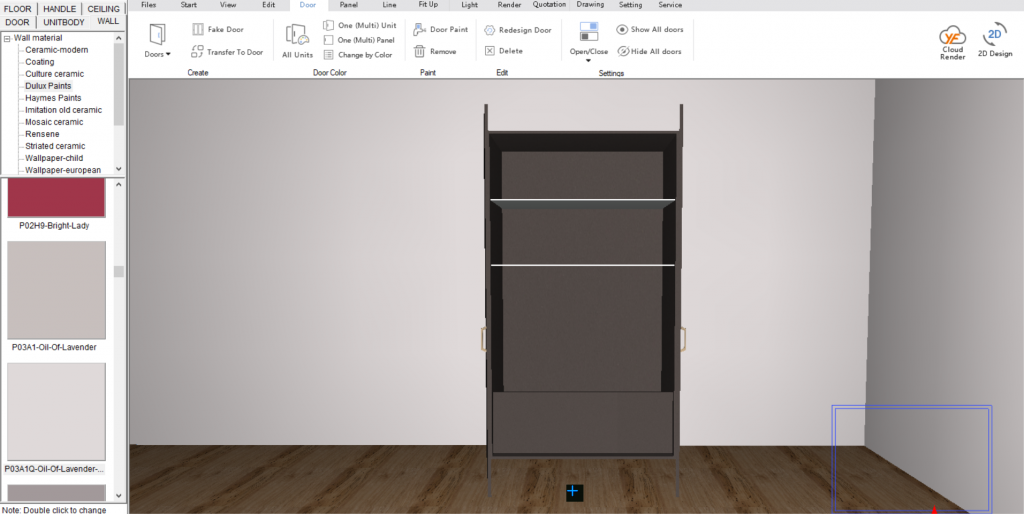
6.
And there we have it. Our drawers have been added.
Join in the conversation on our 3D Kitchen Design Australia – KD Max Facebook Group.
Do you have any handy tips that you use in KD Max? Send them through to info@cabinetsbycomputer.com and we will feature them on our website & Facebook page!

