
Producing Fly-Through Animations
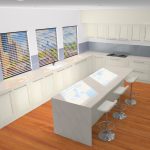
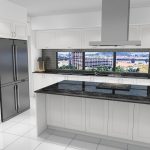
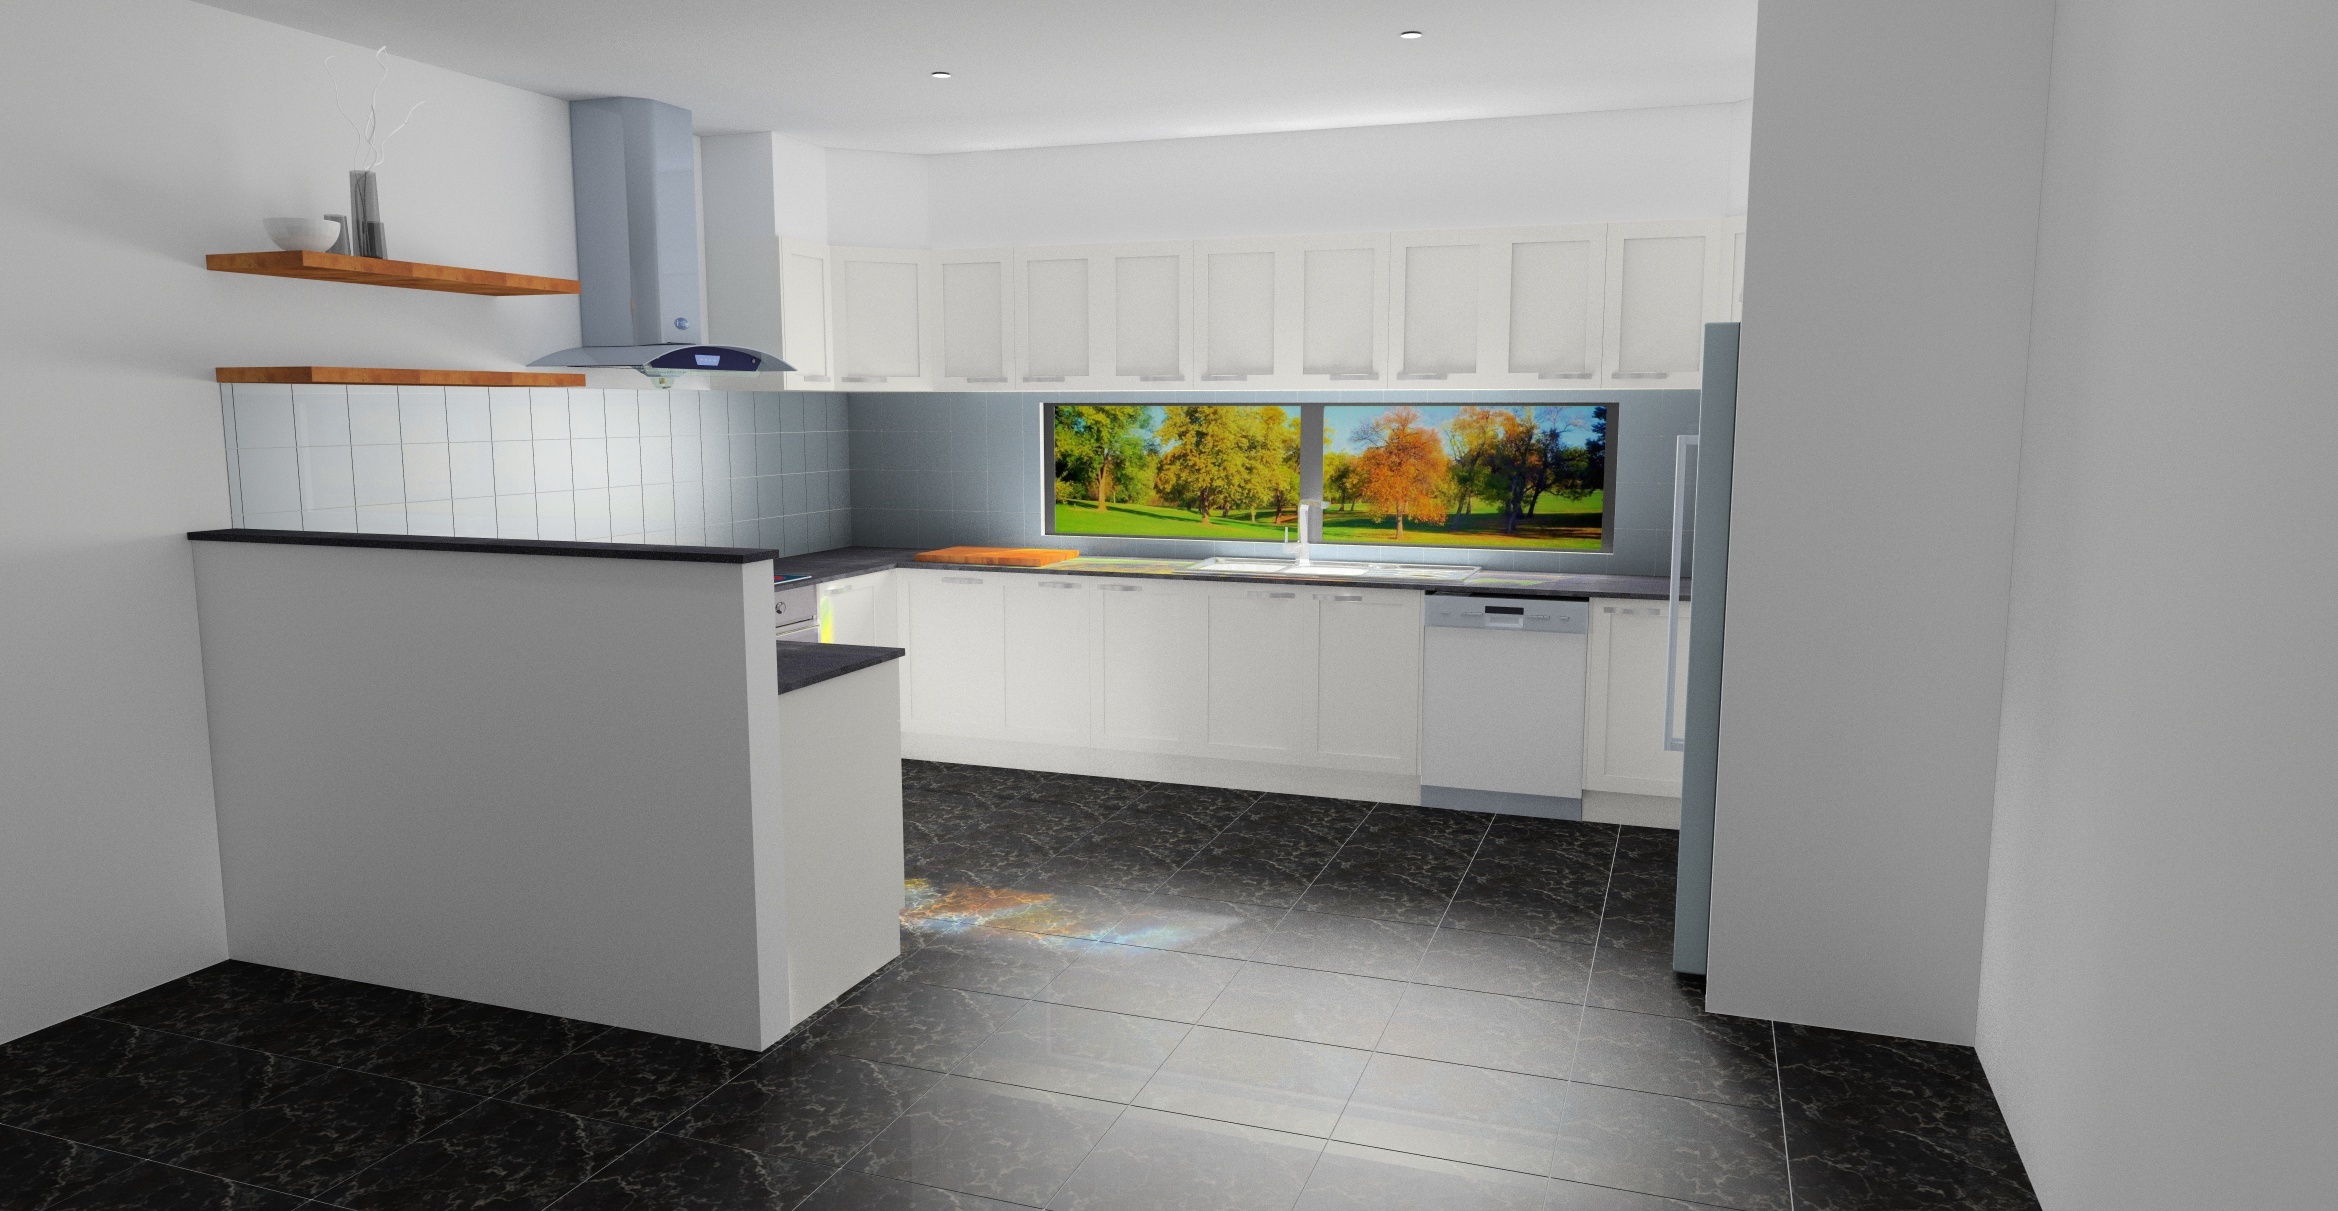
Sometimes a single image cannot provide the full scope of a room design. In this case, a fly-through animation can be a simple way to show all areas of a room.
This simple tutorial shows how easy it is to create a fly-through animation for your KD Max design.
Transcript
1.
After completing your design, select Render->Animation->Set Path
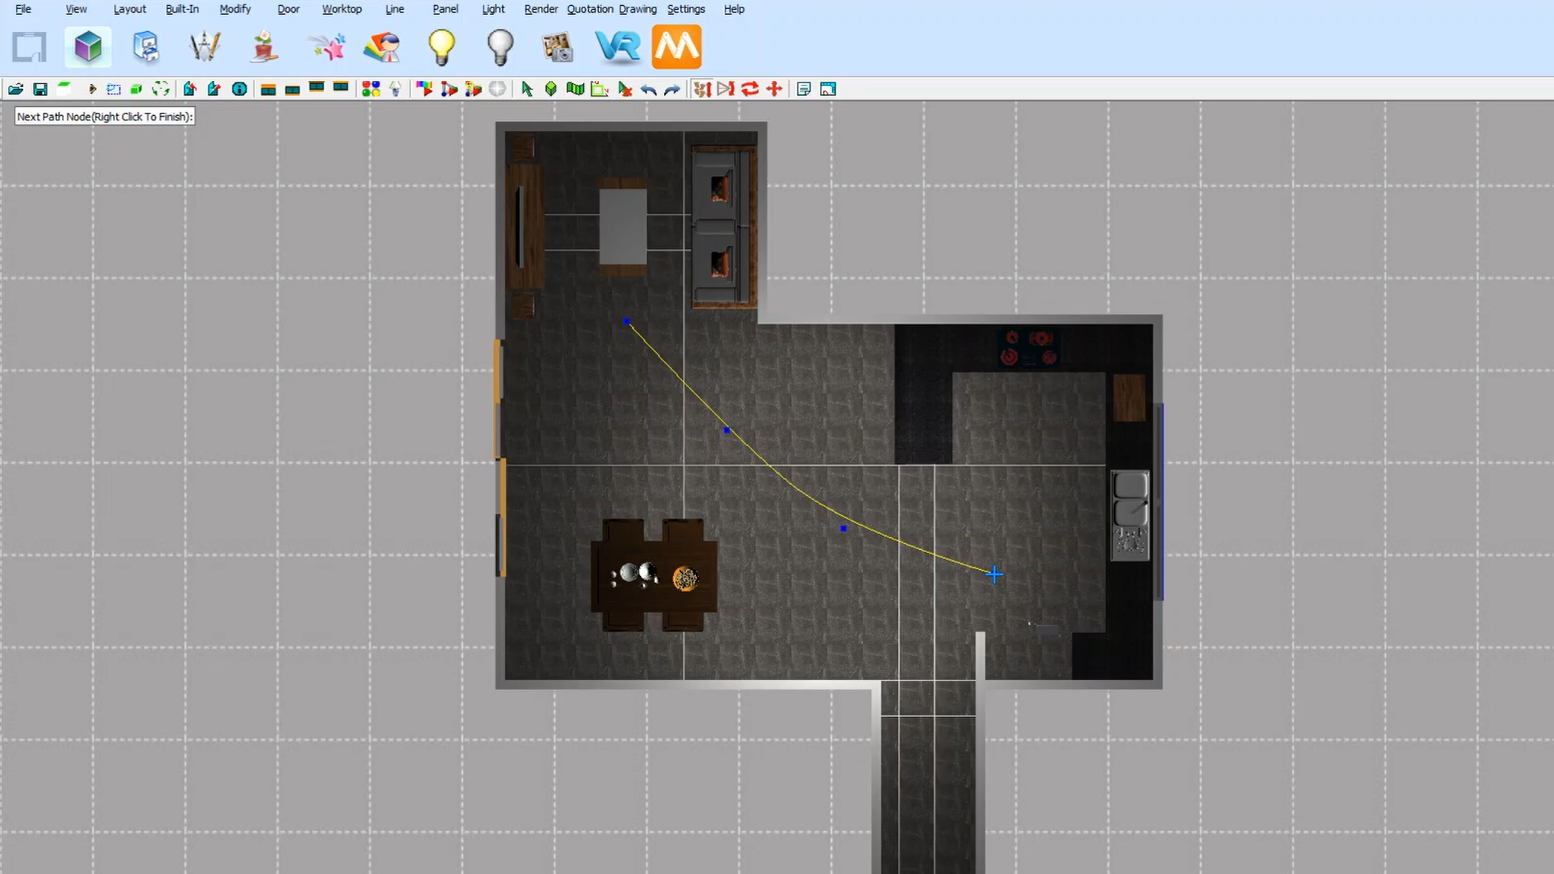
2.
Left click to set the points the camera will take. Right click to finish.
If no focus point is required select No.
3.
In ‘Make Path’ set desired camera height. Click OK.
4.
Select yes to view the Animation path.
Click OK. Animation path will preview.
Click Stop to stop the run through.
5.
After you’re happy with your selected path, select Render->Animation->Save Path.
Save the path Name. Click Save.
Click OK.
6.
Turn On lights. Wait for lights to turn on.
7.
Select Render->Animation->Make Animation.
Save Animation file in desired location.
8.
Compression Settings will appear.
For similar results to example, select: Cinepak Codec by Radius. Data Rate, Set to 900KB/sec.
Click OK.
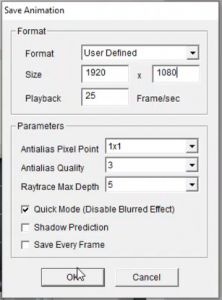
9.
Save Animation Menu – Select format. User Defined will allow for user selection for the resolution eg. 1920×1080 (1080p).
Click OK.
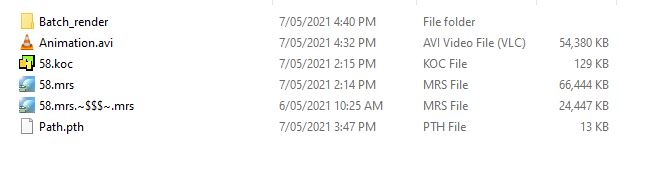
10.
Animation will now be produced at the selected file location.
Join in the conversation on our 3D Kitchen Design Australia – KD Max Facebook Group.
Proud of a design that you have made in KD Max? Send it through to info@cabinetsbycomputer.com and we will feature it on our website & Facebook page!


