
V10 | Adding an object to the KD Max Library
Do you have an item that you use frequently that has to always be changed from another item?
KD Max allows you to add altered items to your library with a few simple steps.
Transcript
1.
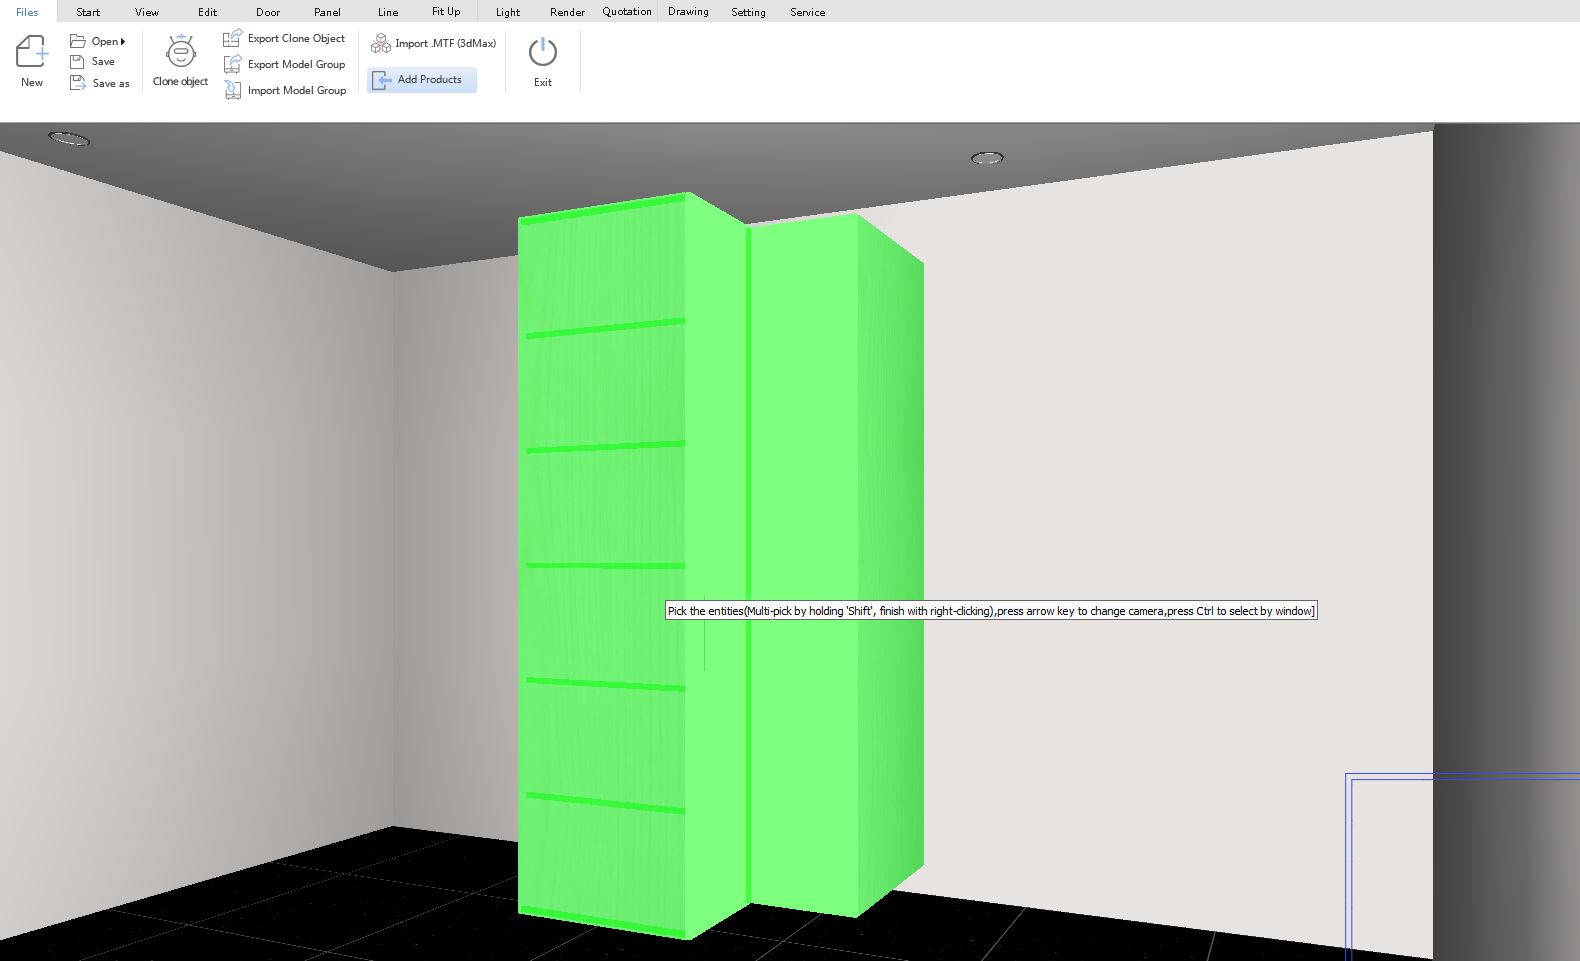
To get started, ensure you have a custom item in your drawing that you would like to add to the library. In this example, I am using an L-Shaped base unit. Navigate to the Files tab and select Add Products
2.
Select the item/s you wish to enter into the library with the left click (to select multiple items hold the shift button) and then right click to confirm the selection.
3.
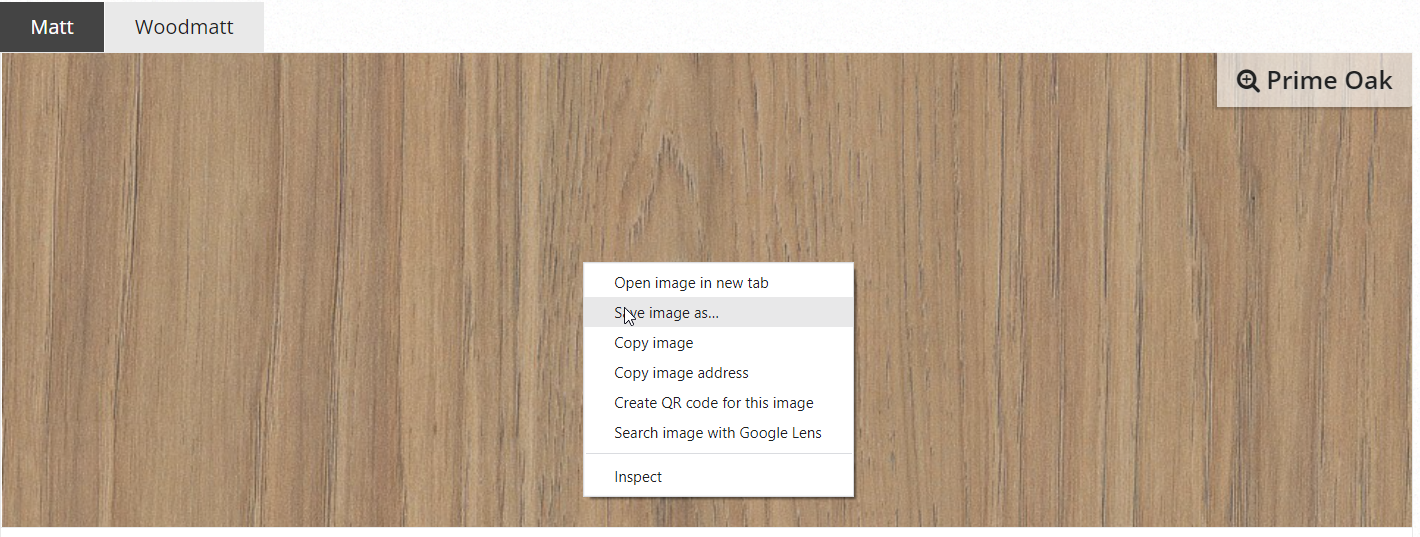
When you have confirmed your selection, the Add model to Library menu will pop up. This menu allows you to change the properties of the item such as name and an image preview of the item.
The unit we have made here is going to be a tall unit, so we have selected the tall unit under product type and named it accordingly.
Once you have your properties set correctly you can click Ok. This will add the object to the Library and take a quick render of the product for a preview if you have selected it to do so.
4.
As the items you enter are the newest in the library, they will now be located on the last page of their respective categories.
Join in the conversation on our 3D Kitchen Design Australia – KD Max Facebook Group.
Proud of a design that you have made in KD Max? Send it through to info@cabinetsbycomputer.com and we will feature it on our website & Facebook page!


