V10 | How to Achieve Grain Matching
This short tutorial demonstrates how to use the fit map tool to achieve grain matching in your KD Max design.
1.
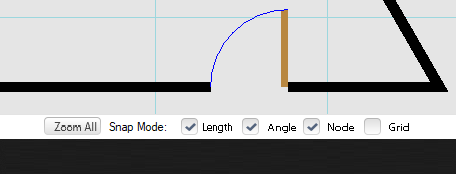
Identify the unit or units that you want to generate a grain matching effect for.
2.
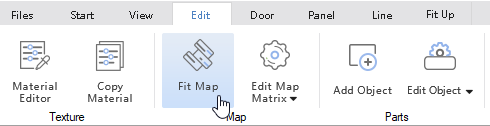
Select Edit > Fit Map
3.
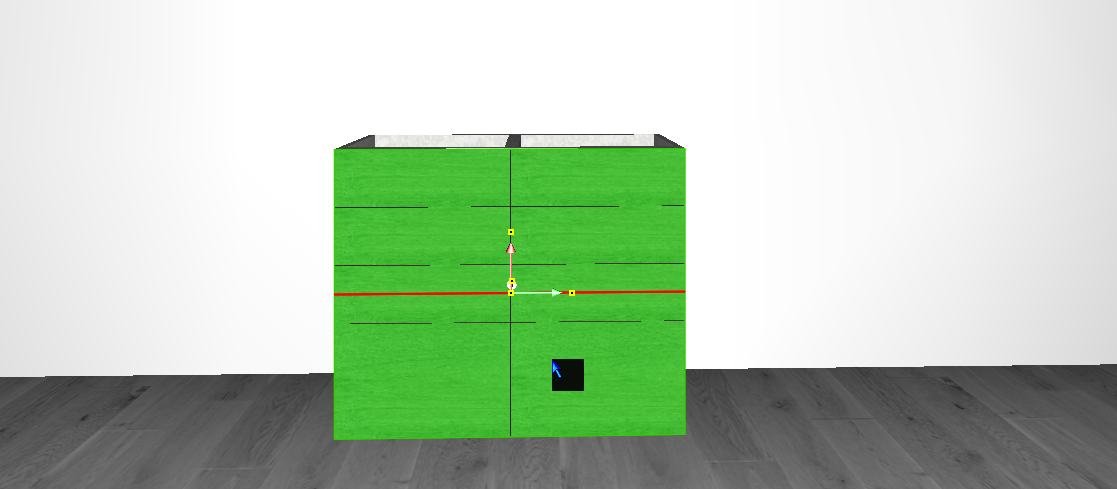
While holding shift on your keyboard, click the surfaces to grain match.
Right Click to confirm.
Note: they must be facing the same direction.
4.
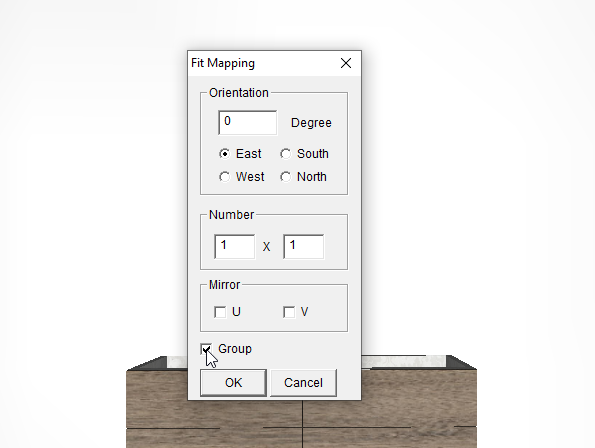
In the “Fit Mapping” menu, select Group (this makes the items selected act as one). Then under the number heading enter the number of times the texture file is to appear over the selection.
Hint: it may be beneficial to go higher than 1:1 on larger units to avoid overly stretching an image.
5.
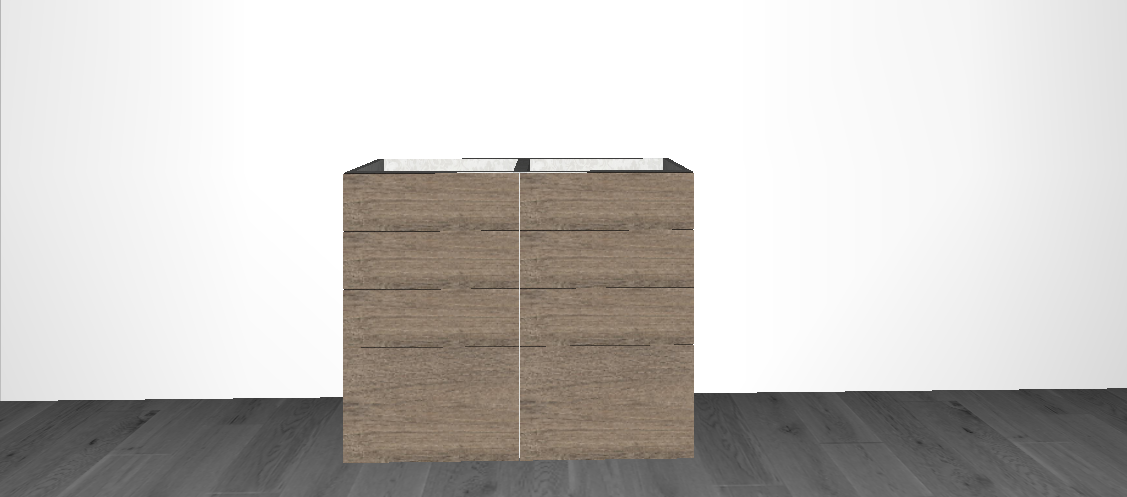
Your units will now be grain-matched!
Render your design to see how it looks.
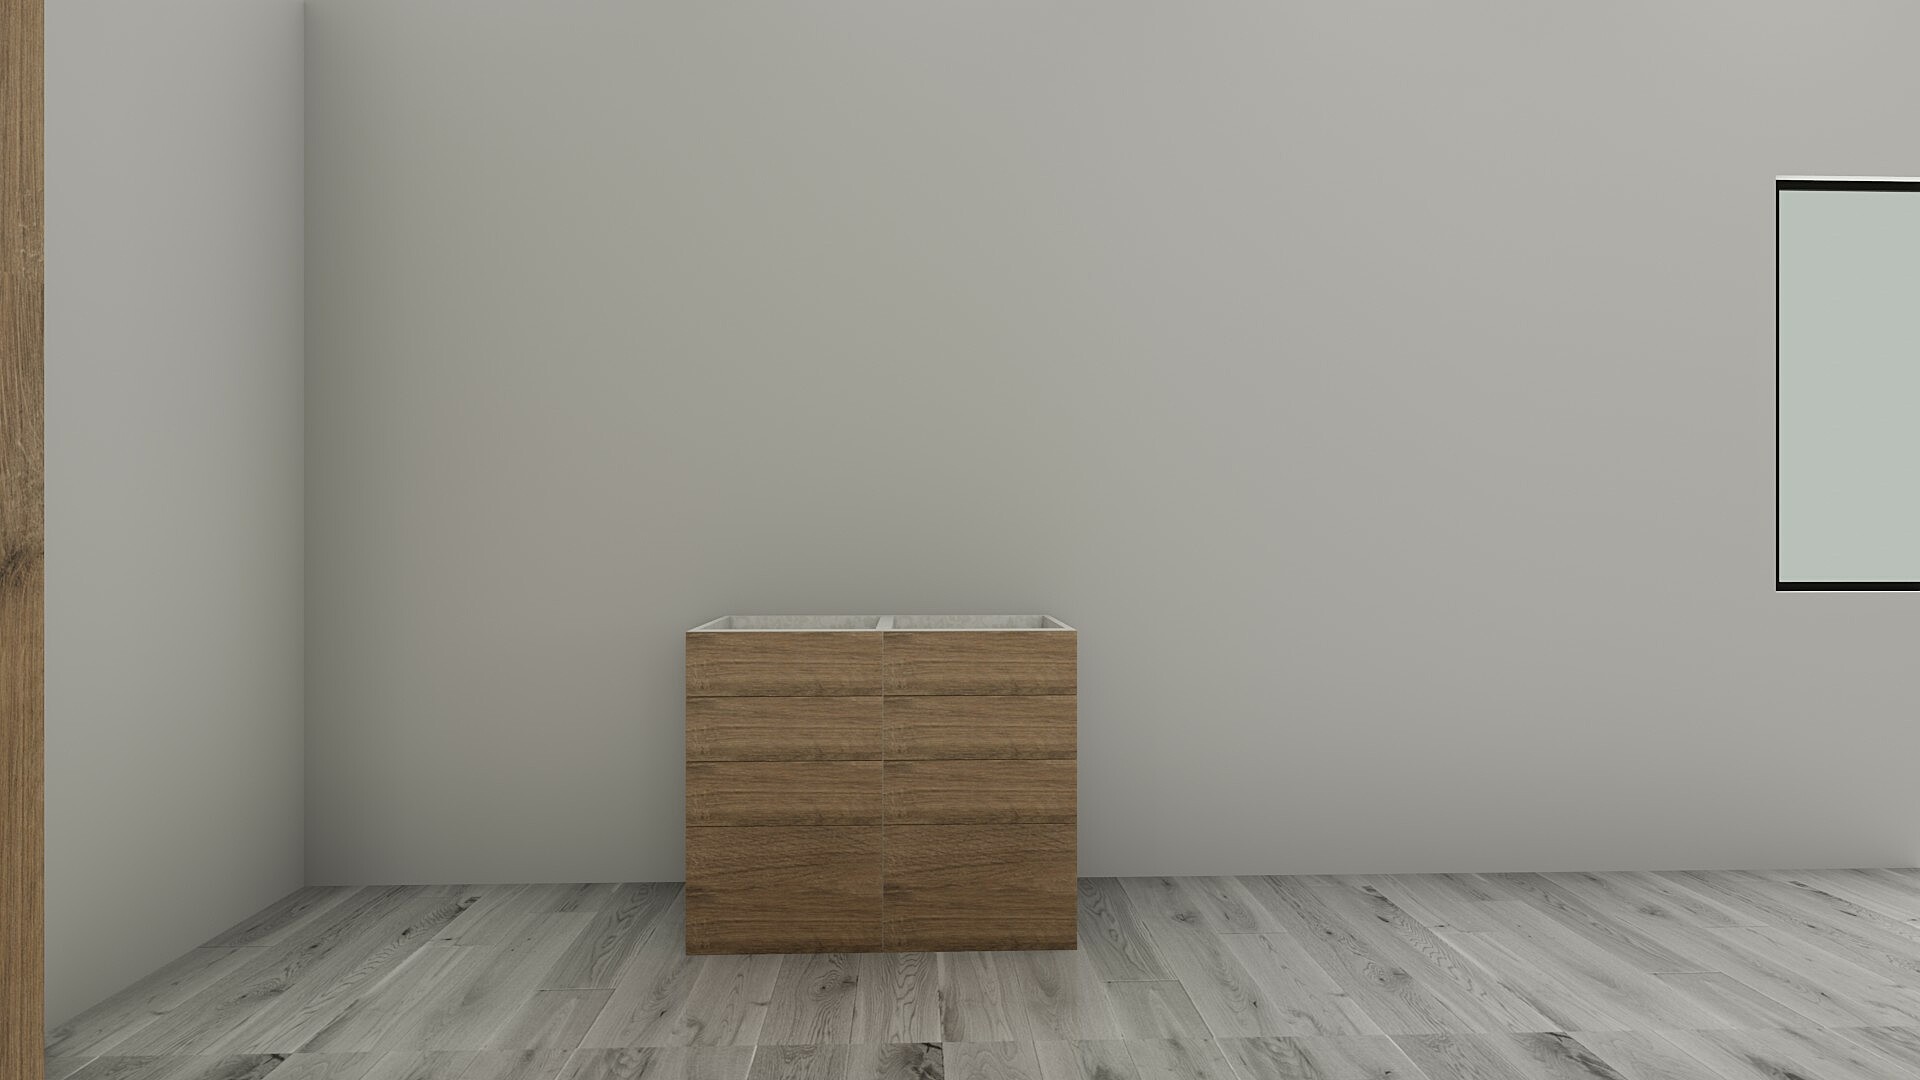
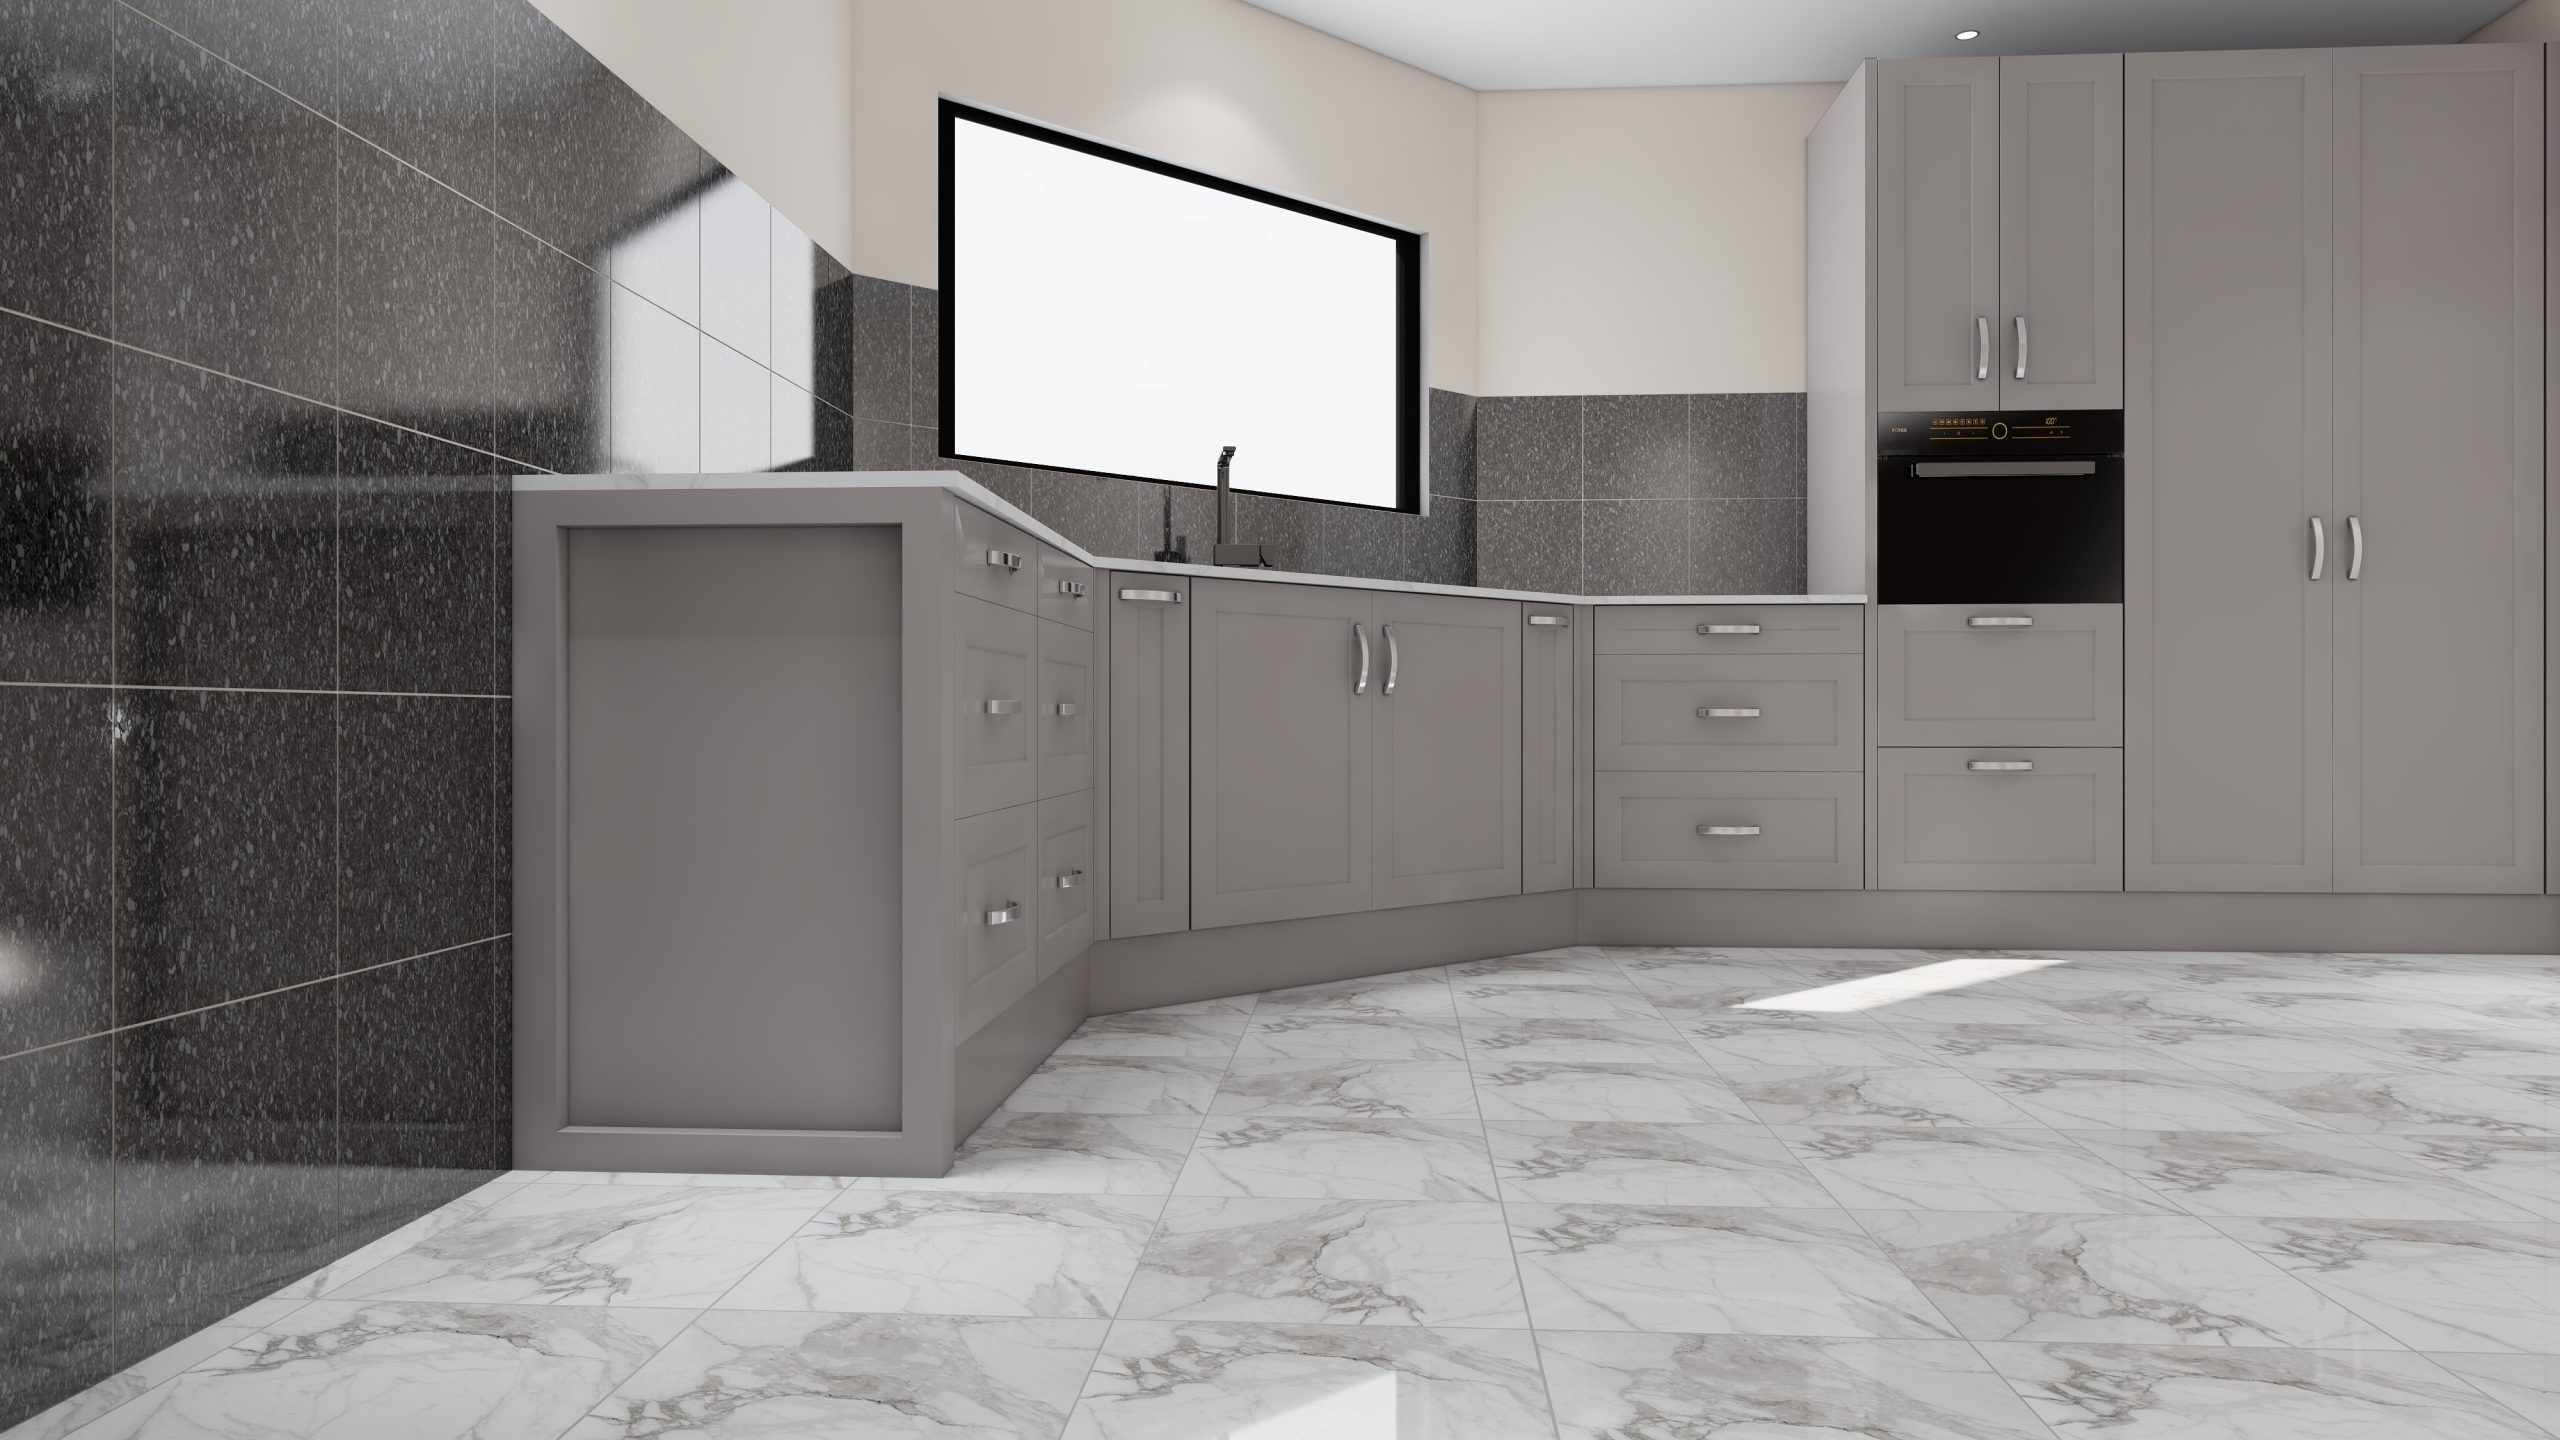
a rendered cabinet without grain matching.

A rendered cabinet with grain matching.
Note.
The Fit Map tool is extremely useful outside of grain matching too. You can get creative and spread images across many items and cabinets.

The fit Map tool has been used in the above image to create a grain matching effect on the upper cabinet, but also to create an artistic image that spreads across two canvases on the wall.
Join in the conversation on our 3D Kitchen Design Australia – KD Max Facebook Group.
Proud of some designs that you have made in KD Max? Send them through to info@cabinetsbycomputer.com and we will feature it on our website & Facebook page!