
Using the Material Editor to Apply Images to your KD Max Drawings
Follow these simple steps to learn how to apply an image to your KD Max drawings.
1.
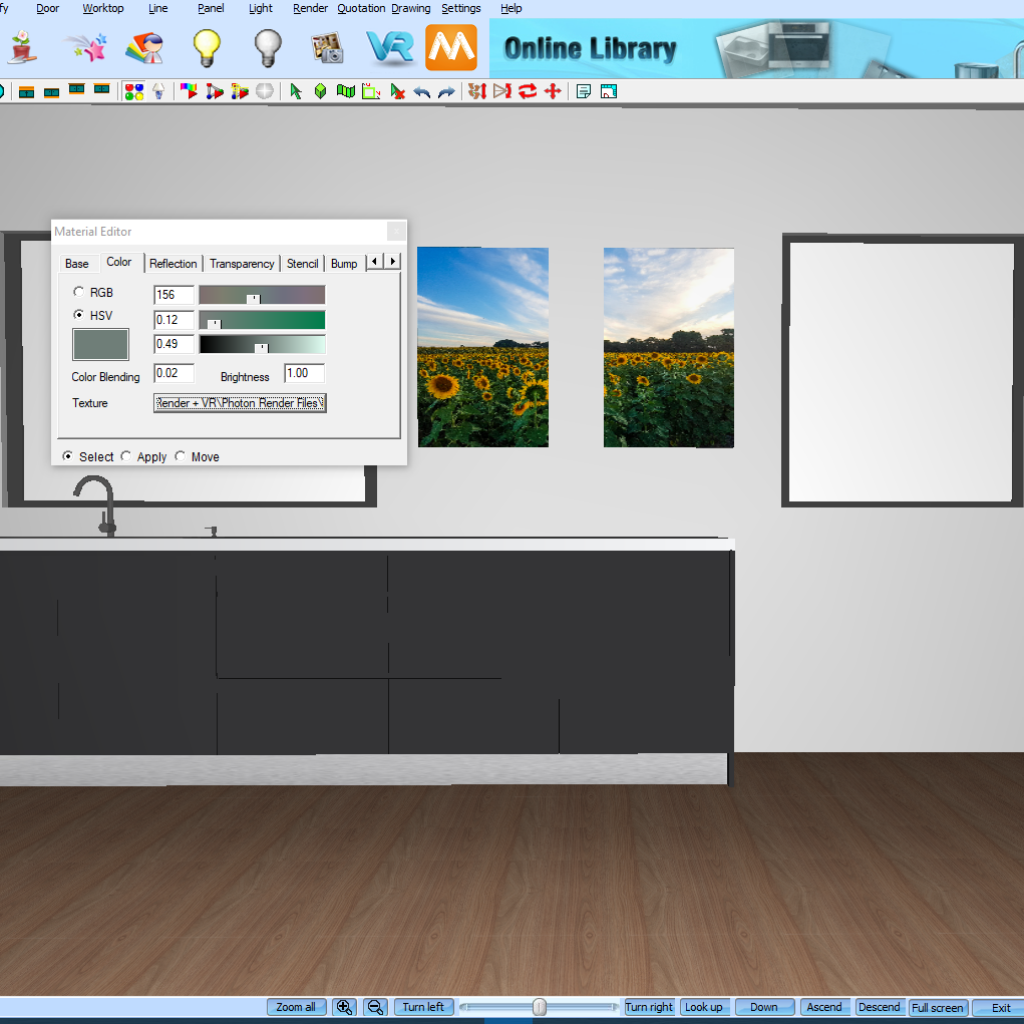
Firstly select the Material Editor tool by clicking the icon on your quick toolbar identified by the four coloured circles. With the Select tickbox checked, click on the item you would like to apply an image to. In this case I’ll be using an end panel to turn into a painting.
2.
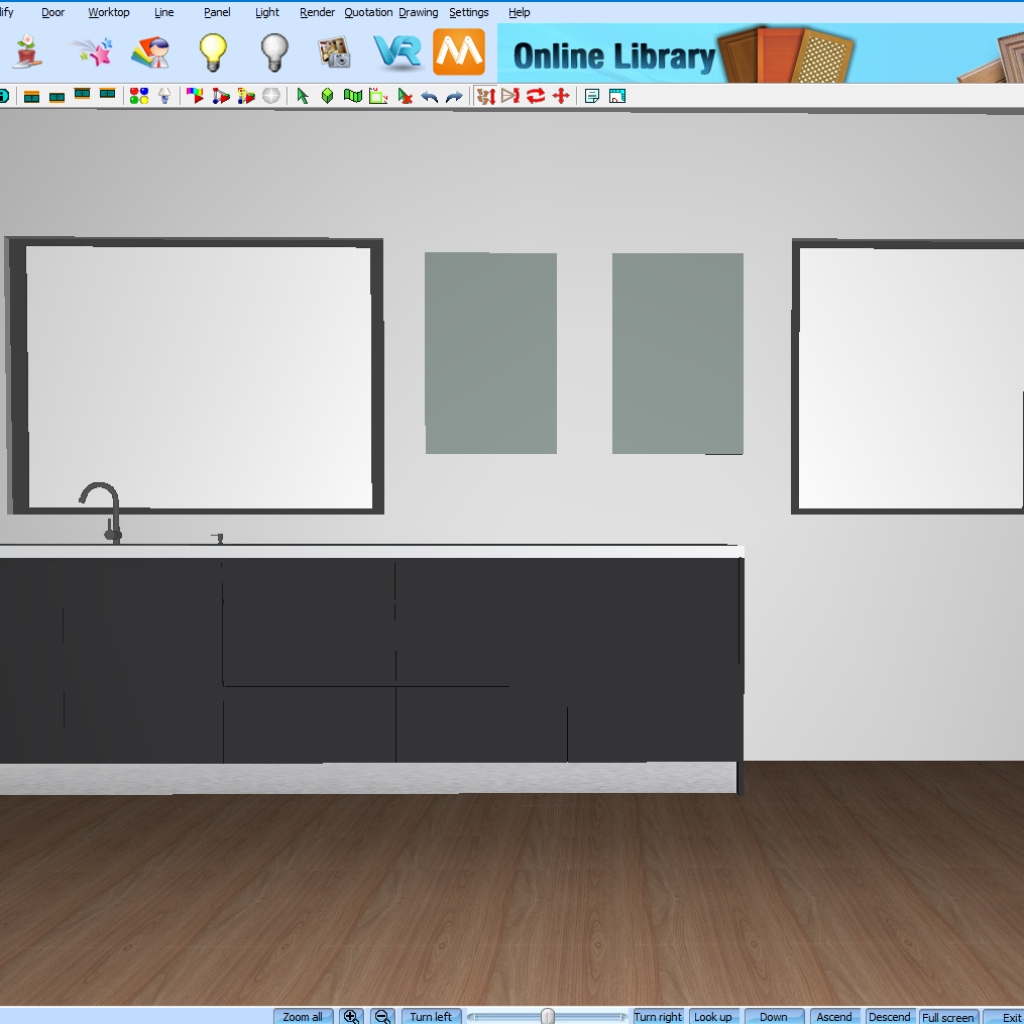
Navigate to the Color tab and then select the (None) button. This will prompt a pop-up box.
3.
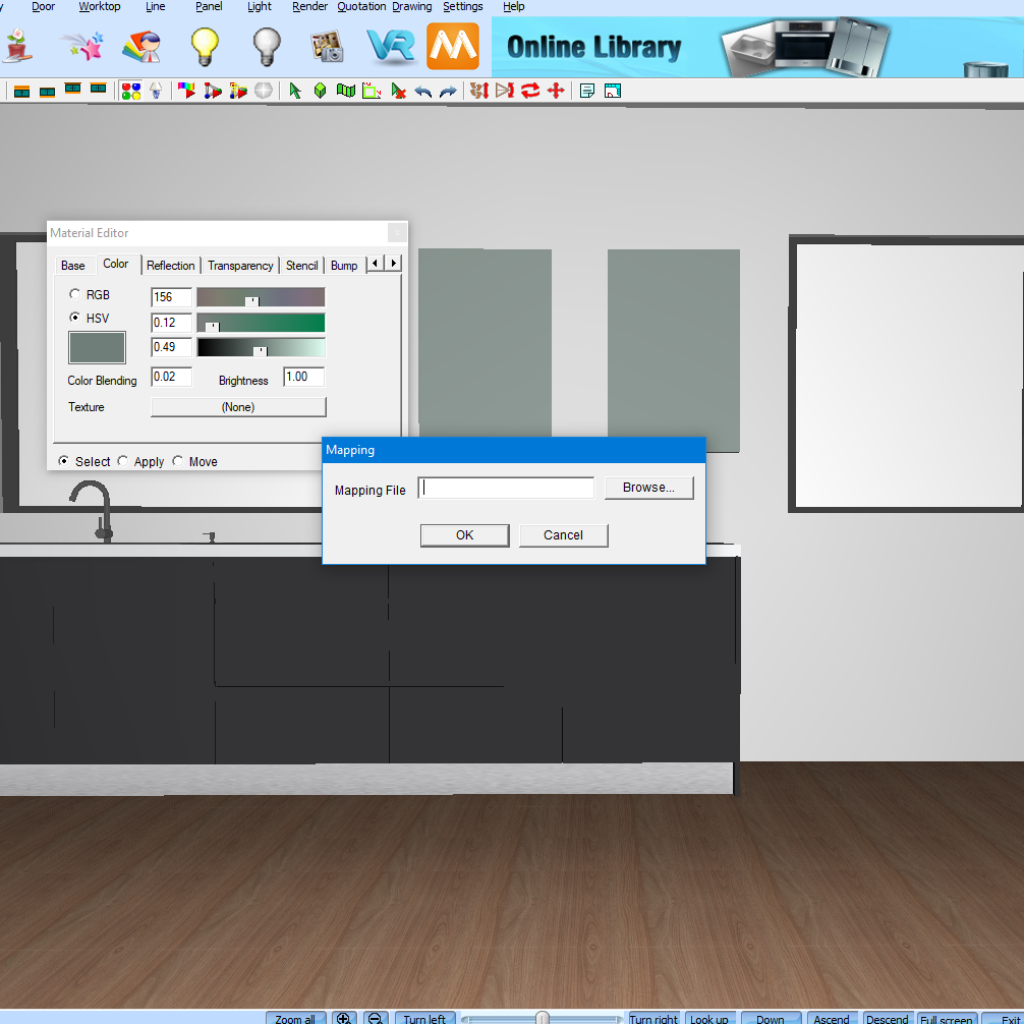
Click Browse to begin locating your image. The image must be in .JPG format to be read correctly.
4.
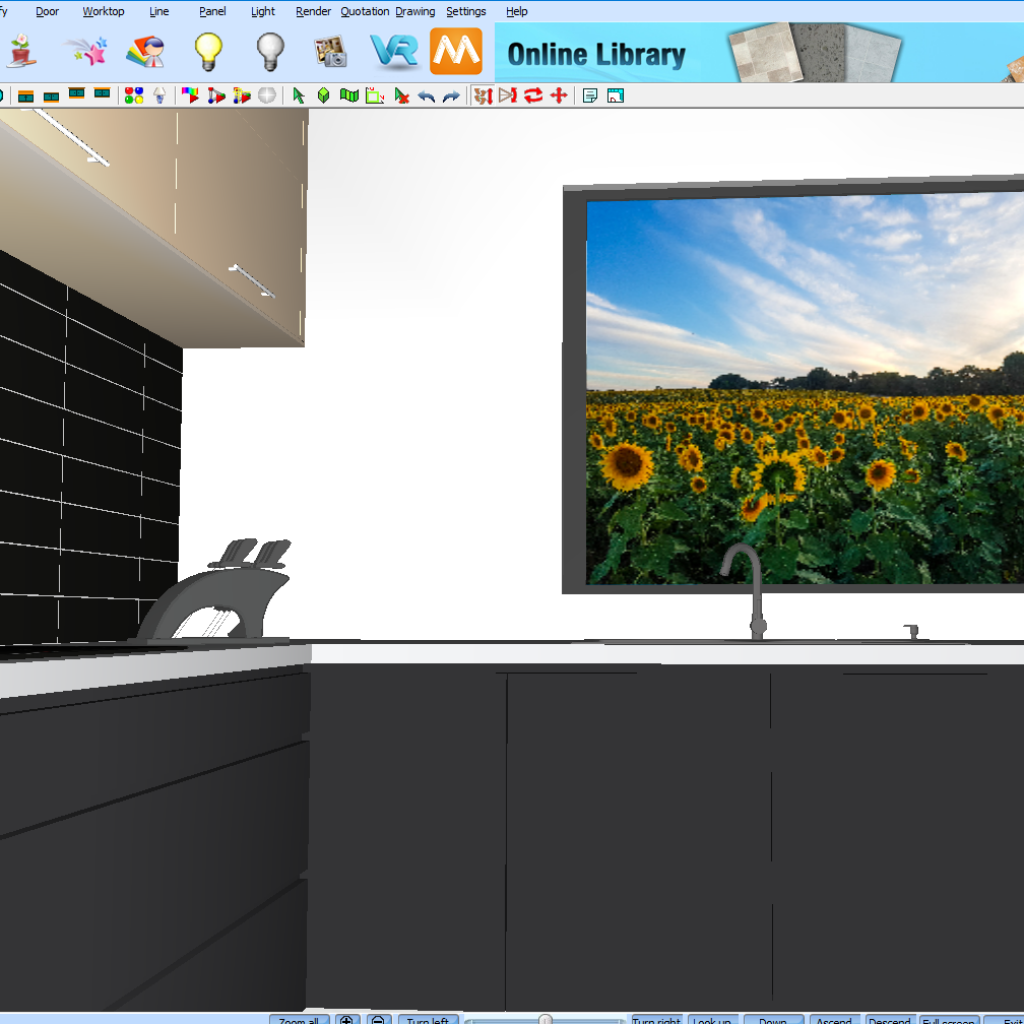
Now click OK to apply the image into your design. If the image is stretched, navigate to Render > Fit Map and then select the image.
5.
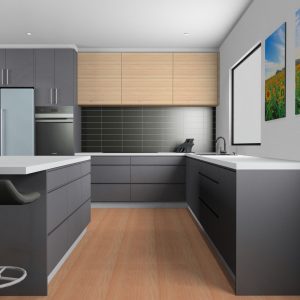
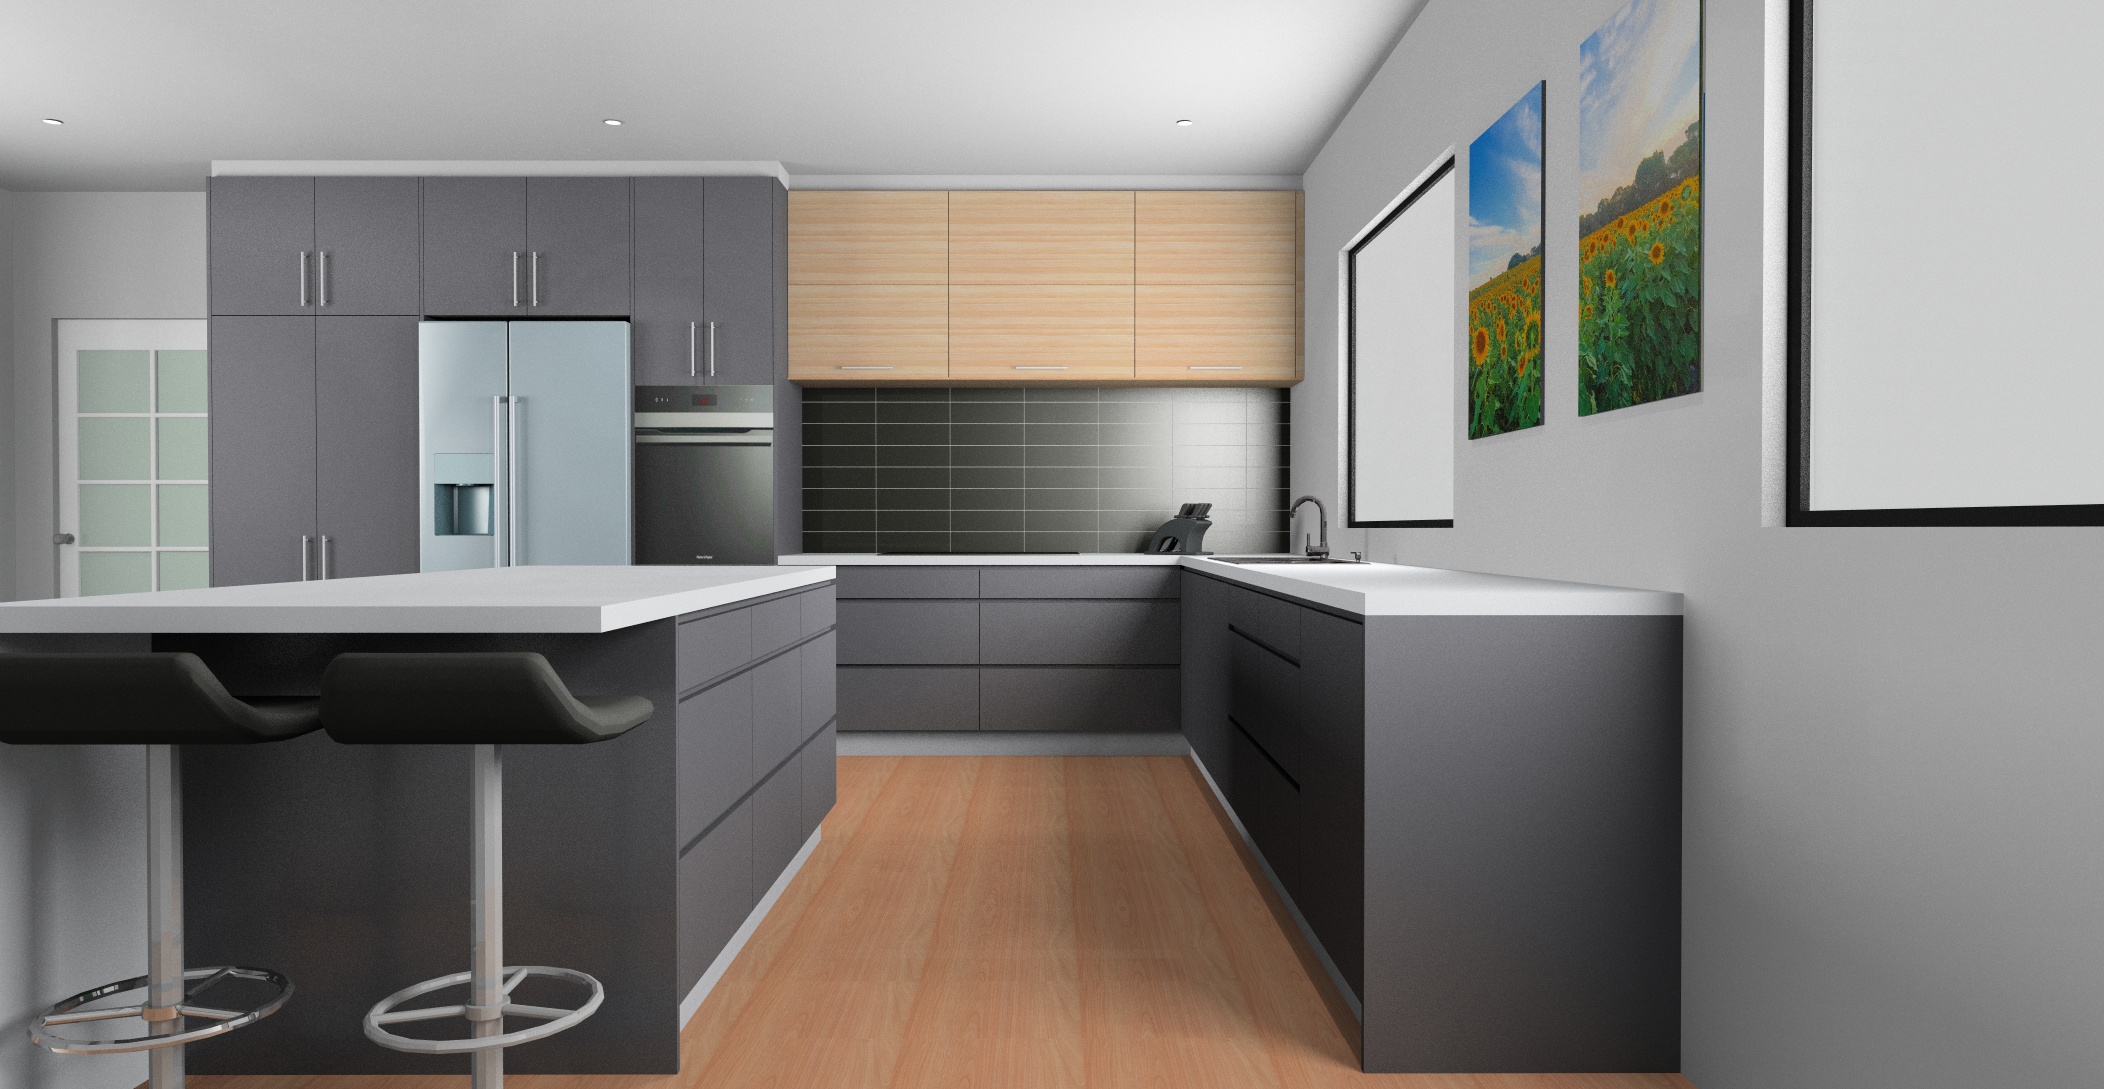
Now turn your lights on and render the image!
Join in the conversation on our 3D Kitchen Design Australia – KD Max Facebook Group.
Want to organise online training with a technician? Send a request through to info@cabinetsbycomputer.com!
Recommended Posts

