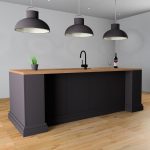
Creating A Farmhouse Sink in KD Max
Looking to create the perfect farmhouse styled kitchen in KD Max?
Follow these simple steps to create a farmhouse styled sink for your KD Max drawings.
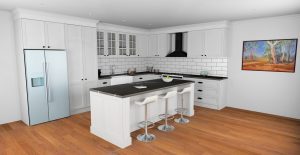
1.
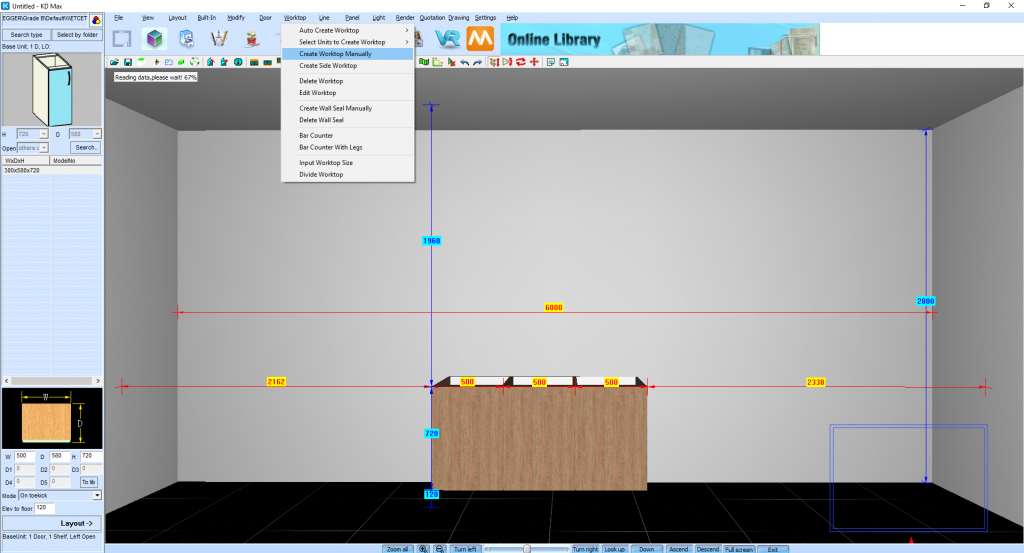
You’ll want to have the drawing close to finished prior to starting this. Generally, the sink is created at the same time as your benchtop, so let’s do that. Start by navigating to Worktop > Create Worktop Manually. This function allows the ability to draw the benchtop, as well as where the cut-out is for our sink.
2.
To draw your benchtop, simply follow the ‘yellow’ cabinet lines to create your desired layout. This is achieved by using the snap setting Snap and left clicking at each point in the drawing. The red line refers to the benchtop line so it’s easy to see if a mistake is made. You can also use the ‘Zoom’ option to get a closer look at your design. Once the benchtop is complete, right-click the mouse to stop drawing and click OK.
3.
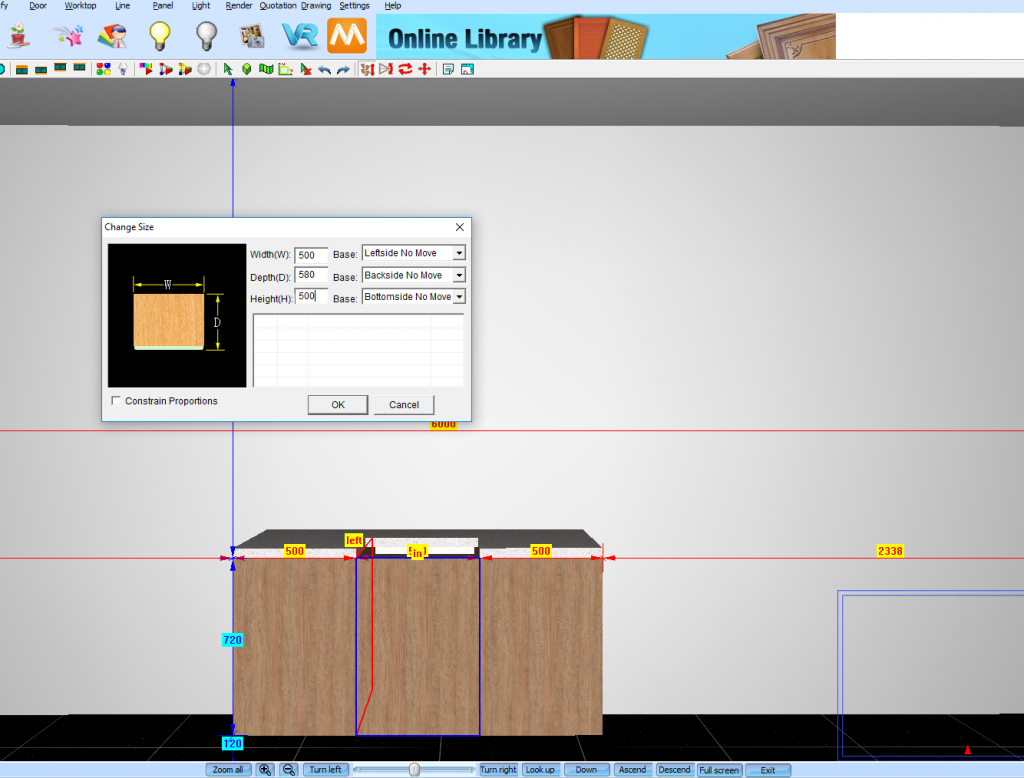
Now that the benchtop has a cut-out for the farmhouse sink, you’ll want to reduce the height of the cabinet that this will be sitting on. To do this, right-click the cabinet and select change size. I have reduced my cabinet by around 220mm as this is how high I’d like the sink to be. This is up to personal preference.
4.
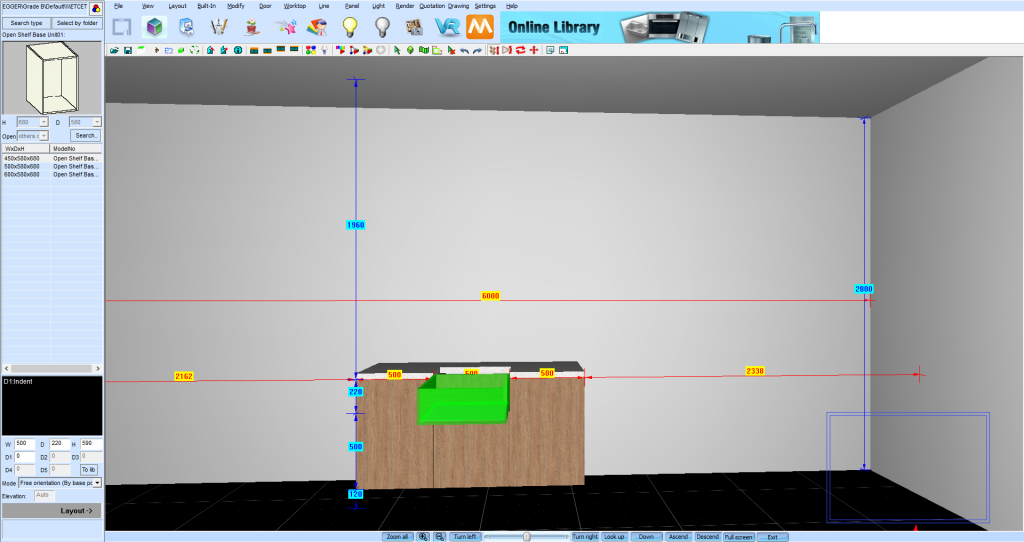
To create the farm-house sink, you’ll actually be using a base open cabinet. This can be found under Search Type > Baseunit > Open Unit. I have selected one without a shelve. Now set the cabinet to your desired size and set the mode to Free Orientation (by base point) to allow for an easier installation process. If you’re struggling to place this in, right-click the cabinet and select Align.
5.
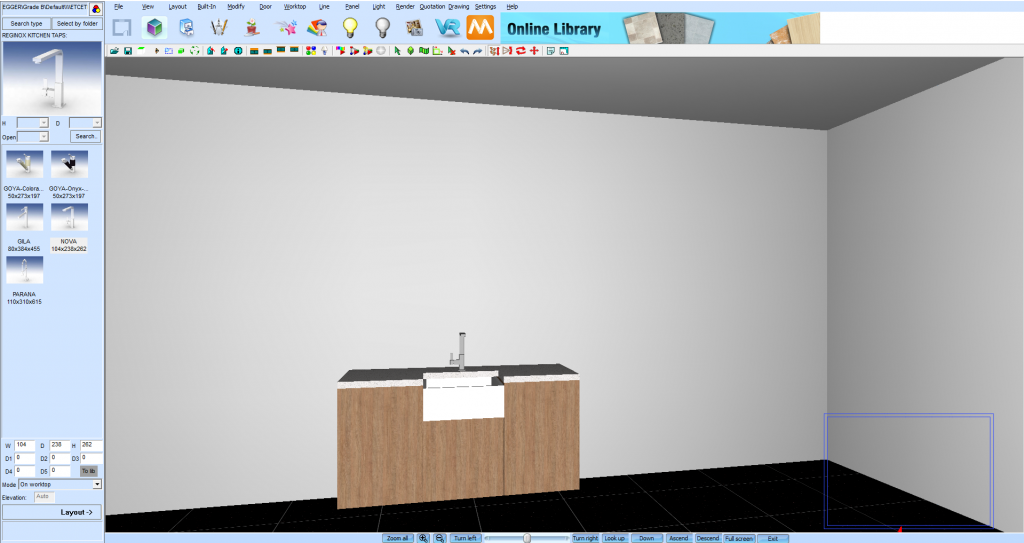
To complete the look, I have set the colour of my farm-house sink to a white gloss finish and placed a tap on the benchtop.
Join in the conversation on our 3D Kitchen Design Australia – KD Max Facebook Group.
Proud of a design that you have made in KD Max? Send it through to info@cabinetsbycomputer.com and we will feature it on our website & Facebook page!


