Adjusting Lighting in KD Max
Looking to give your KD Max drawings a more natural lighting or even make the lights brighter?
Follow these simple steps to adjust the light settings in your KD Max drawings.
1.
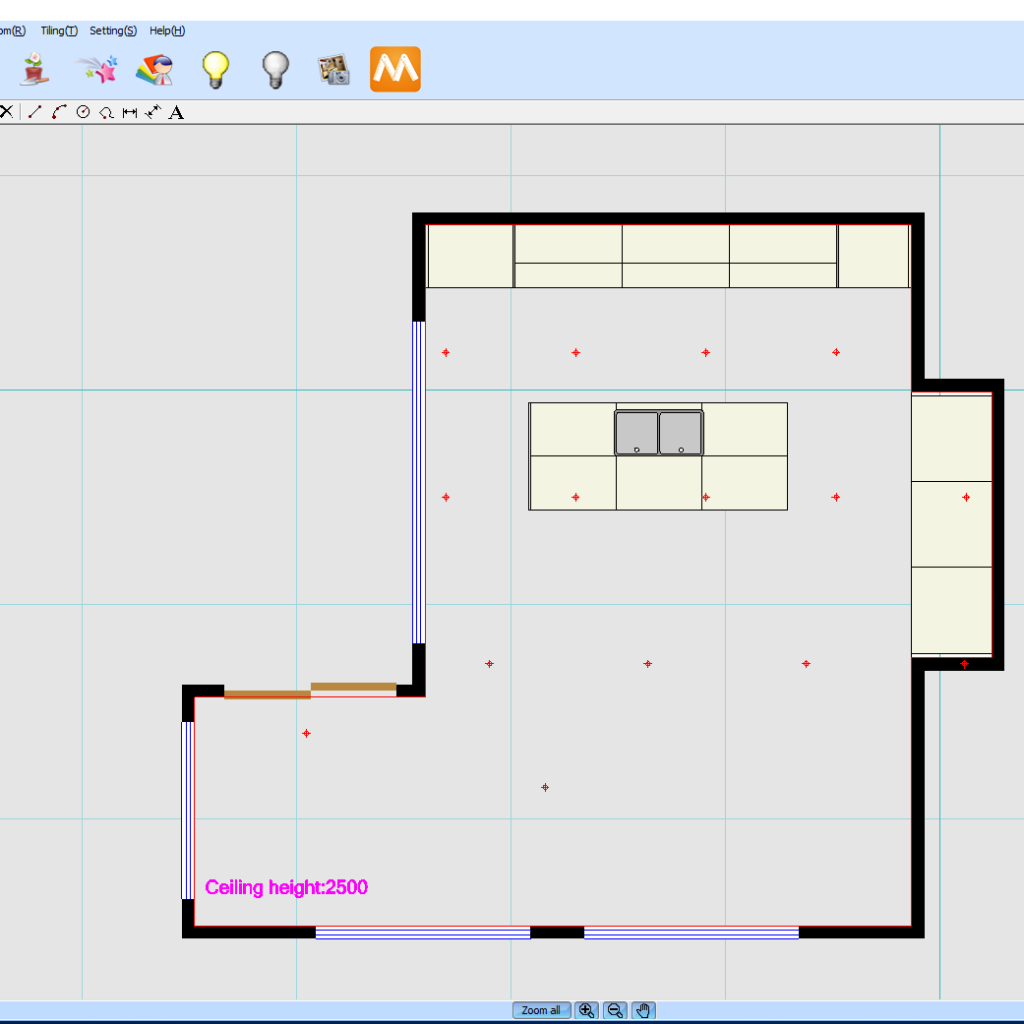
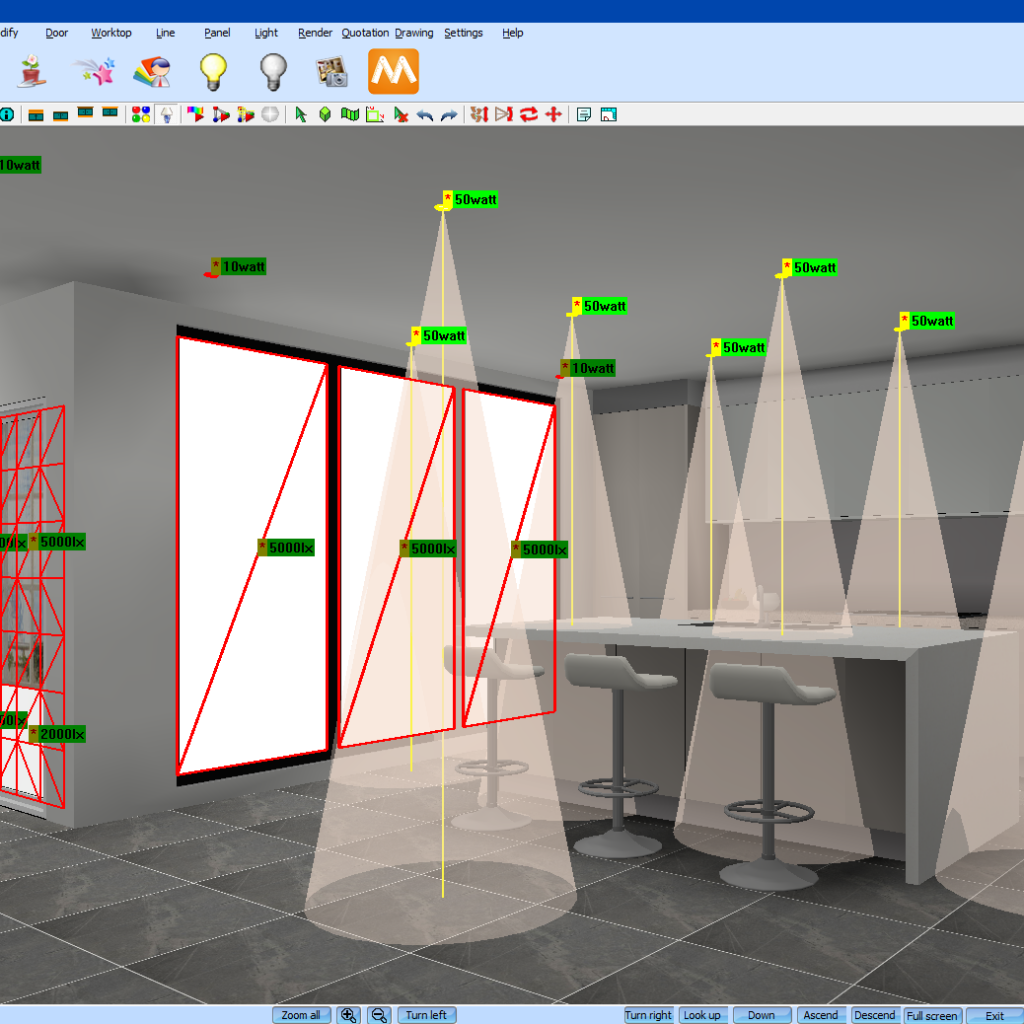
Firstly, add lights to your drawing in 2D mode by navigating to Room > Linear Spotlight. You can also use Windows to add additional natural lighting.
4.
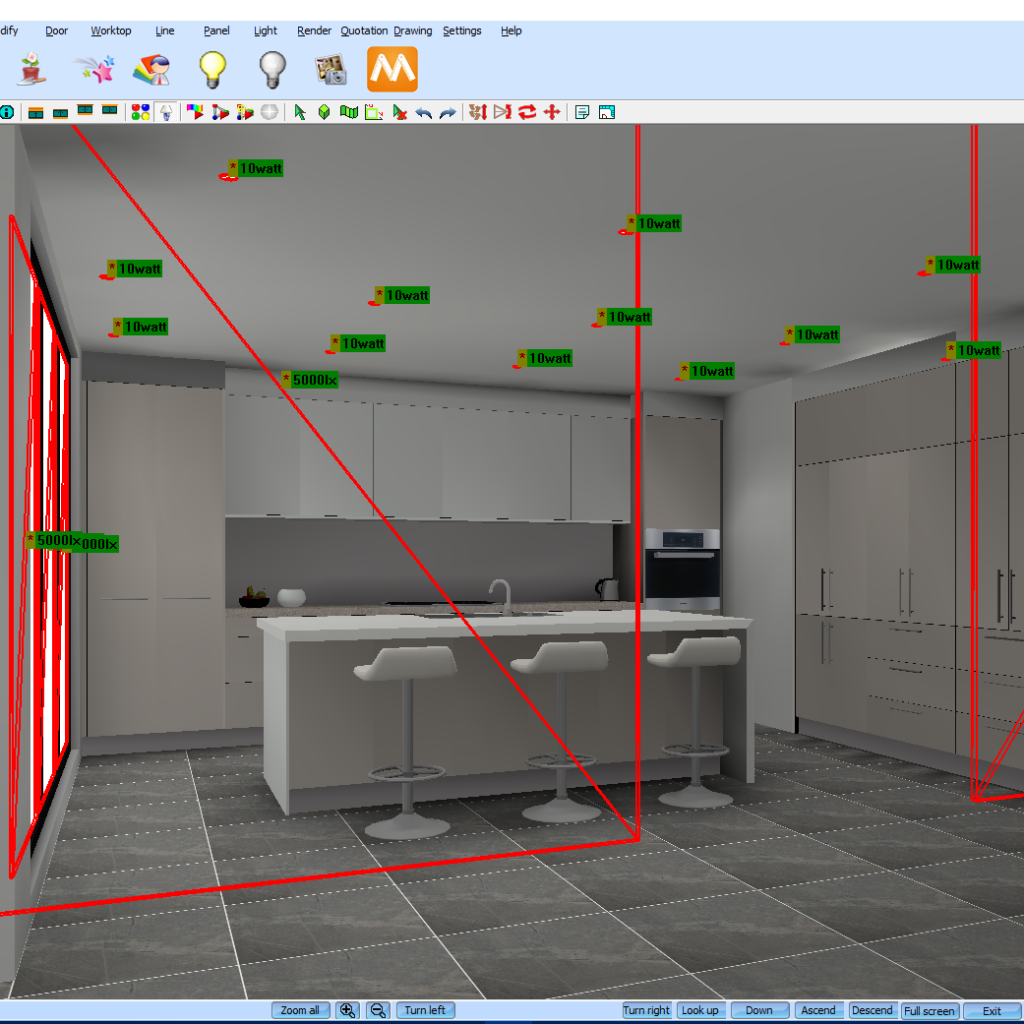
Select the lights you’d like to adjust by left clicking and highlighting by dragging the mouse. You’ll see several options in the pop-up menu.
5.
Now set the lighting options as required.
You can determine the colour of your lights by moving the sliders.
Power determines the overall strength of the lighting.
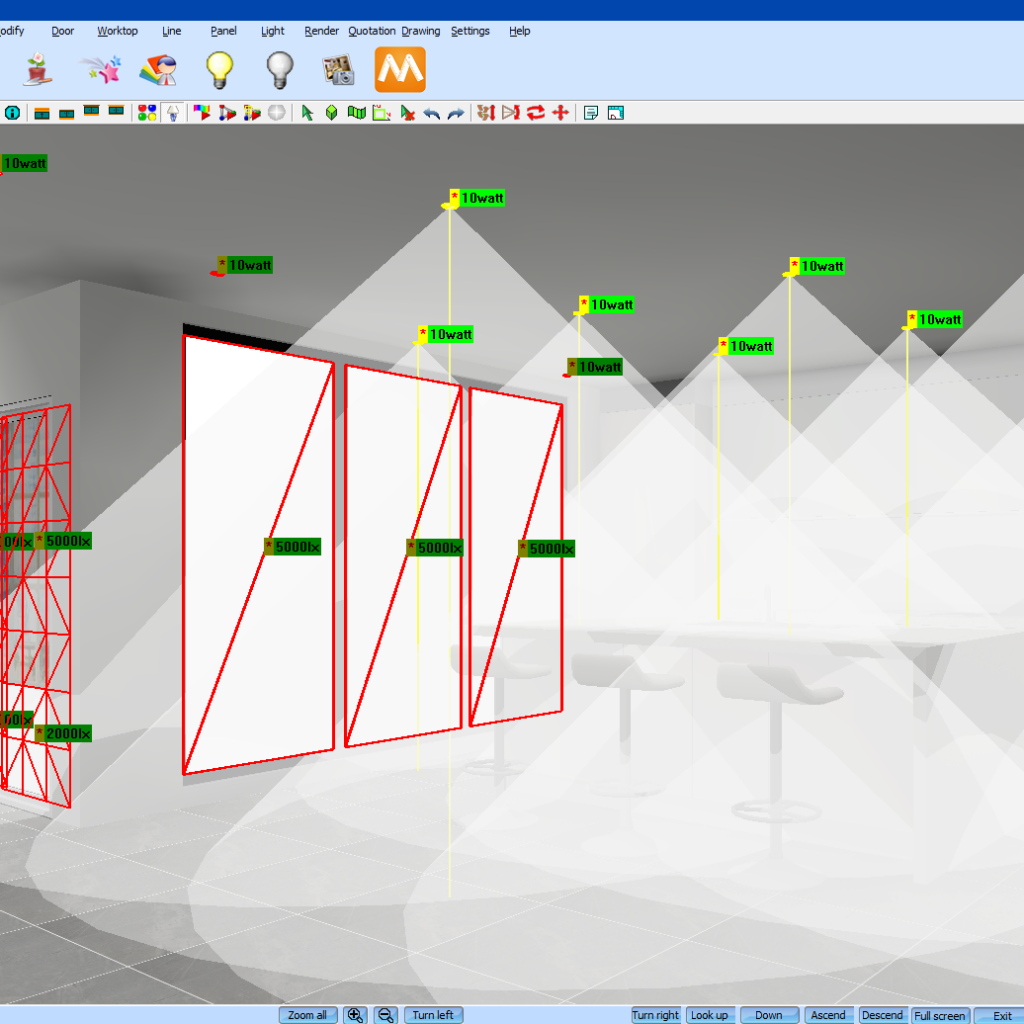
Target Spot allows you to select where you’d light to direct the lights.
Beam Spread is the size of the light beam.
Falloff determines how strong the lighting will be as the light beam reaches the floor.
6.
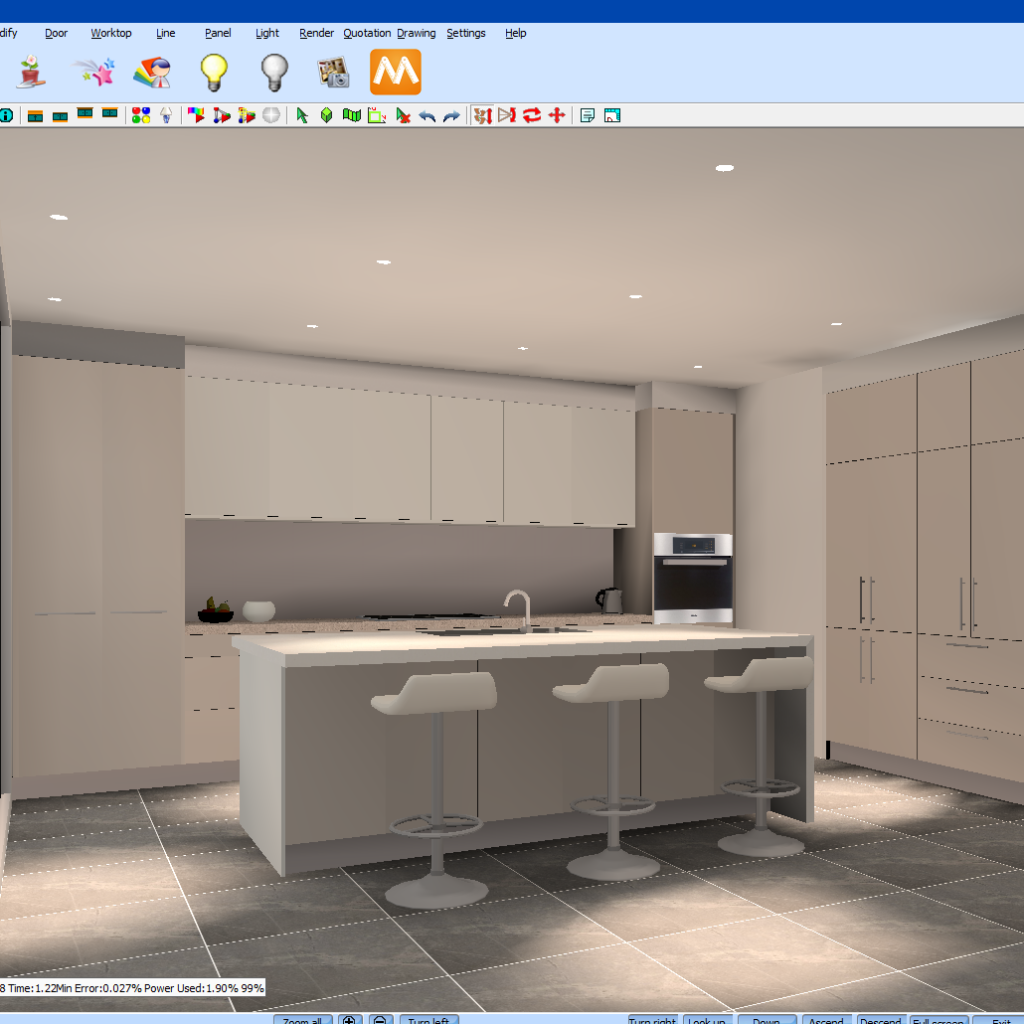
Now turn the lighting back on by clicking the yellow light bulb icon. Your drawing will now raytrace.
7.
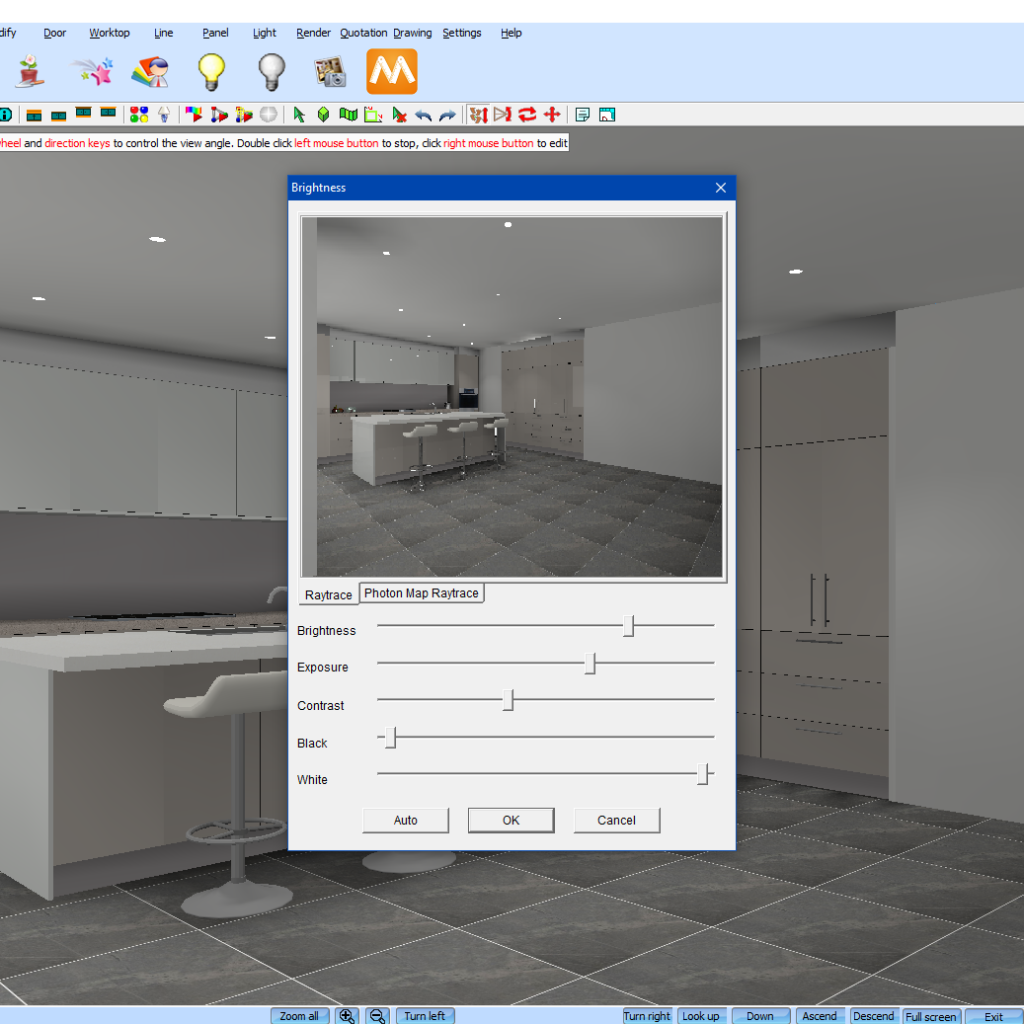
Now navigate to light > light adjustment to finalise the lighting settings. Here you can change the brightness, exposure, contrast and Black / White values of your final render.
8.
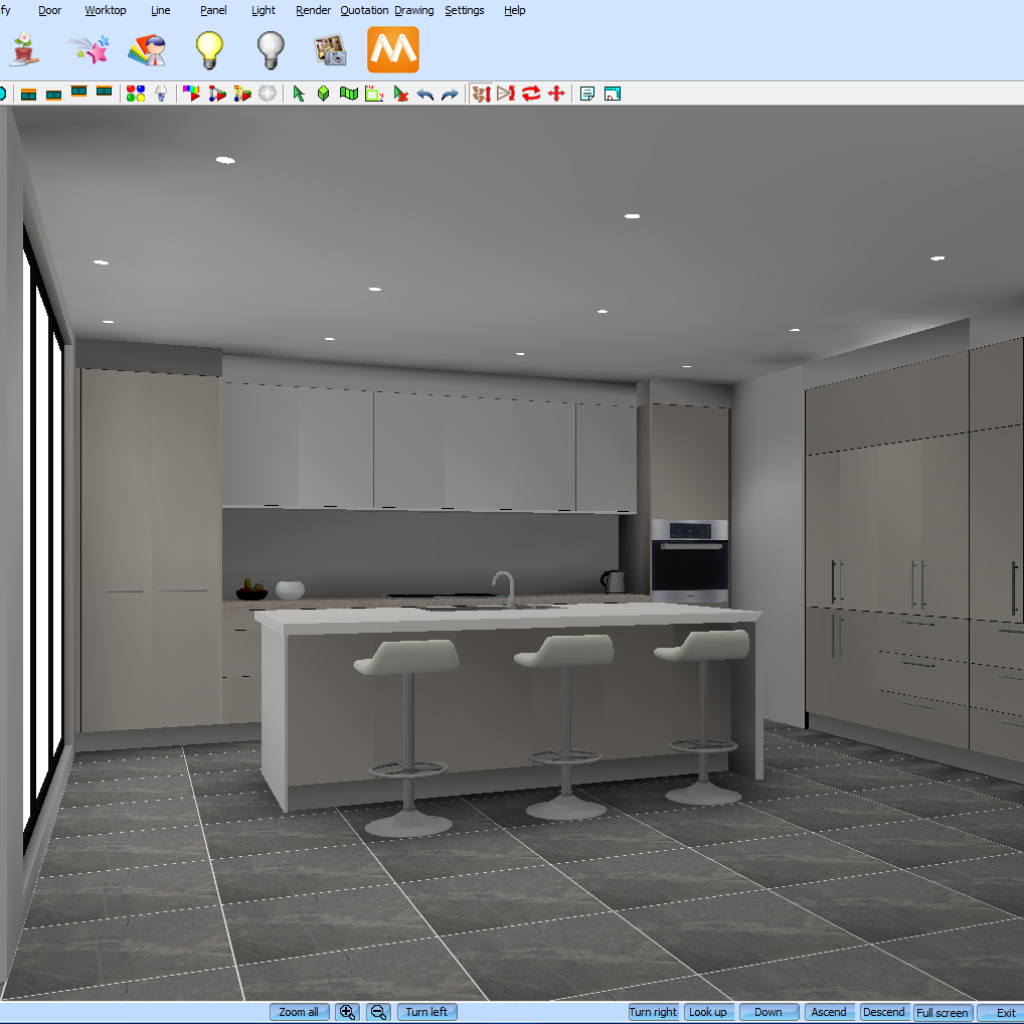
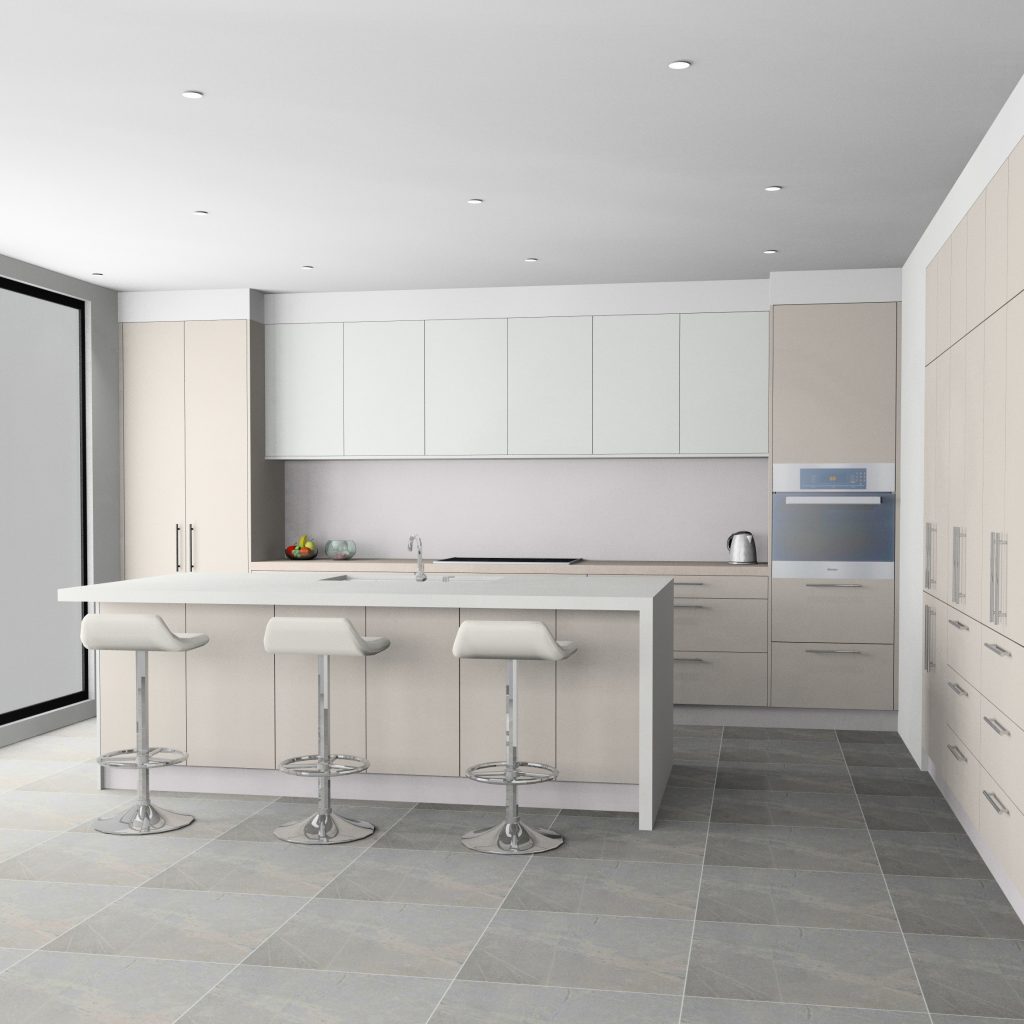
Once the lights are on and you’re happy with the adjustments, simply render the image!
Join in the conversation on our 3D Kitchen Design Australia – KD Max Facebook Group.
Proud of a design that you have made in KD Max? Send it through to info@cabinetsbycomputer.com and we will feature it on our website & Facebook page!


