
Using Photon Rendering in KD Max
Designers often wonder about the best ways to achieve higher quality renders in KD Max.
Check out our new tutorial video below for advice on using Photon rendering for your KD Max designs.
Transcript
1.
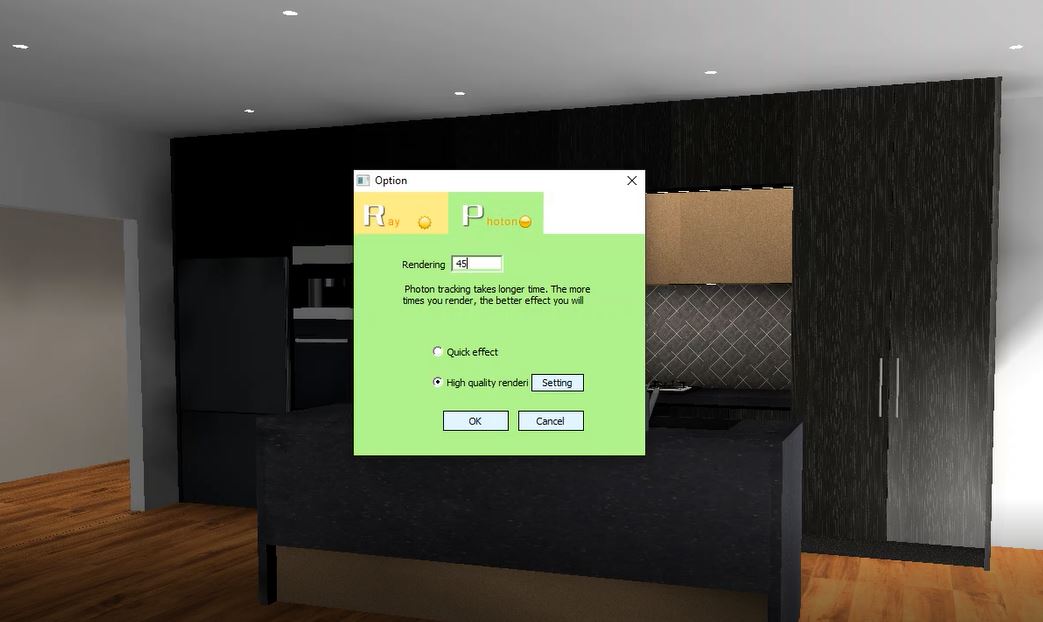
Navigate to Save Image > Photon Tab
2.
Select High Quality Rendering > Setting
3.
Input the desired Resolution for your image in the Plot Setting popup window (changing the resolution will change the total size of the image.) A resolution of 1920 X 1080 is considered “Full HD” whereas “4K” is 3840 X 2160.
4.
Input the desired number of passes for the image Rendering (the amount of times the photon trace will “go over” the image). In this particular case, 45 passes were used. You can determine what works best for you.
5.
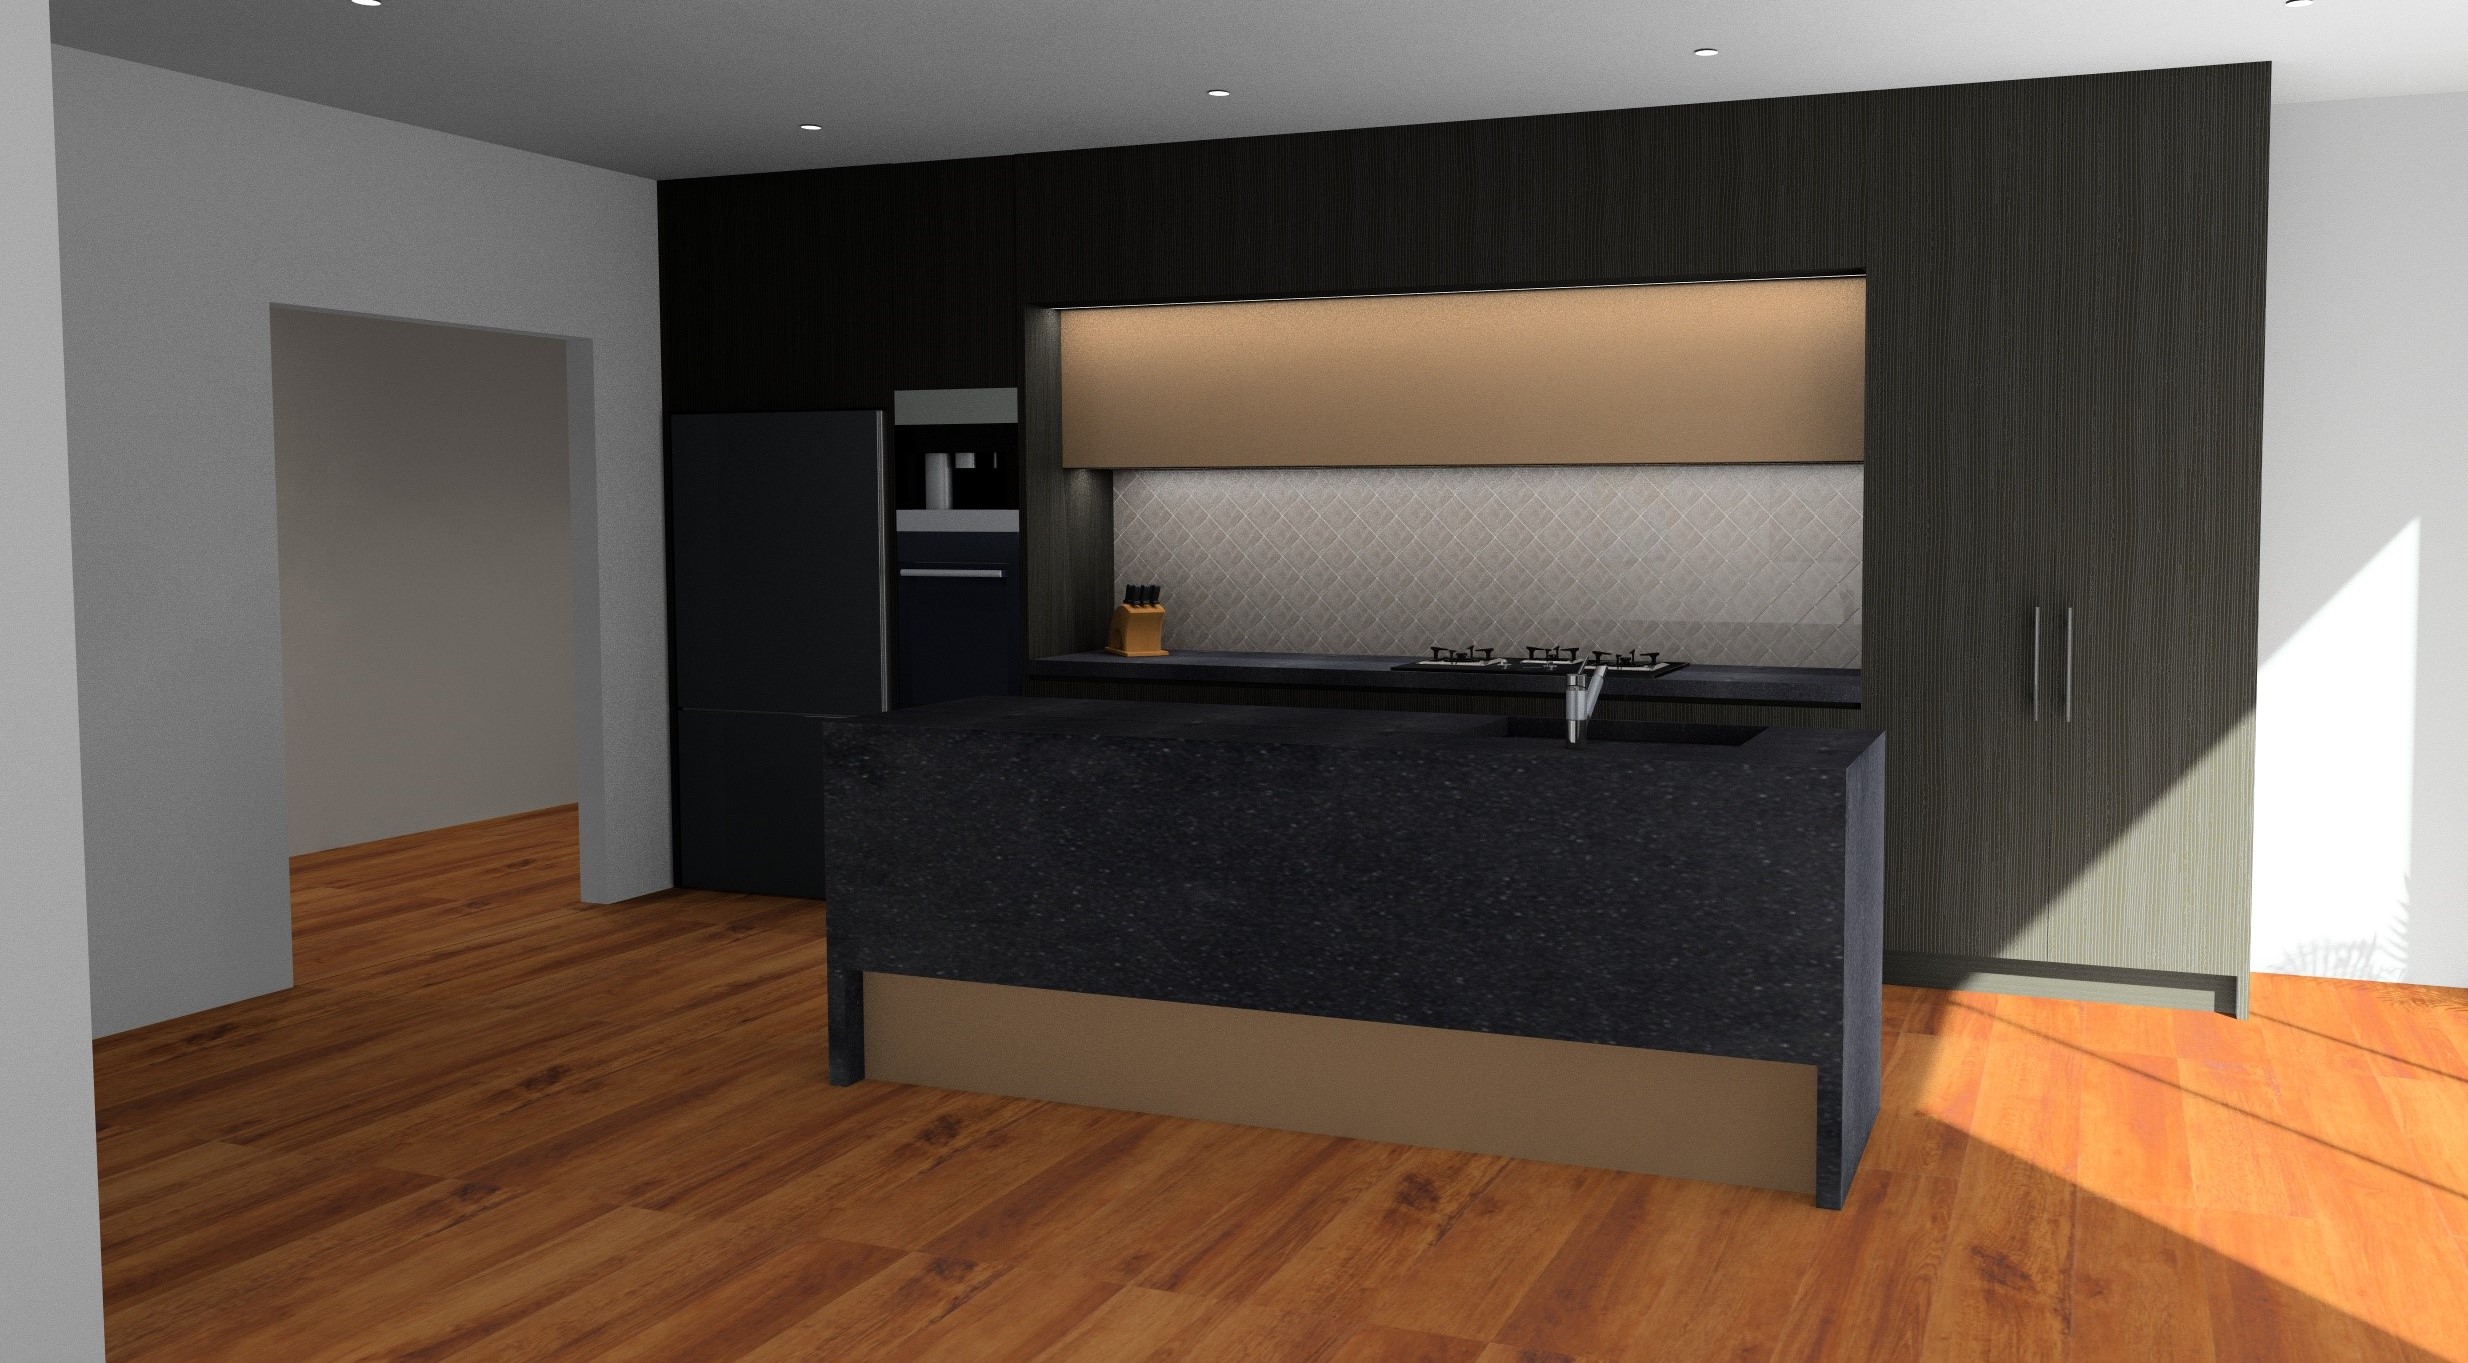
KD Max will then start producing the image with the specifications you provided.
Join in the conversation on our 3D Kitchen Design Australia – KD Max Facebook Group.
Proud of a design that you have made in KD Max? Send it through to info@cabinetsbycomputer.com and we will feature it on our website & Facebook page!


