
V10 | Add Your Logo to a BtoCAD Frame
KD Max connects with BtoCAD to generate and print plans & elevations based on your KD Max designs. A recent enhancement in KD Max V10 is the ability to make and save changes to the frames that present your plans.
This simple tutorial demonstrates how you can really stamp your name on your work, literally. Follow the video below for one easy way to incorporate your logo into your plans in BtoCAD.
Transcript
1.
Navigate to Drawing > Frame Setting in the menu.
2.
Select Frame under file > open.
3.
Open logo image in Microsoft Paint. (Microsoft Paint is one known way of achieving this process. Other programs may also work)
4.
Select entire image (Ctrl A on your keyboard). Then right-click and select copy.
5.
Move to BtoCAD.
Right-click and select paste.
6.
Resize and move image into desired place.
Once modifications are complete, select save and close BtoCAD.
7.
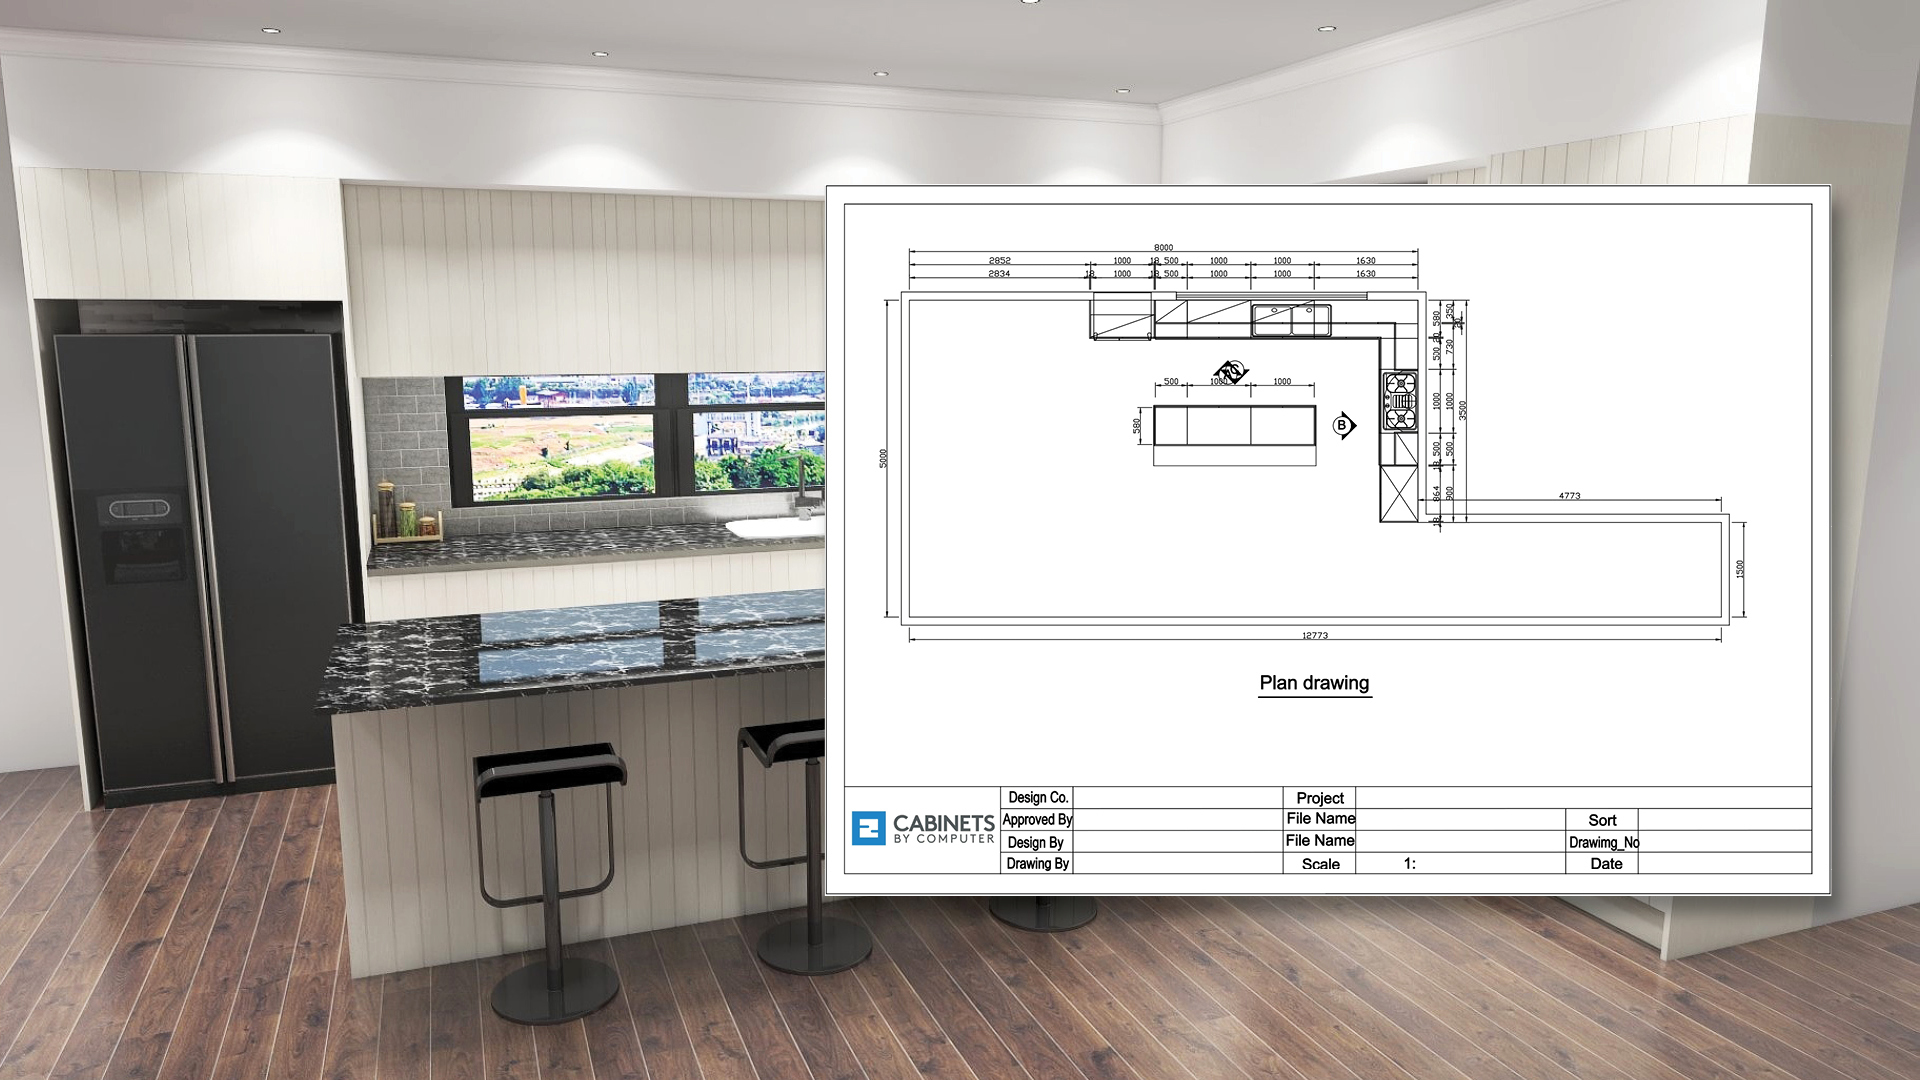
Your changes will now have taken effect on your frames. When opening new plans & elevations, you will be able to see your logo and other changes.

Join in the conversation on our 3D Kitchen Design Australia – KD Max Facebook Group.
Proud of a design that you have made in KD Max? Send it through to info@cabinetsbycomputer.com and we will feature it on our website & Facebook page!


