
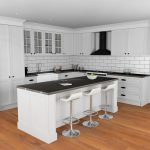
Creating an Island Bench Trim in KD Max
Tutorial Difficulty: Intermediate
Follow these simple steps to learn how to create an island bench trim in KD Max.
Looking to create the perfect farmhouse for your customers’ next project, or just looking to add a bit more attention to detail to a design? Follow these simple steps to create a profiled kickboard in KD Max.
Step 1
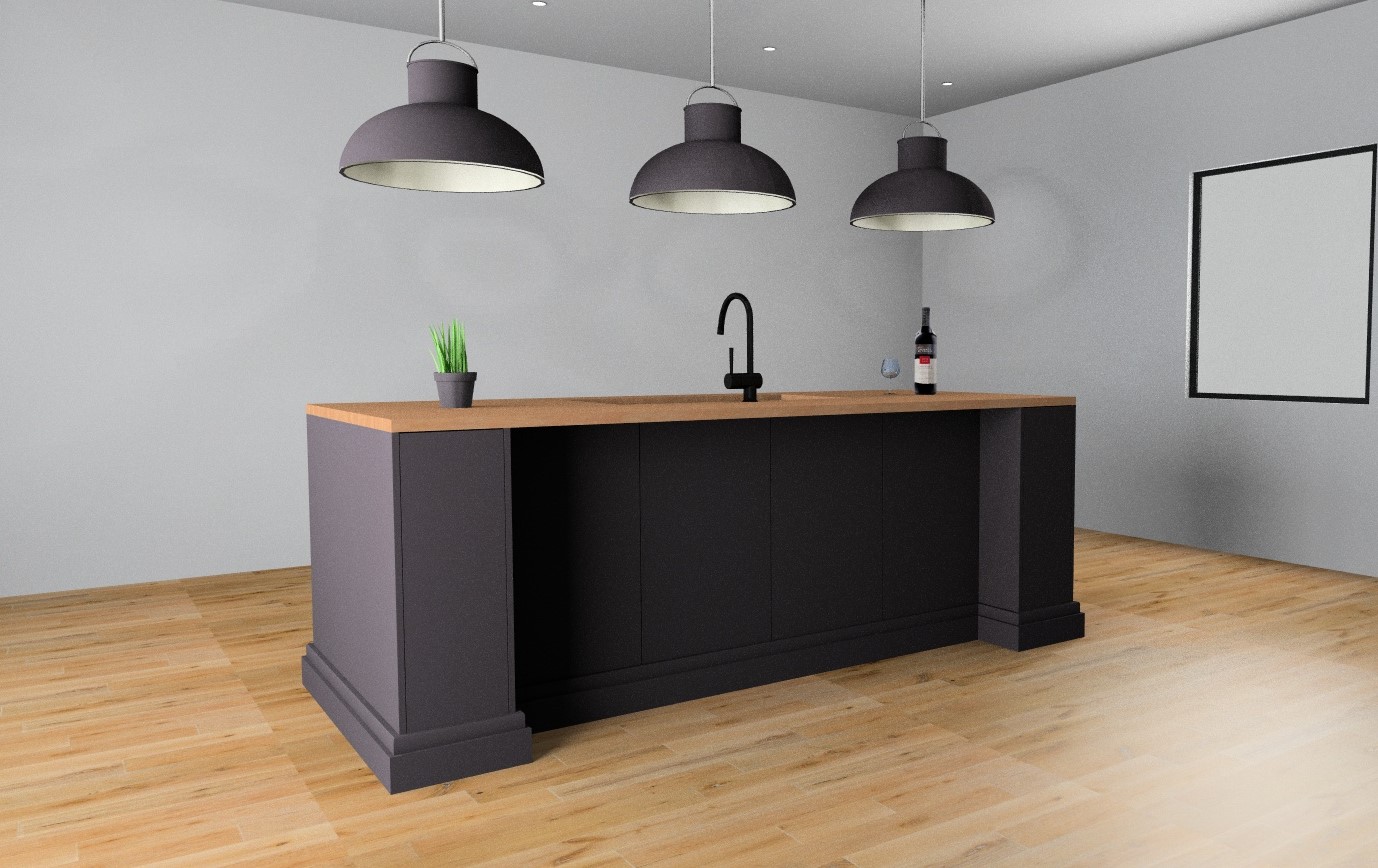
The first step is to set up your profiled kickboard using the global style settings. Navigate to Settings > Global Style Settings > Line.
You’ll want to set your plinth style to Style 0 and your height as desired. I am using 90mm.
The front and side indent should be set to a negative value, so it is extended past the cabinet bottom.
Next, set the pelmet style as desired. The pelmet will act as the top layer of the kickboard. Set the height, width and overhang as desired.
Step 2
Once your island bench cabinets are placed in the drawing, navigate to Line > Create Pelmet > Select Units to Create. Now left click the cabinets that you’d like to apply the pelmet too and right click to confirm. This will apply the pelmet around your cabinetry.
Step 3
Now navigate to Line > Create Plinth > Select Units to Create and repeat the above step to apply the kickboard layer.
Step 4
Complete the island bench with a benchtop in your desired style by navigating to Worktop > Select Units to Create Worktop.


