
How To Create a Flooring Design in KD Max
Stuck on how to create a design for the floorboards in kitchen?
Here we go through the steps necessary to create a design for kitchen flooring using the built in tiling function of the 3D Design Software KD Max.
1.
Firstly start in 3D mode. You’ll need to have a room drawn up before you can add a design to your drawing.
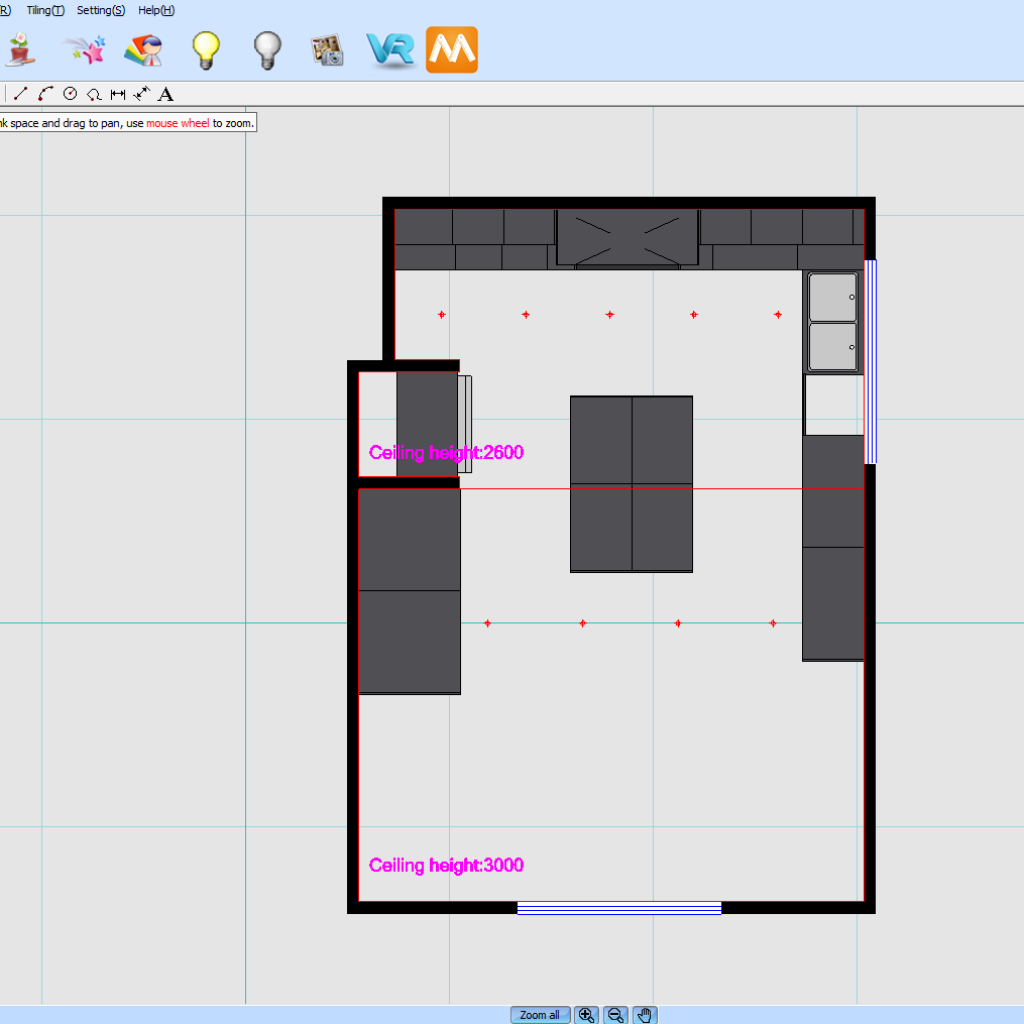
2.
Now navigate to Built In > Tiling > Tiling Design
You’ll then need to select the floor to apply the design by left clicking once selected.
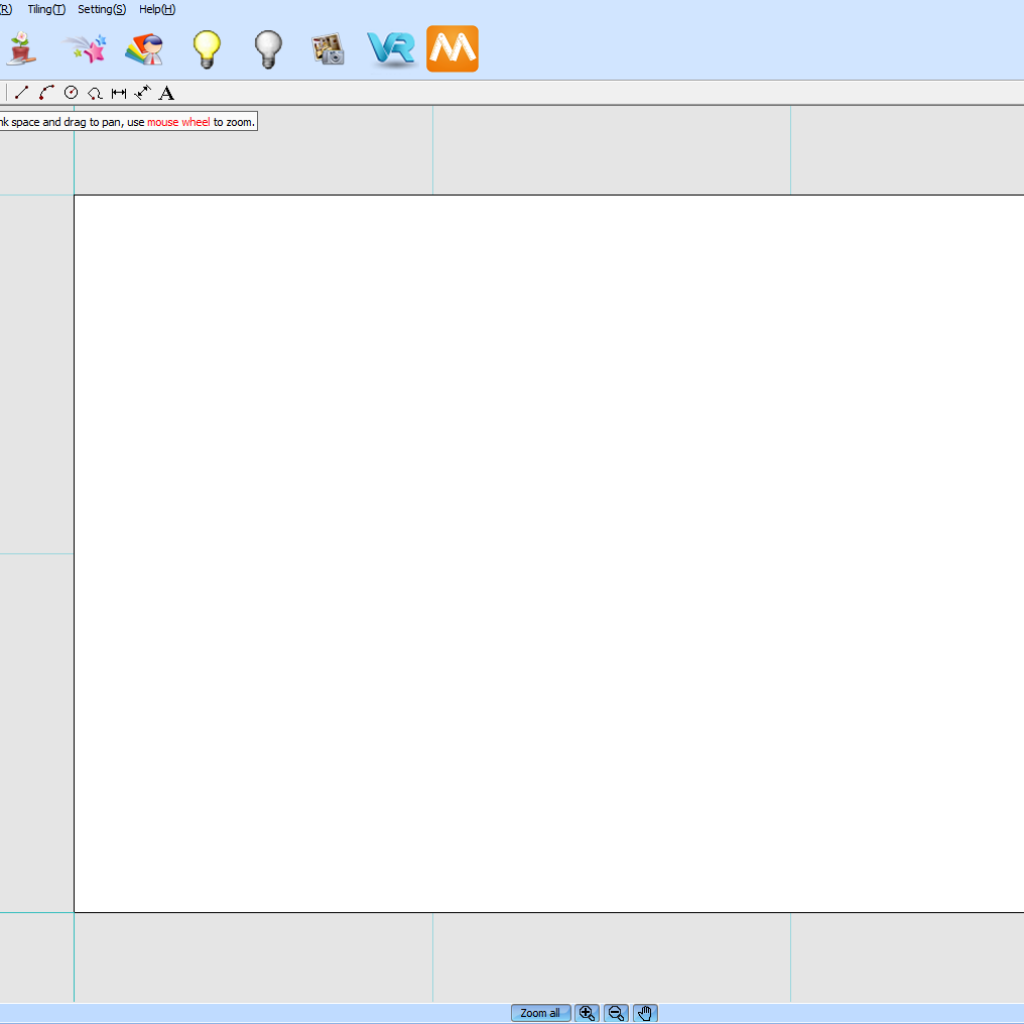
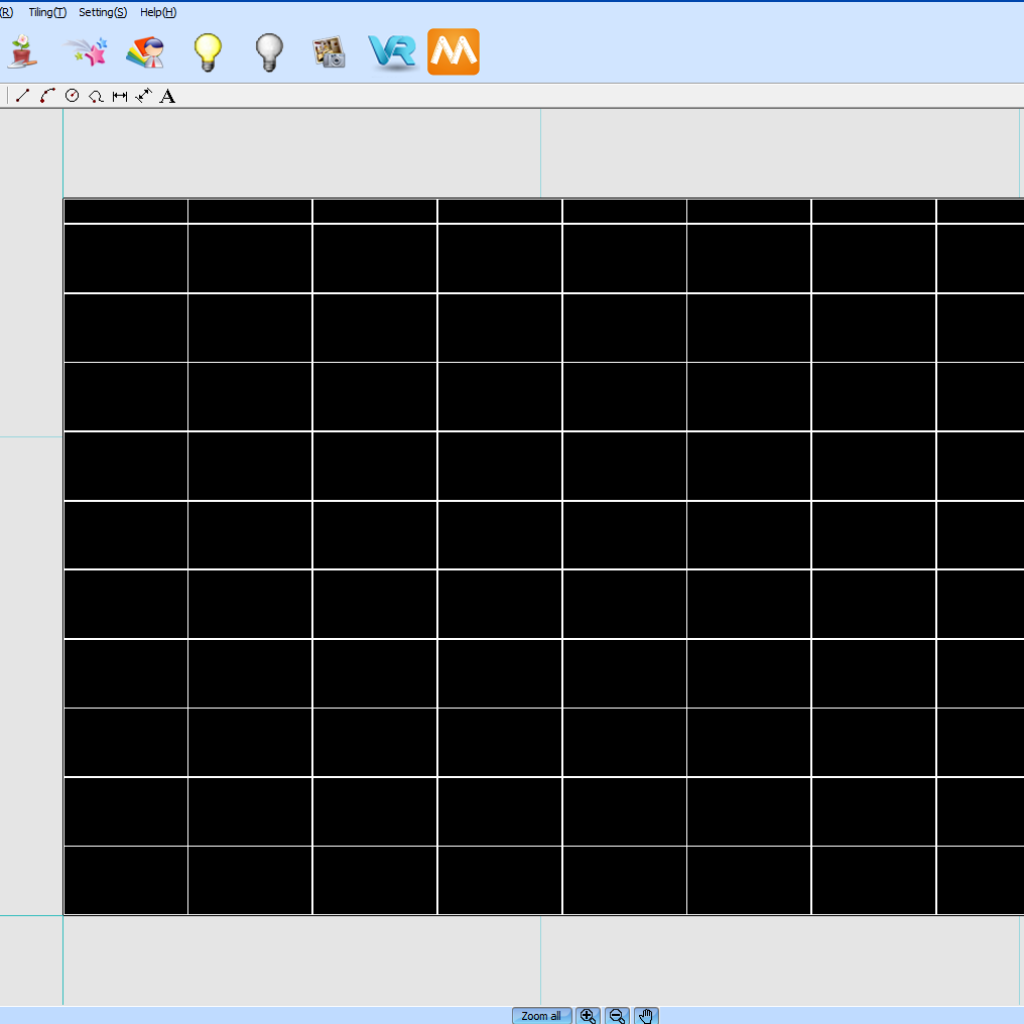
3.
Now apply a tile by navigating to Tiling > Query Tiles.
Alternatively you can drag a .jpg file onto the plan.
Click OK to confirm the dimensions of the image.
Now simply place your first image onto the design.

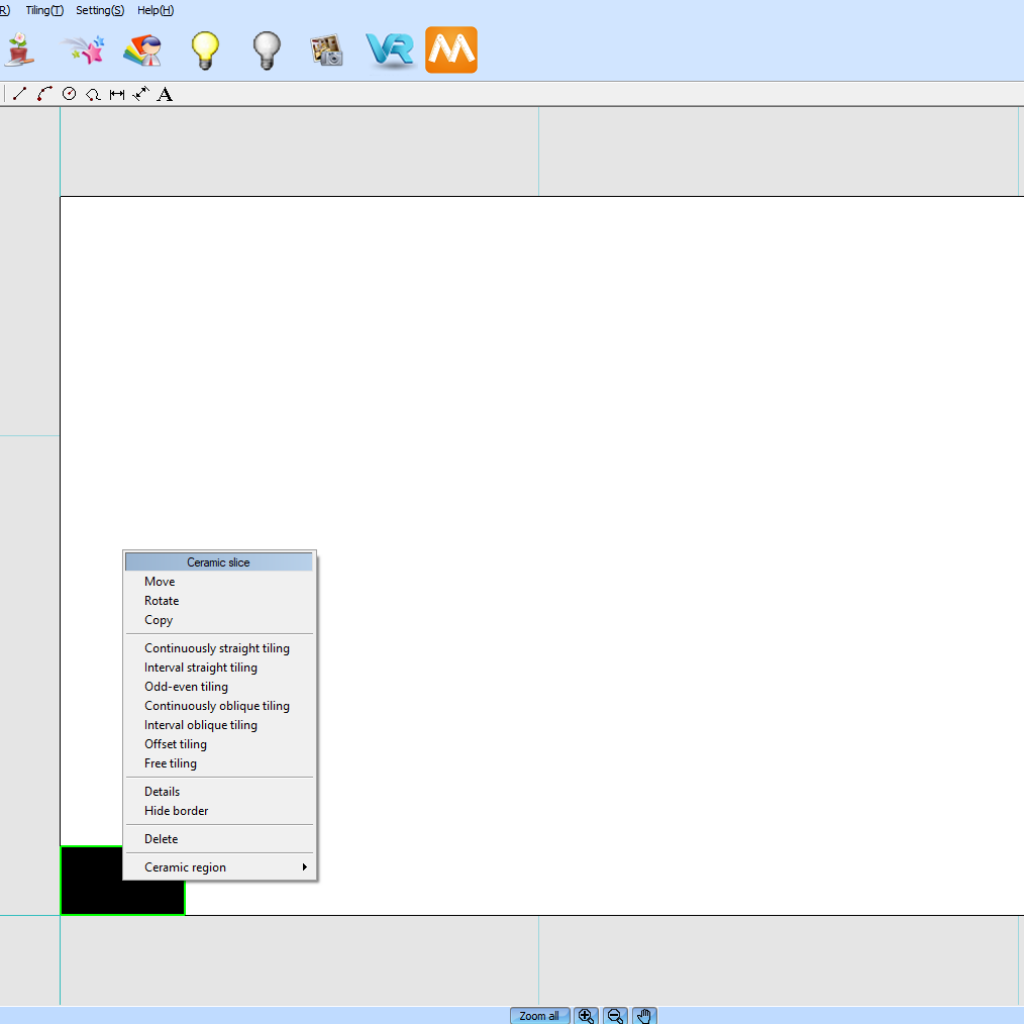
4.
Now right-click on the image.
You’ll now have the ability to choose how you’d like to set your design.
Once a mode has been selected, simply drag your mouse over the area you’d like to fill.
Alternatively you can hit the F key to fill the design.
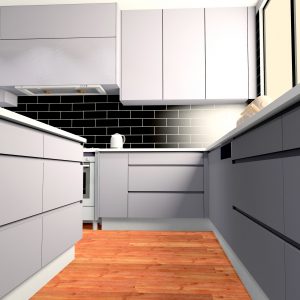
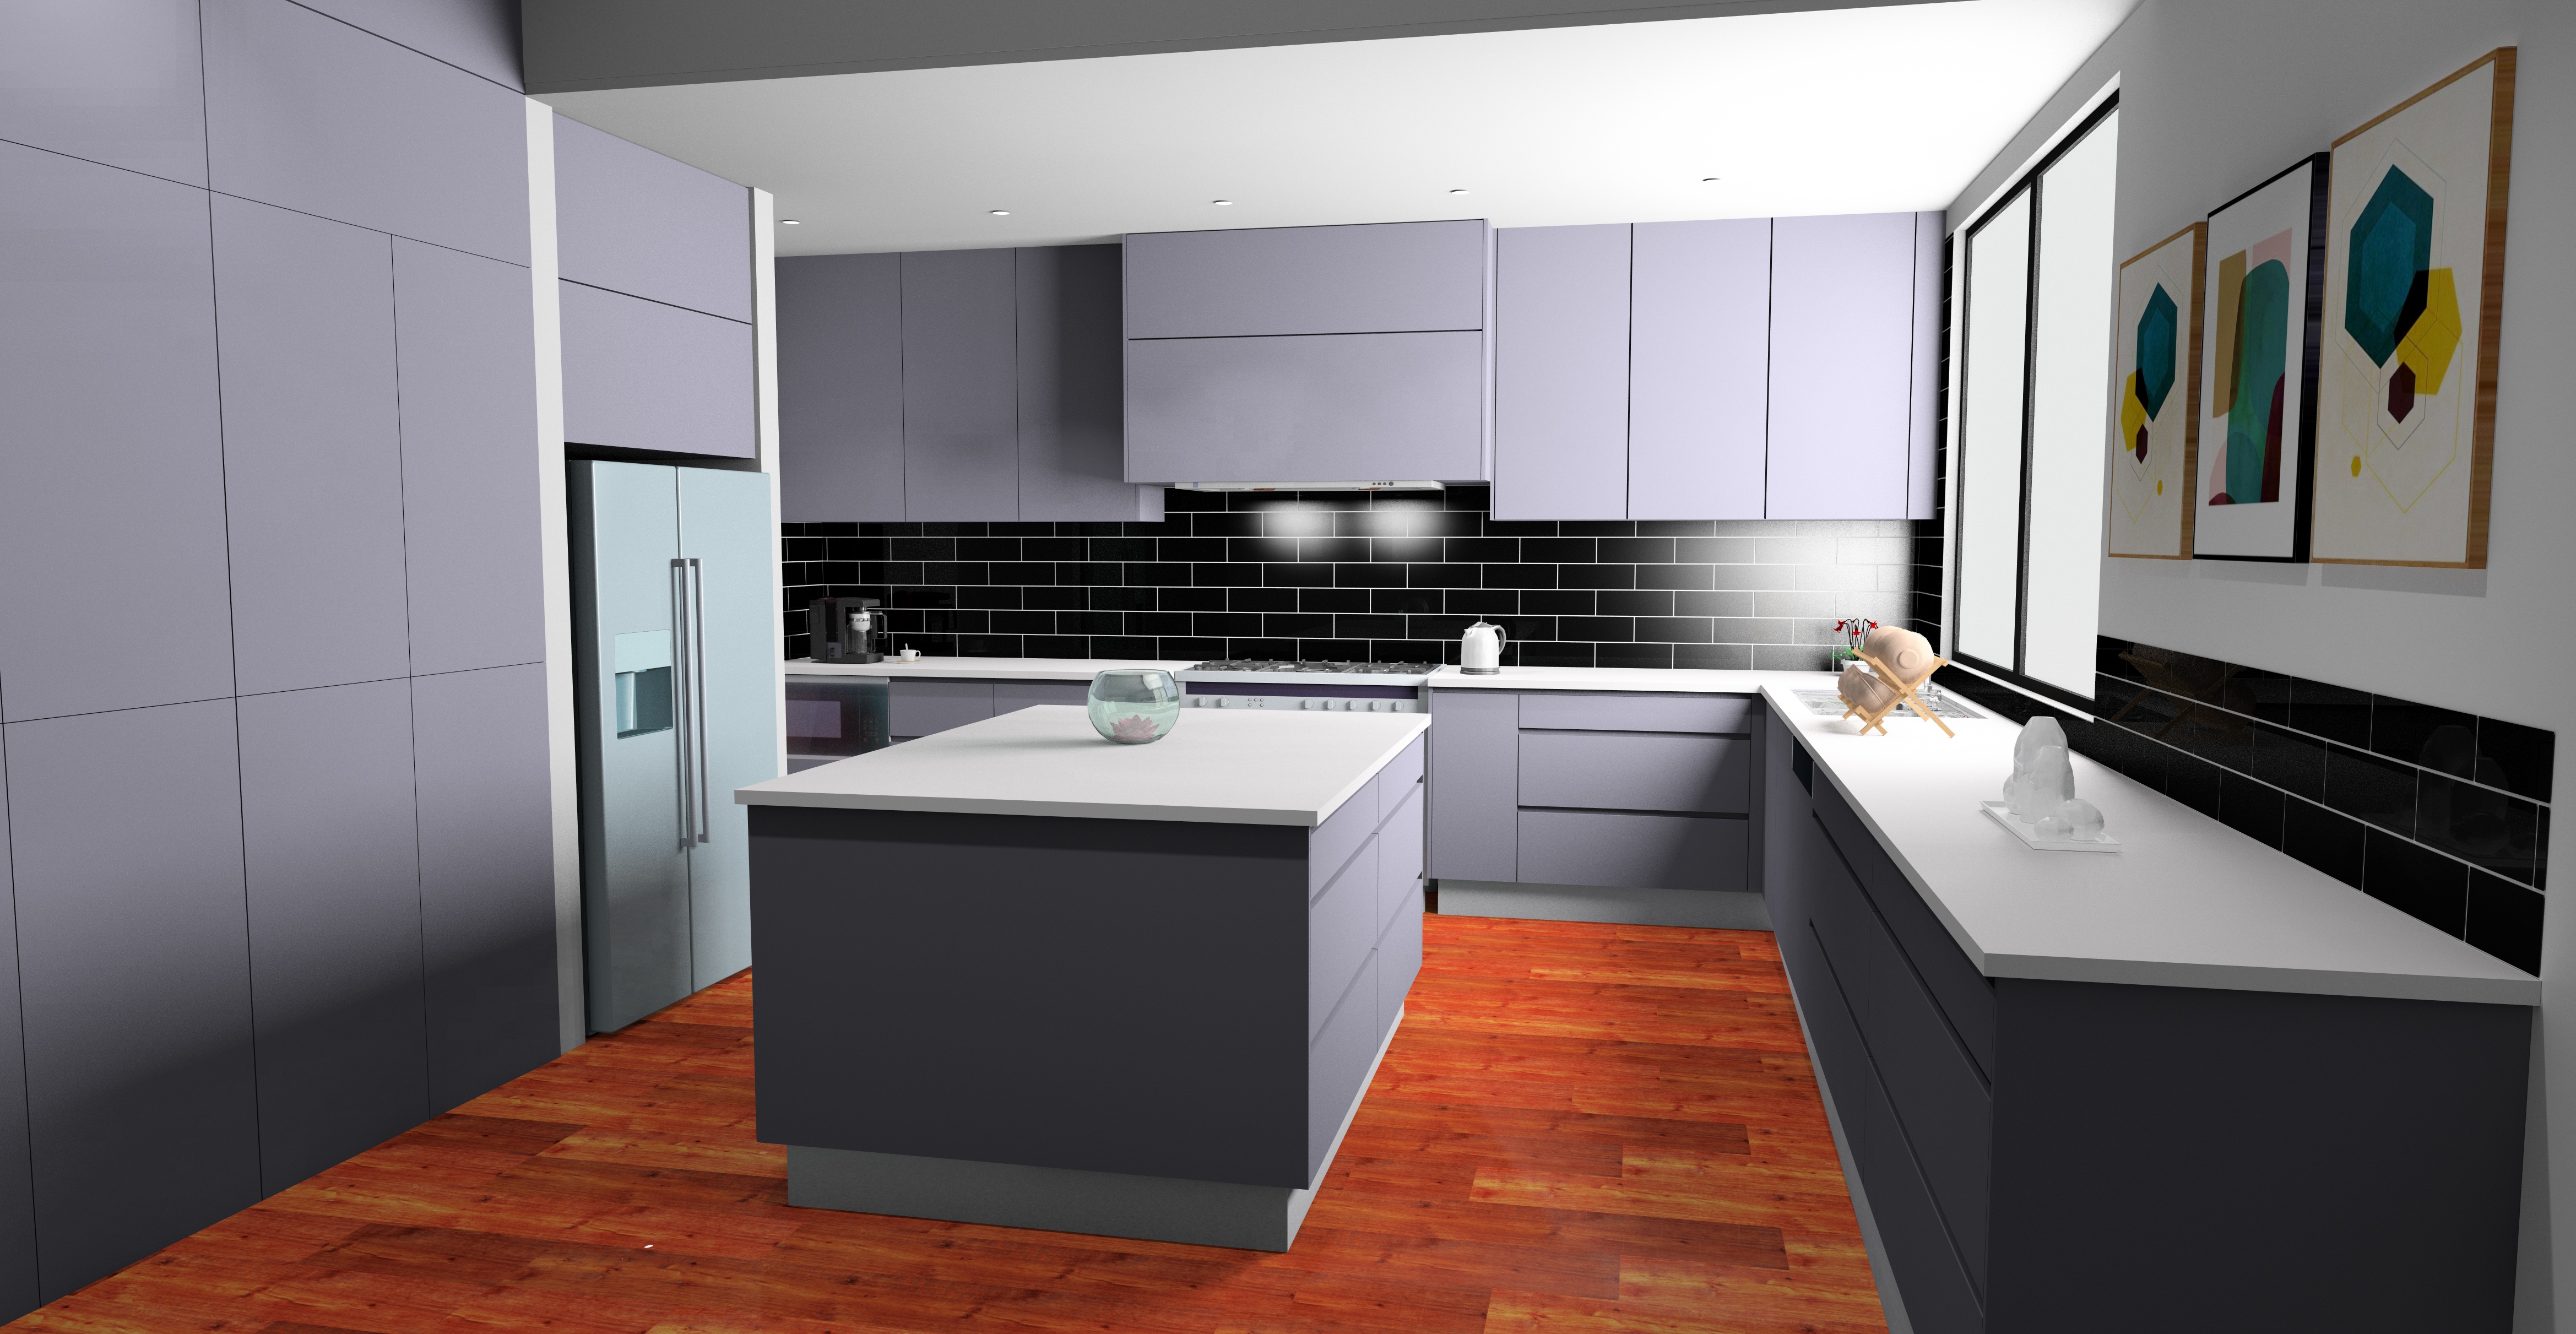
5.
Now simply jump into 3D mode to see your newly created floorboard design.
Join in the conversation on our 3D Kitchen Design Australia – KD Max Facebook Group.
Stuck on creating a tiled splashback for your kitchen? Send an email through to info@cabinetsbycomputer.com for further assistance.

