
V10 | Create Tiled Splashbacks
Tiles are very popular for bathrooms AND in kitchens!
Here we go through the steps necessary to install a tiled splashback in KD Max.
1.
To add in a tiled splashback, you will need to use the Tiling function to define your desired section on the wall.
This function is located under the menu title Fit Up > Tiling.
You will now be prompted to ‘Select a region to be titled‘,
Click on the wall you wish to add your tiled splashback.

2.
You will now be taken back to ‘Room’ which is the 2D layout aspect of KD Max.
Your selected wall will now be displayed, with any doors and windows cut out of the design.

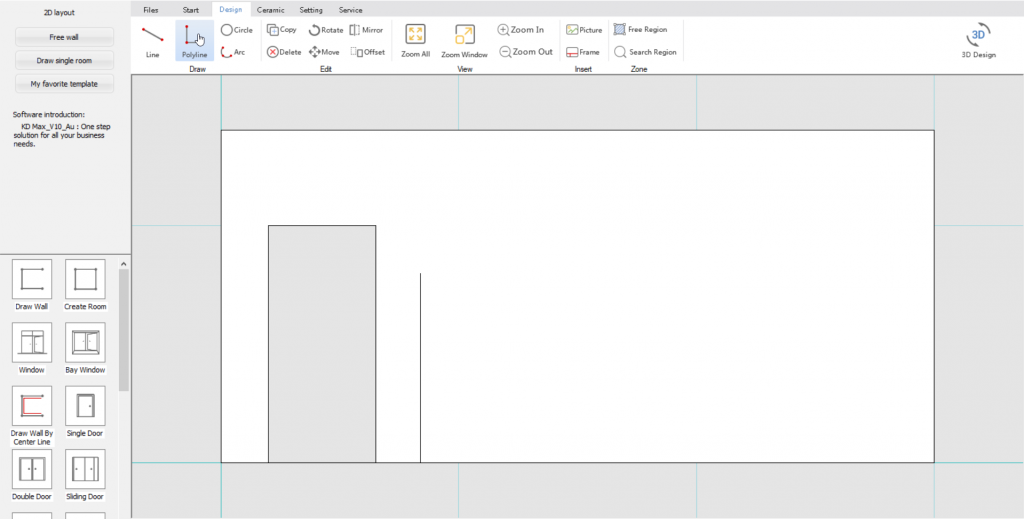
3.
Before adding the splashback, you can draw in dimensions using the line tool, marking where your splashback will be positioned. This serves 2 purposes: firstly to ensure your splashback is positioned accurately, and secondly to create points to quickly snap your design to when defining your area to be tiled.
This step can be skipped if you want to free draw in your splash back.
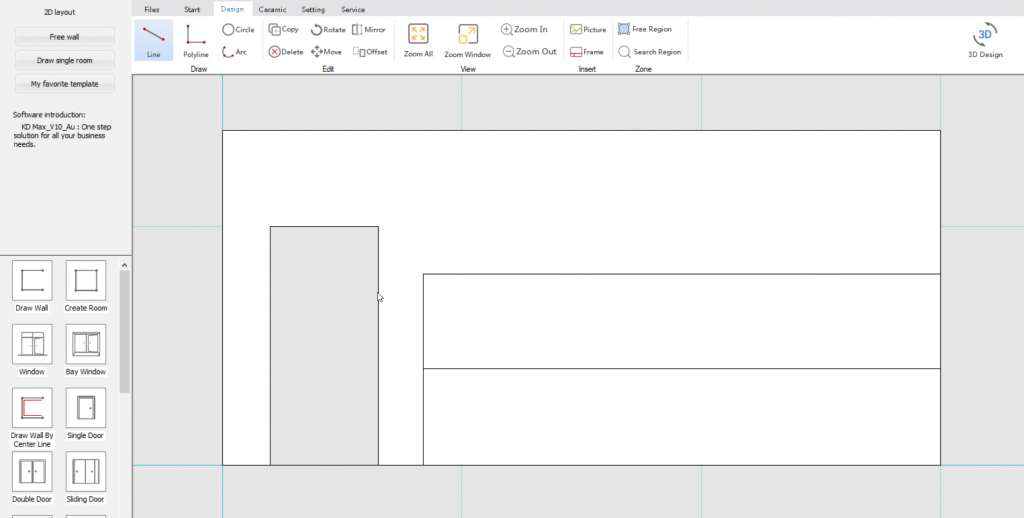
4.
Using the Line/polyline tool draw in all the corners of your required splashback space.
Start at the bottom corner and set the bench height, followed by the splash back height, then add in dimensions to mark points around any windows.
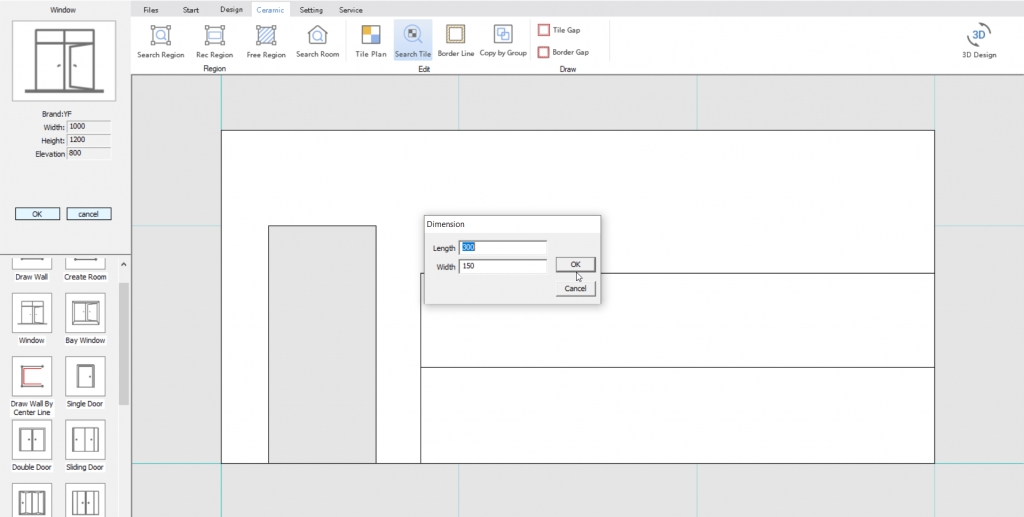
5.
Once your dimensions have been mapped out for your splashback, you can start adding your tiles!
Simply click and drag your tile into KD Max and select your dimensions.
6.
Place your selected tile in your preferred starting location.
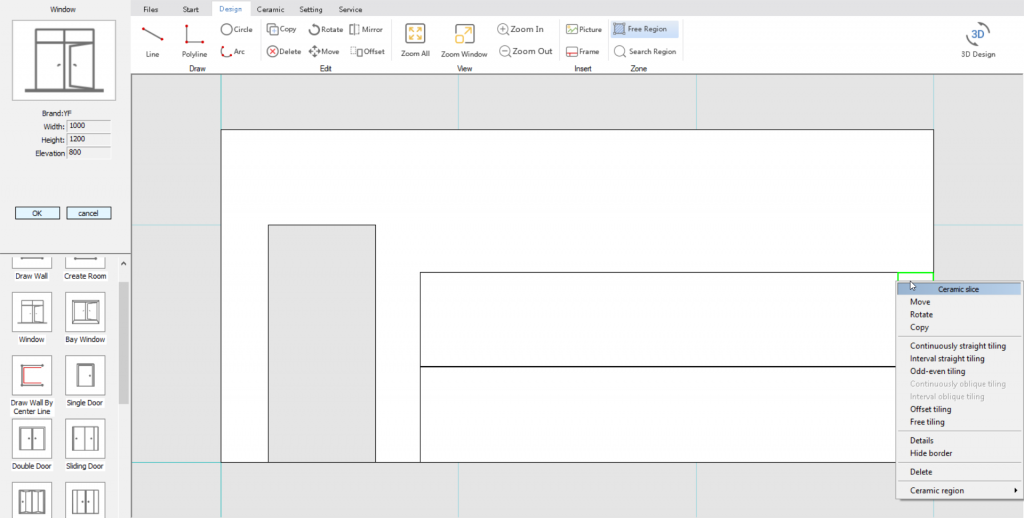
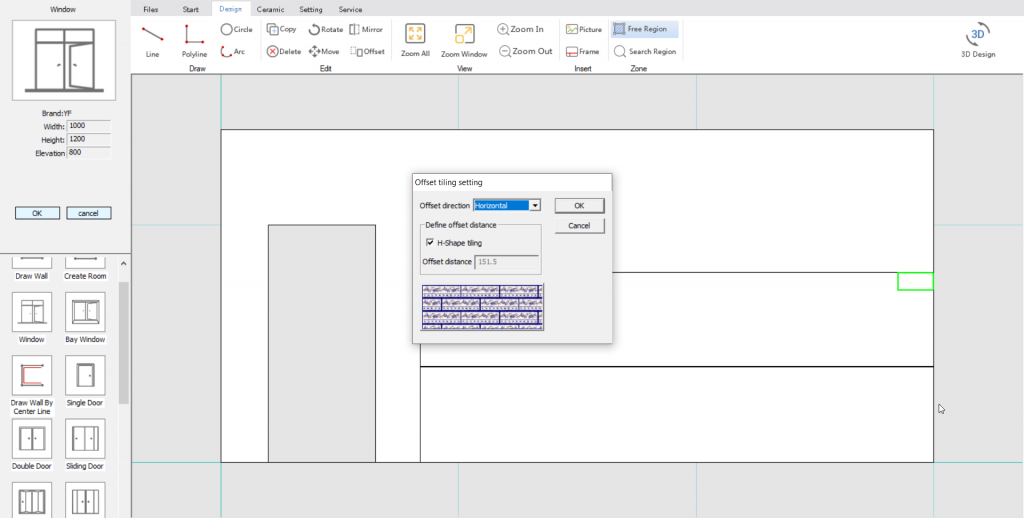
7.
Right click on your selected tile that you have just placed and select the type of tiling you would like.
Here we have selected offset tiling. The Offset tiling setting will pop up, simply click OK.
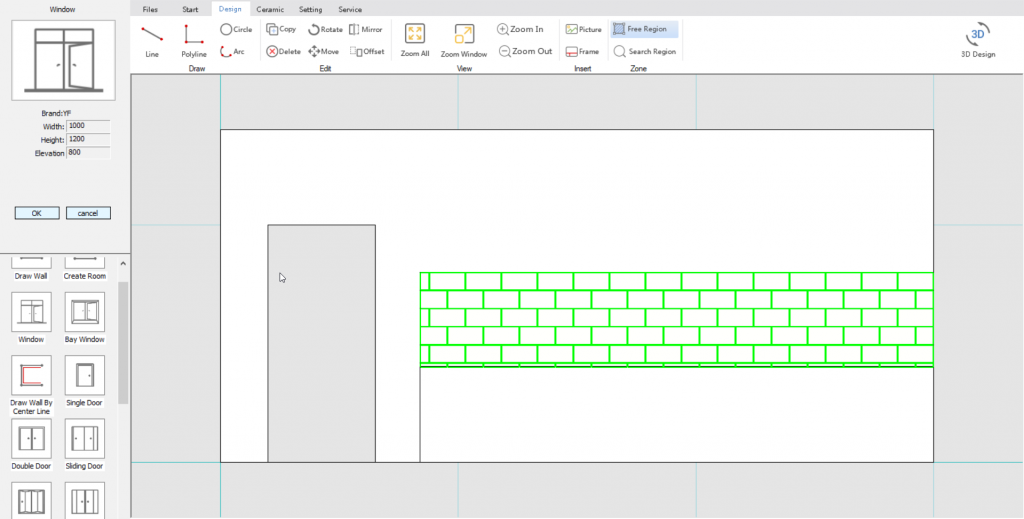
8.
Next, move your cursor over to the opposite corner of your tiled region & left click to accept.
Alternatively you can press the ‘F’ key to fill the region.
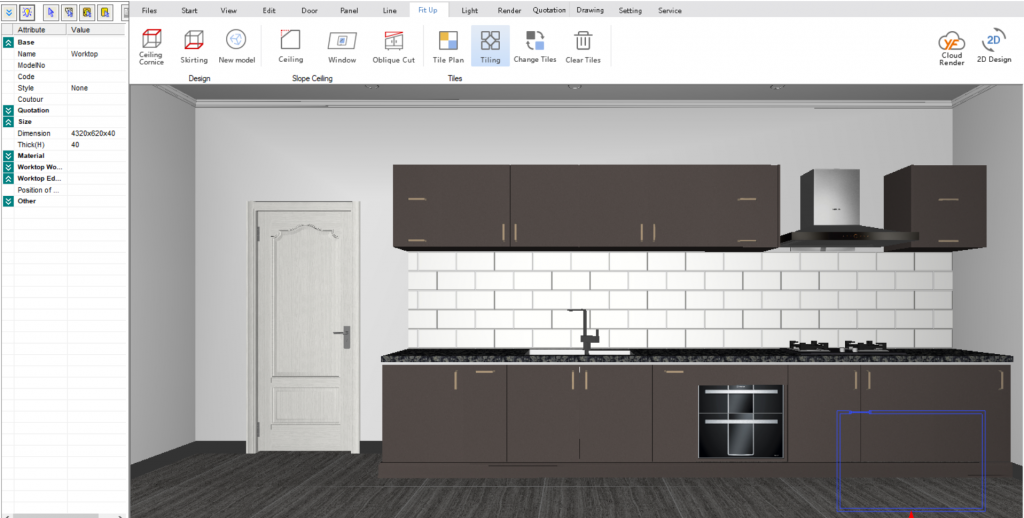
Finish by clicking on the 3D button to view your tiled region.
9.
Your splashback is now ready!
Join in the conversation on our 3D Kitchen Design Australia – KD Max Facebook Group.
Do you have any handy tips that you use in KD Max? Send them through to info@cabinetsbycomputer.com and we will feature them on our website & Facebook page!

