
V10 | Creating a Sliding Door
So you need to draw up a design for a client incorporating their new built-in robe with sliding doors, but not sure how to complete the look using KD Max?
Here we go through the steps necessary to install and change the look of Sliding Doors.
1.
Once you have a robe set up we can start adding the sliding door.
Navigate to Door> Sliding Door.
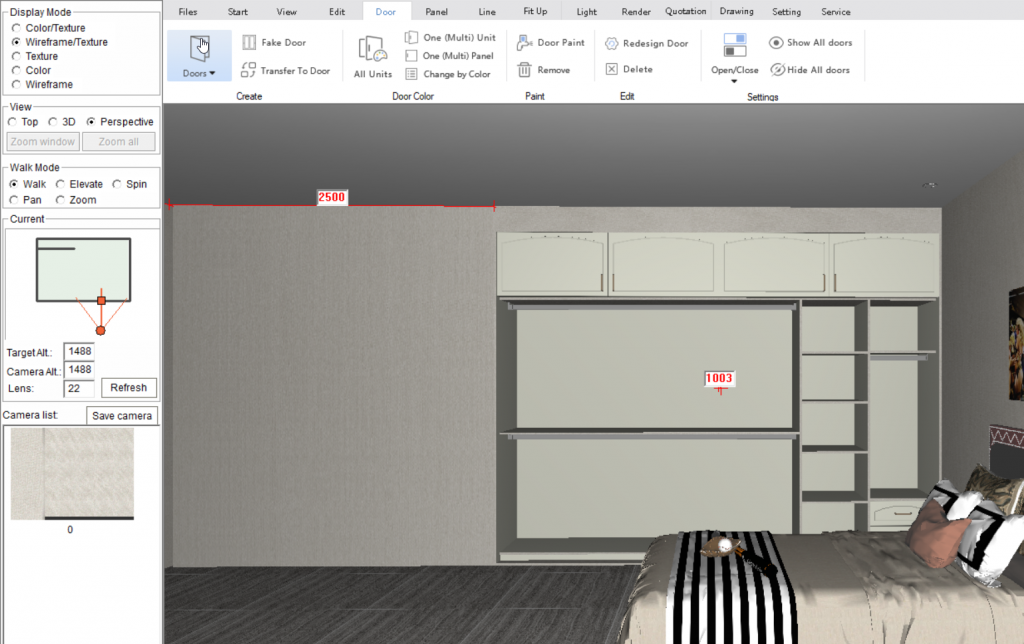
2.
Select the area for the door by selecting the left-most, right-most, top, and bottom panels that represent the space which the door will cover.
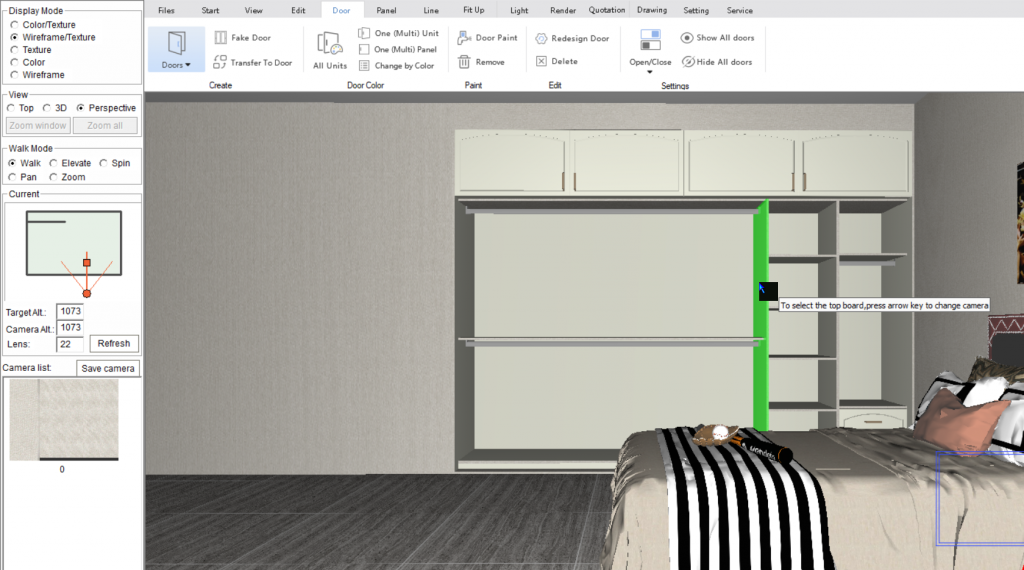
3.
A settings window will open.
Right click your door and select Set Door Scheme to apply your door board style.

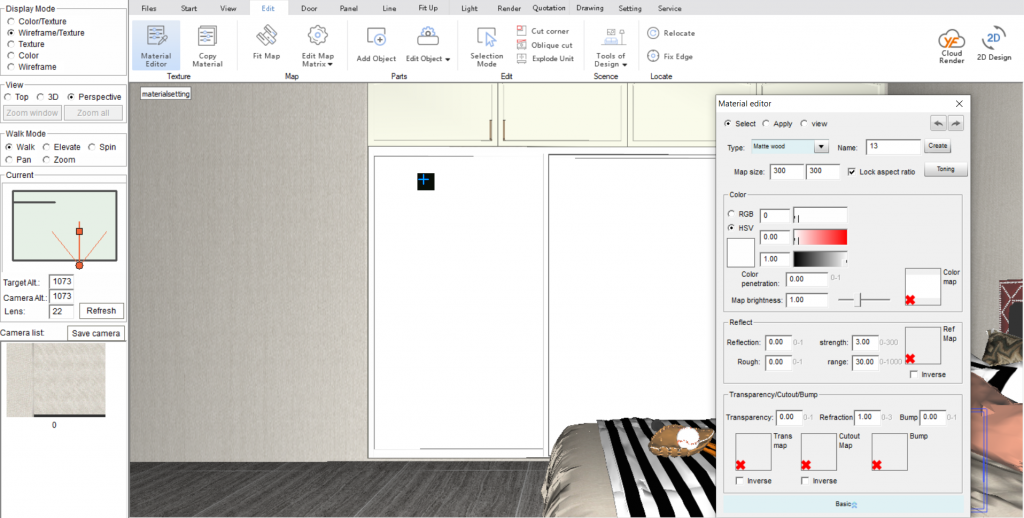
4.
Once you have your door scheme set and a sliding door has been generated, you can change your material by selecting Edit> Material Editor. (a mirrored material was selected in the case of this tutorial)
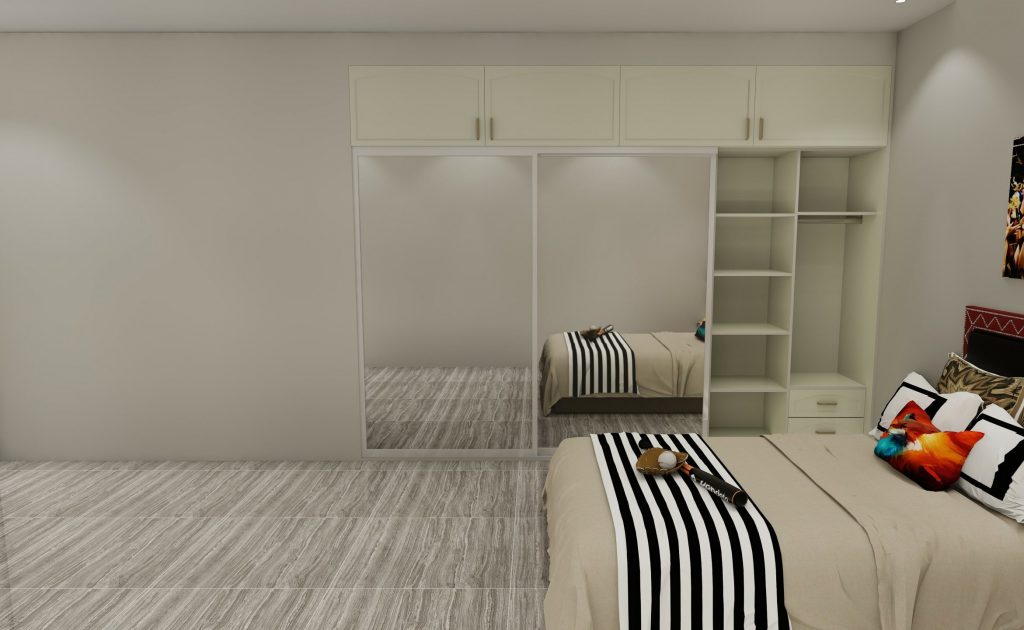
5.
Render your picture and enjoy your sliding doors.
Join in the conversation on our 3D Kitchen Design Australia – KD Max Facebook Group.
Do you have any handy tips that you use in KD Max? Send them through to info@cabinetsbycomputer.com and we will feature them on our website & Facebook page!

