Generating Plans & Elevations
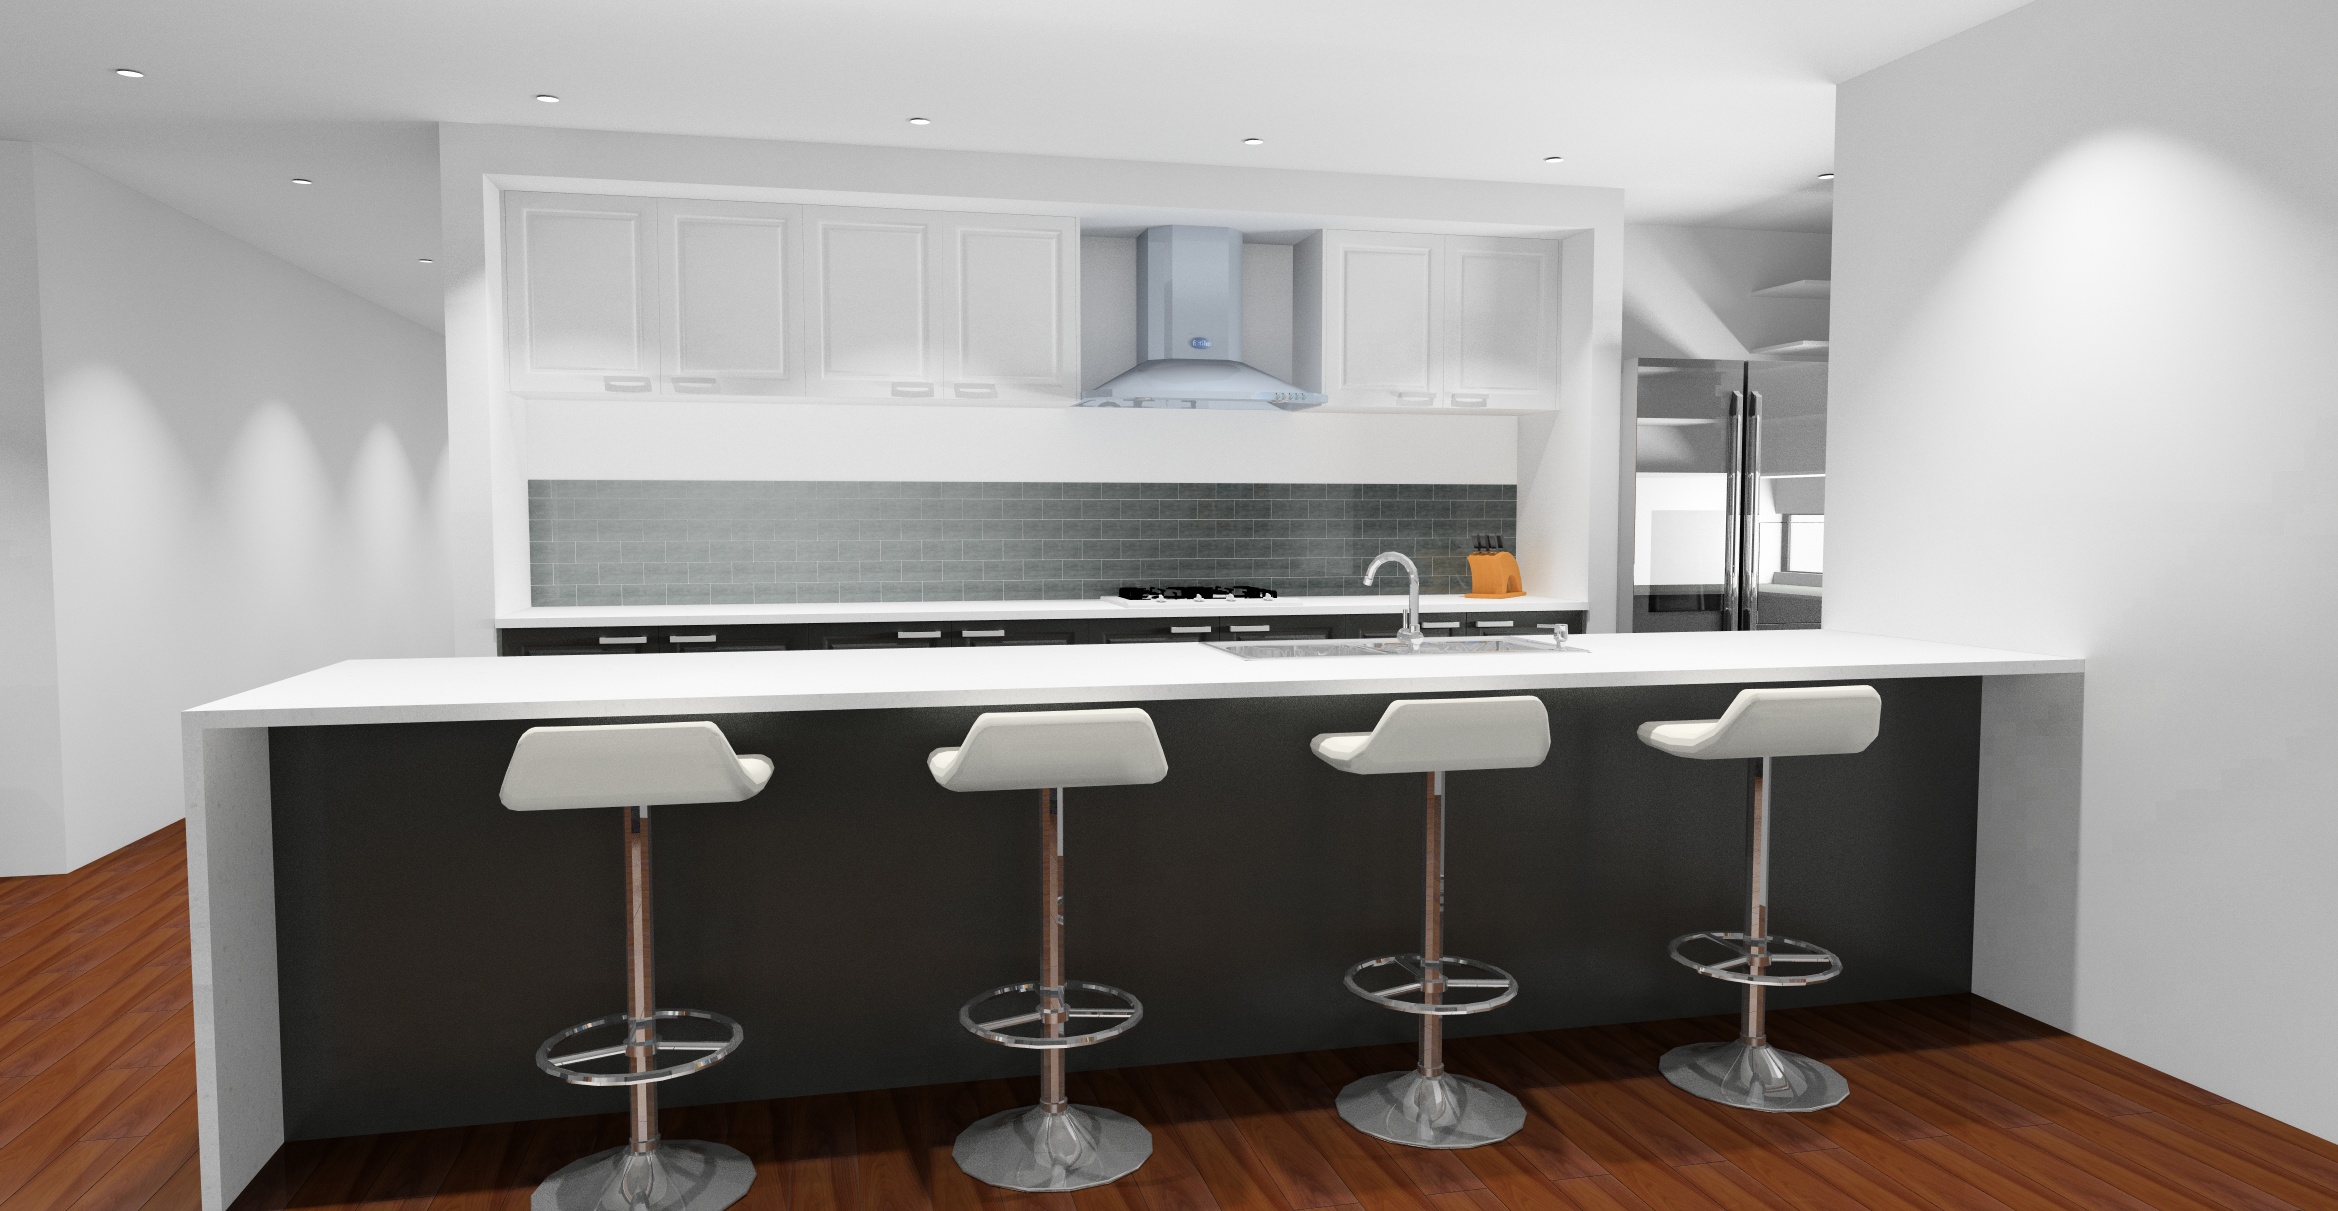
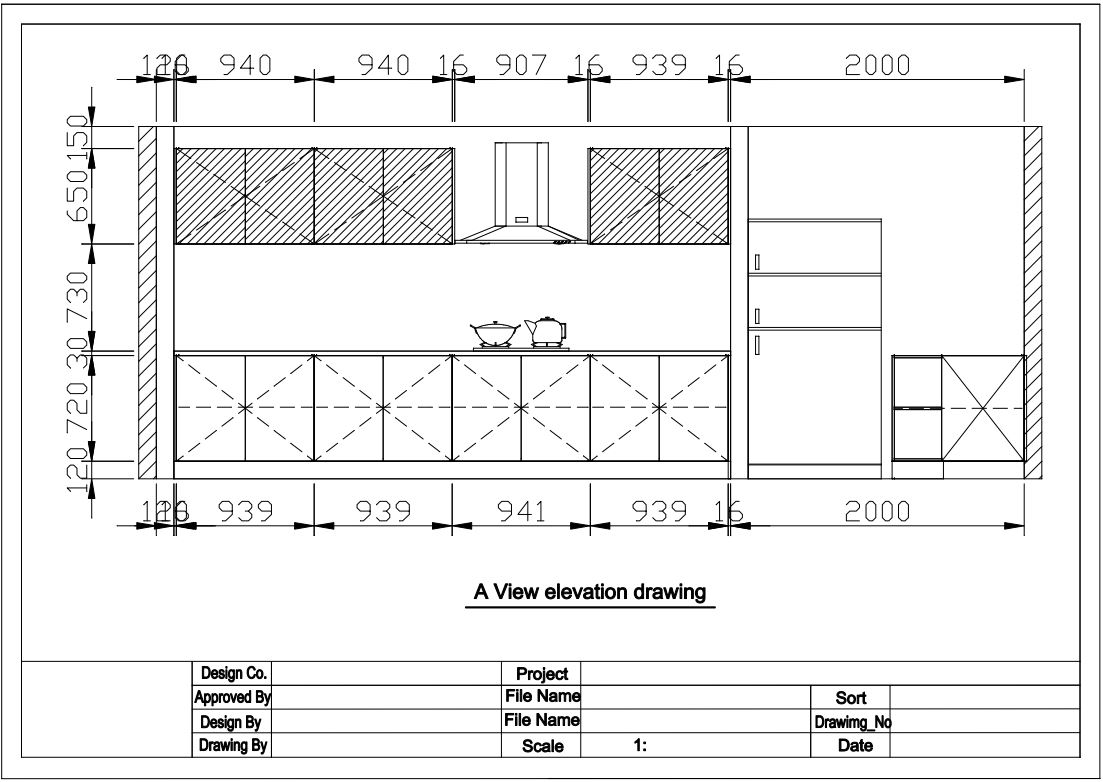
2D plans & elevations are often an important part in providing a detailed understanding of your design.
This simple tutorial shows how plans & elevations can be quickly generated and printed for your KD Max designs.
Transcript
1.
To begin, Select Drawing from the Top Menu.
2.
In Output drawings, select the views to export. Plans, Elevations etc.
In Basic Setting, select whether the scale is automatic or a set scale. Select OK. BtoCAD will now open.
3.
In BtoCAD, Zoom in to the view you wish to print.
Note: Movement is done with the scroll wheel. Scroll to zoom in and out. Click and hold the mouse wheel to drag.
4.
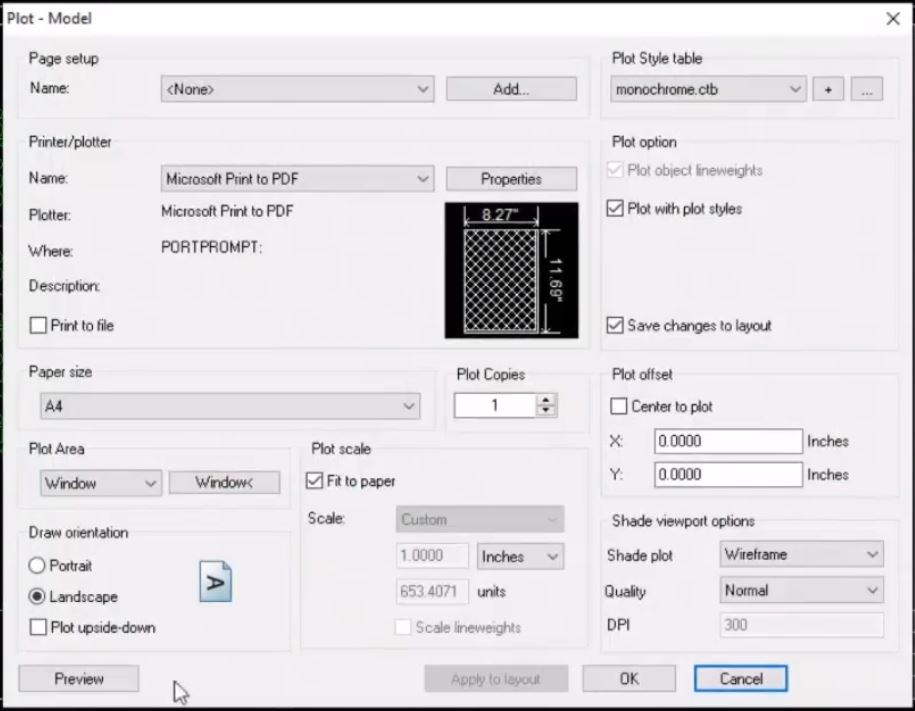
Select Plot (printer icon).
5.
In Plot Style table select Monocrome, click yes to assign to all layouts.
6.
In the Printer/Plotter menu select the printer you wish to use. Here Microsoft Print to PDF is selected so a PDF file is created.
7.
Select paper size, A3, A4, etc.
Under Plot Scale tick fit to paper.
8.
In Draw Orientation select landscape.
9.
Once the above options are correctly selected, under Plot Area select Window.
Draw a square over the area to print.
10.
If you wish to preview the selection select preview.
11.
Select Print.
The Selection will now be printed (or saved as a PDF document with Microsoft Print to PDF).


Join in the conversation on our 3D Kitchen Design Australia – KD Max Facebook Group.
Proud of a design that you have made in KD Max? Send it through to info@cabinetsbycomputer.com and we will feature it on our website & Facebook page!


