Applying Tiles to a Surface
Applying Tiles to a Surface
Whether you’re working on a detailed bathroom or a kitchen splashback, tiling can often be crucial to a successful design.
This simple tutorial shows how tiles can be applied to surfaces in diverse patterns and designs.
Transcript
1.
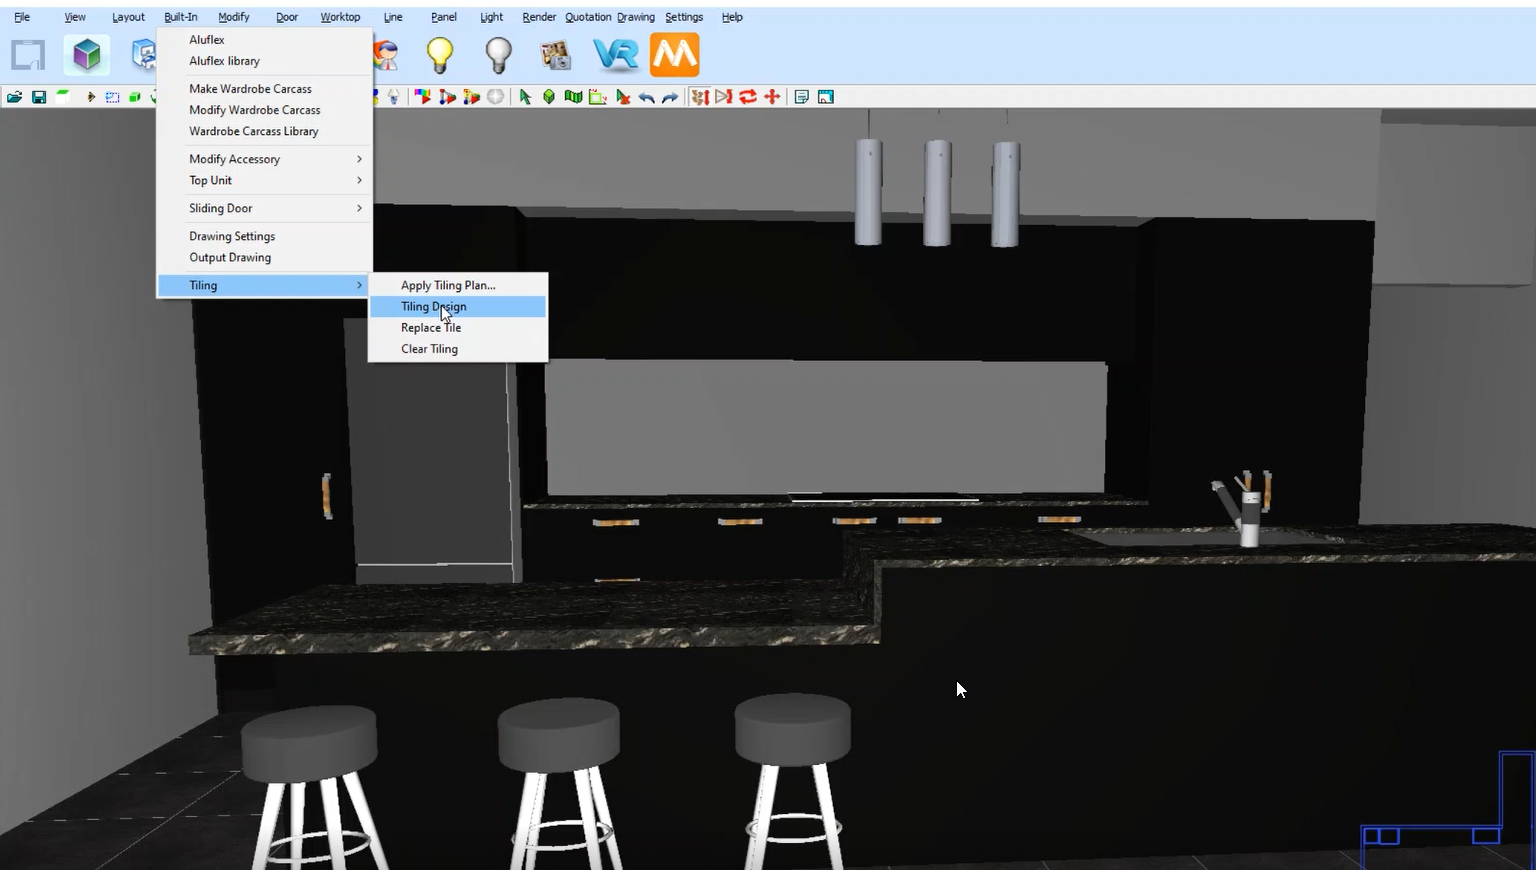
To begin, Select Built-In -> Tiling -> Tiling Design from the upper menu.
2.
Select the surface to tile. This will bring the surface into a 2D view.
3.
Using the Measuring tool, measure out the area to be tiled (To the the corners)
4.
To create the area to tile, select Tiling -> Draw Region
5.
Select the corners of your measurement. Right click to stop drawing region once all points have been selected.
6.
Tiles can be added to the region by dragging and dropping a tile image from Windows explorer (Images can be downloaded from Google to place into the region. The images must be in JPG format).
7.
Once an image has been added to the region, the dimension can be selected in the dimension menu.
8.
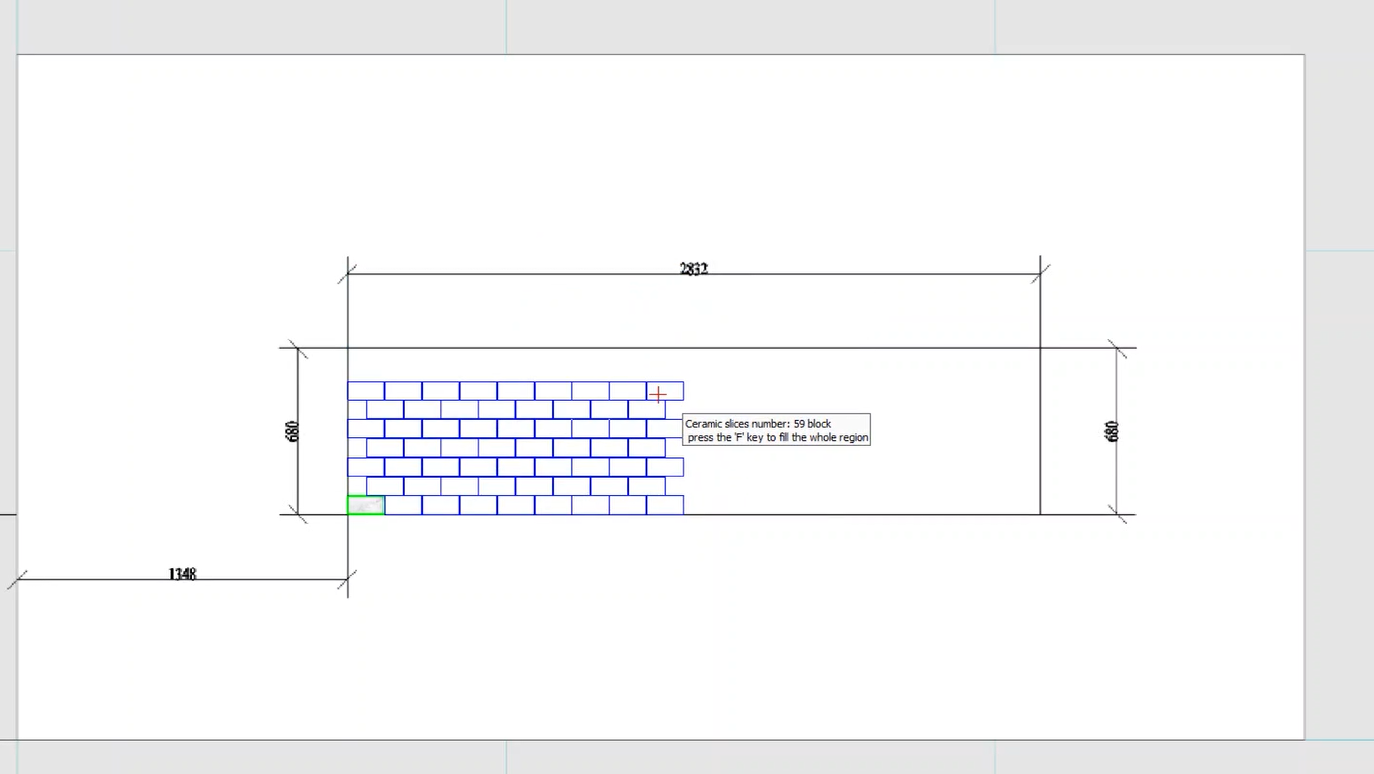
Place the tile in the region by left clicking (a corner is usually a good place to start).
9.
Select the type of tiling by left clicking on the tile and selecting the type of tiling preferred, click Ok to confirm.
10.
Press “F” on the keyboard to fill the region with the tiles.
11.
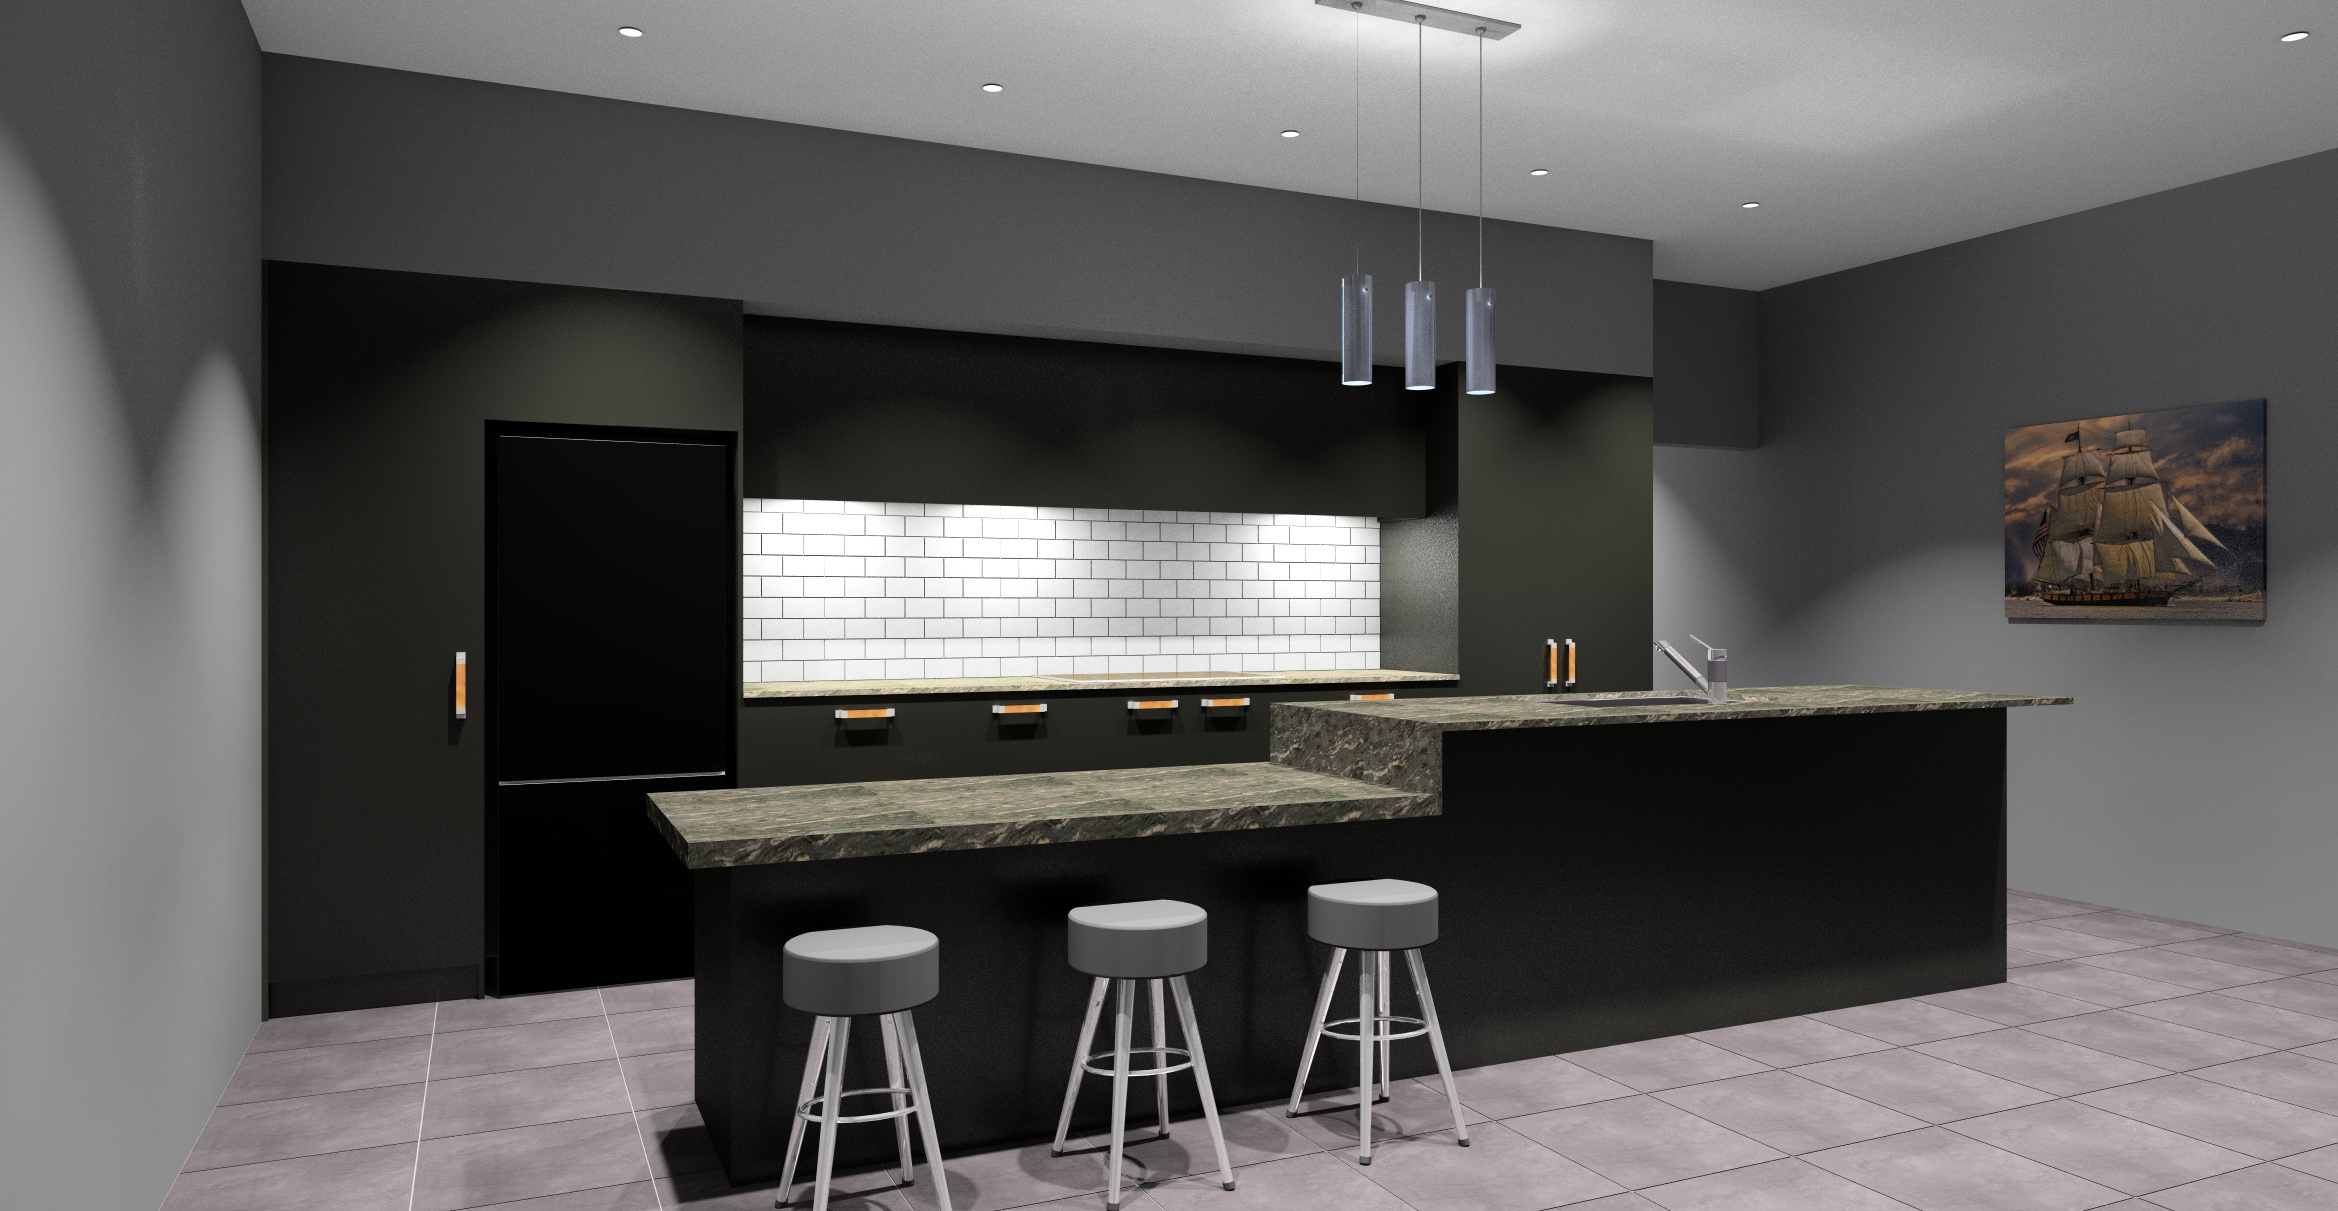
To return to the drawing select the “cube” icon in the top menu.
Join in the conversation on our 3D Kitchen Design Australia – KD Max Facebook Group.
Proud of a design that you have made in KD Max? Send it through to info@cabinetsbycomputer.com and we will feature it on our website & Facebook page!