KD Max: A first timer’s experience
Getting Started
I would never attempt to describe myself as a design genius and you definitely wouldn’t catch me auditioning for a home renovation reality show. Yet, regardless of my experience, with a little help from the KD Max tutorial video, I was able to create a kitchen design to be proud of, using the KD Max 3D design program offered by Cabinets by Computer.
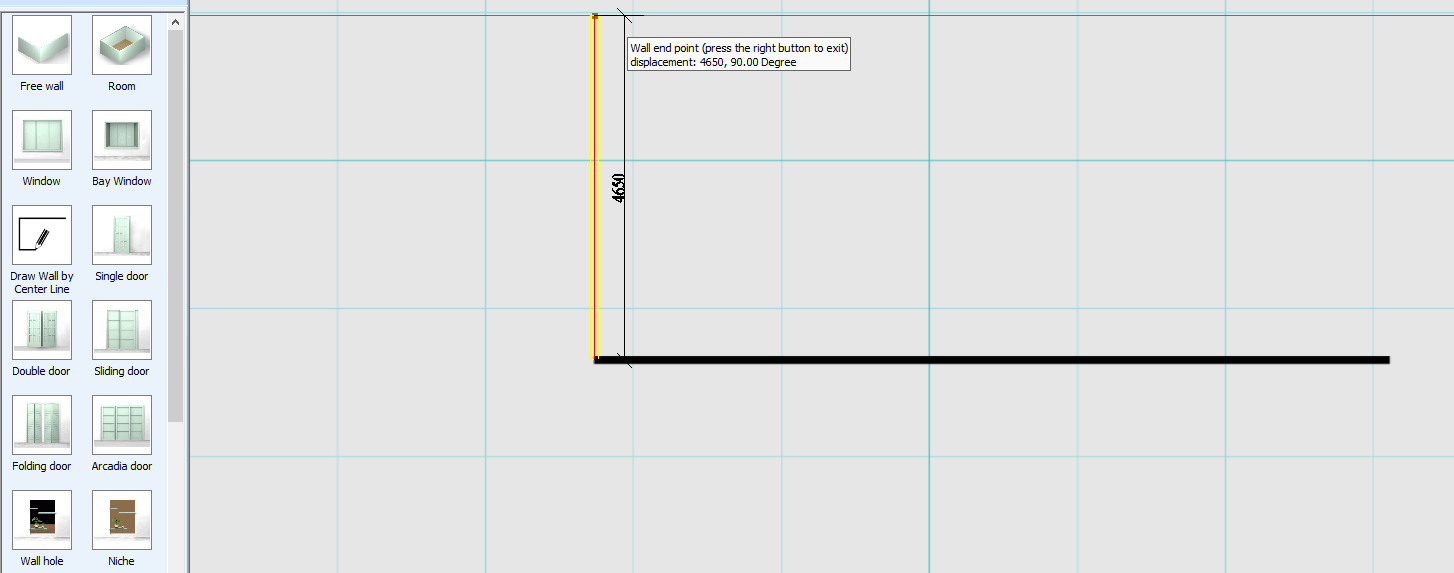
The first step in the design process was to draw the dimensions of the room that I was going to be working on. It was a very simple process using the “free wall” tool that allowed me to manually draw what was to become the walls of my digital kitchen.
Adding windows and doors were next and there were a plethora of options for me to go with. I went with some large windows as well as both a sliding door and a single door.
After setting a height for my ceiling and adding some downlights, the room was built.
Fill the Room
Now I had my canvas it was time to make my art (or the best kitchen design that I could do for the first time).
This required switching over to 3D mode which was done by clicking on the icon represented by a big 3D cube, a pretty self-explanatory icon choice.
I was then provided with a first-person view of my blank room ready to be filled with all my kitchen cabinets and items.

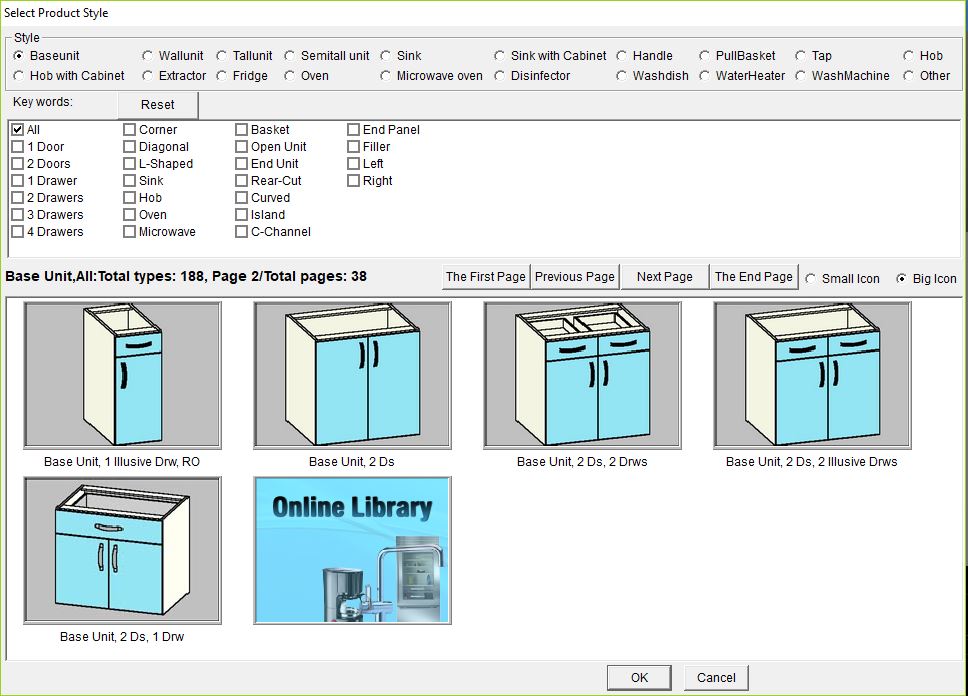
Adding cabinets was also a straightforward process that involved clicking on the “search type icon”. I was then presented with a window that contained all the different cabinets, tables, and any products that I would be needing for my design.
The first step of my design was a simple act of selecting all of my wall cabinets and putting in a fridge to go with them.
Another feature of the design was the island bench, which was started in the same way as any other cabinets. I simply selected and placed the cabinets that would be making up my island and left a space between where I chose to place a dishwasher.
I next needed to add a benchtop to my designs. Following the steps provided in the KD Max tutorial, this was an easy process that allowed me to cover all my benches with my chosen benchtop material. It was really surprising how smoothly I was able to enter all of these items in just several minutes.
What makes a house a home? Stuff
Voila! I had my kitchen design looking great … and eerily similar to that of the KD Max demonstration video. I guess my creative mind wasn’t firing as hard as I anticipated. Never the less I had my chance to show my own unique tastes with the final touches to my kitchen to give it that real homely touch.
Aside from editing the cabinet materials and colours there was so much more to personalise the design. With kitchen decoration options ranging from a bottle of wine or a coffee maker through to a decorative tea set. The KD Max software allowed for a great variety not just for kitchens but bathrooms, studies, kid’s bedrooms and more. There was plenty to choose from but I didn’t see a great need for bunk beds or home theatre in my kitchen so I added a table and chairs to finalise the room.
I was even able to add some artwork to brighten up the design, by simply selecting a single panel, I was able to place it on my wall and then edit the material to a saved image from my computer.
My design was finally starting to actually look like MY design.
All I needed to do was start up the rendering process.
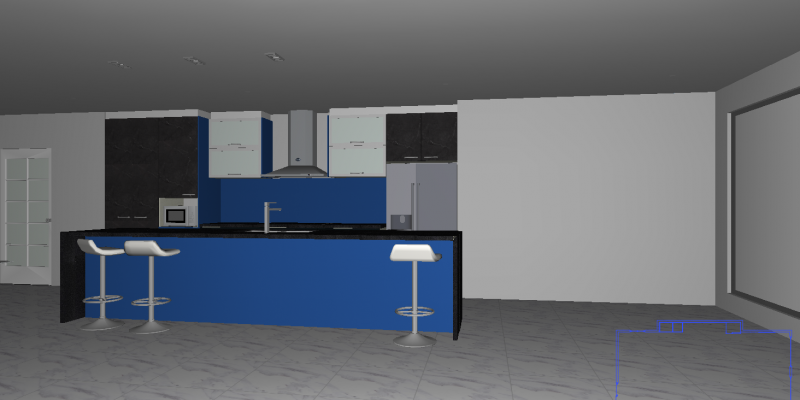
“… and then there was light!”
After I was happy with this finished design I was left with the simple task of “switching on the lights” and watching as my design was rendered into a photo-realistic space.
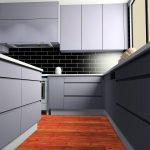
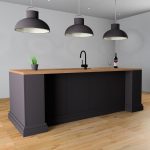
Overall, I would say that the KD Max software is simple to follow with a little assistance and there is great potential to create amazing rooms. I was proud of my simple first-time kitchen design but I know that an experienced user would be capable of creating designs of even more amazing quality. With training videos built into KD Max and regular tips posted online, I’m sure that even I can become an expert. Check out my final design below and learn more about KD Max.

Recommended Posts


