Batch Rendering in KD Max
Batch Rendering in KD Max
Do you like to explore different positions for your KD Max designs?
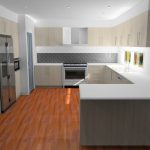
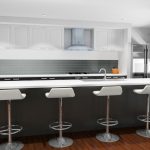
This simple tutorial shows you how to set KD Max to automatically run consecutive renders from multiple chosen angles and positions within your design.
Transcript
1.
To begin, select View > Camera > Open Camera Map
2.
Open Cam.List
This will show you the saved Cameras.
Position Camera at the desired angle and click Save Cam.
Name Camera and click OK.
Repeat above to produce multiple camera angles.
3.
Once all Camera angles have been saved click close.
Exit View List
4.
Turn on Light.
Navigate to Render > Batch Render.
5.
Select Raytrace option to choose between Photon and Raytrace Rendering. In the video example, Photon Map Raytrace is selected with 25 Scan times.
Select OK to Confirm
6.
In Camera List hold Control (ctrl) on your keyboard then select the saved camera/s to add to Render Camera’s then click the right arrow.
7.
Type in desired image size eg. 1920×1080 is a full HD image. Note Aspect ratio is locked at 4:3
8.
Select Make Script File. Name and Save file.
9.
In the popup Click Yes to run now. Renders will now be produced.


Join in the conversation on our 3D Kitchen Design Australia – KD Max Facebook Group.
Proud of a design that you have made in KD Max? Send it through to info@cabinetsbycomputer.com and we will feature it on our website & Facebook page!


