V10 | Adding Items With the Net Gallery
The introduction of KD Max V10 has brought with it an abundance of new features, along with improvements to the features we already know and love.
This simple tutorial shows how easy it is to access the KD Max V10 Net Library to select and insert a variety of appliances and models into your KD Max designs.
Note: Handle models are accessible in your global style settings under Handle>Select, Cloud library>Handle, allowing you to make this selection before you start designing in your 3D room.
All additional Appliances and hardware will appear in Start>Products List, Others>Cloud library.
Transcript
1.
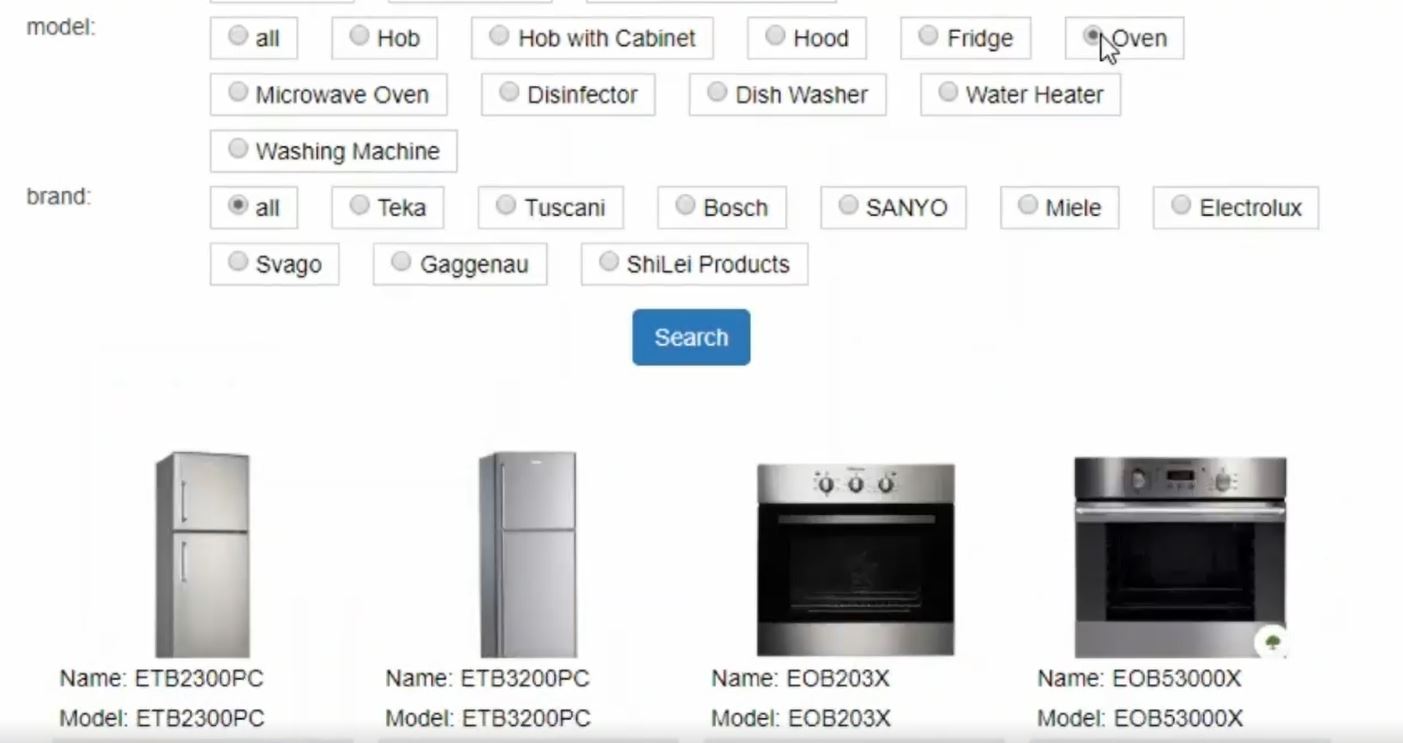
Select Start>Net Gallery, The Net Gallery menu will appear.
2.
Navigate to the desired item type through the navigation selections provided.
Select Download on the item. Wait for the download progress bar to finish.
3.
Your item will then be downloaded and ready to place.
Install the item as described in the text that appears near your cursor. Video example “Please select door or drawer above void space or top panel of void space, Please select door or drawer above void space or top panel of void space”, “Select unit to install this object”.
Note: You can cancel placement in your room through a right-click (The model will still be saved to your library)
4.
Once the item is placed, the menu will reappear to download more items as desired. Close the menu once finished.


Join in the conversation on our 3D Kitchen Design Australia – KD Max Facebook Group.
Proud of a design that you have made in KD Max? Send it through to info@cabinetsbycomputer.com and we will feature it on our website & Facebook page!


