Creating Glass Shower Screens in KD Max.
Looking to create a glass shower screen in KD Max but struggling to find a suitable product?
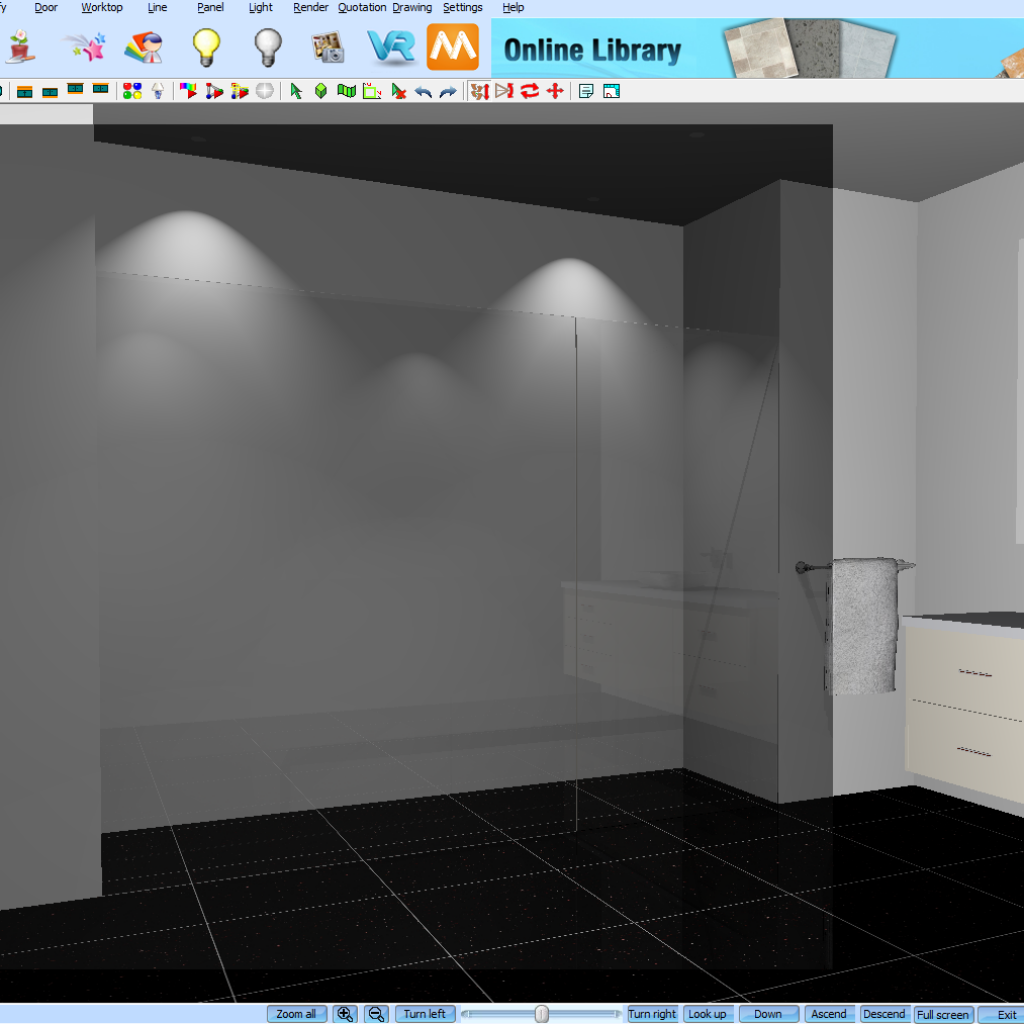
Follow these simple steps to create a glass shower screen in KD Max by using the material editor!
1.
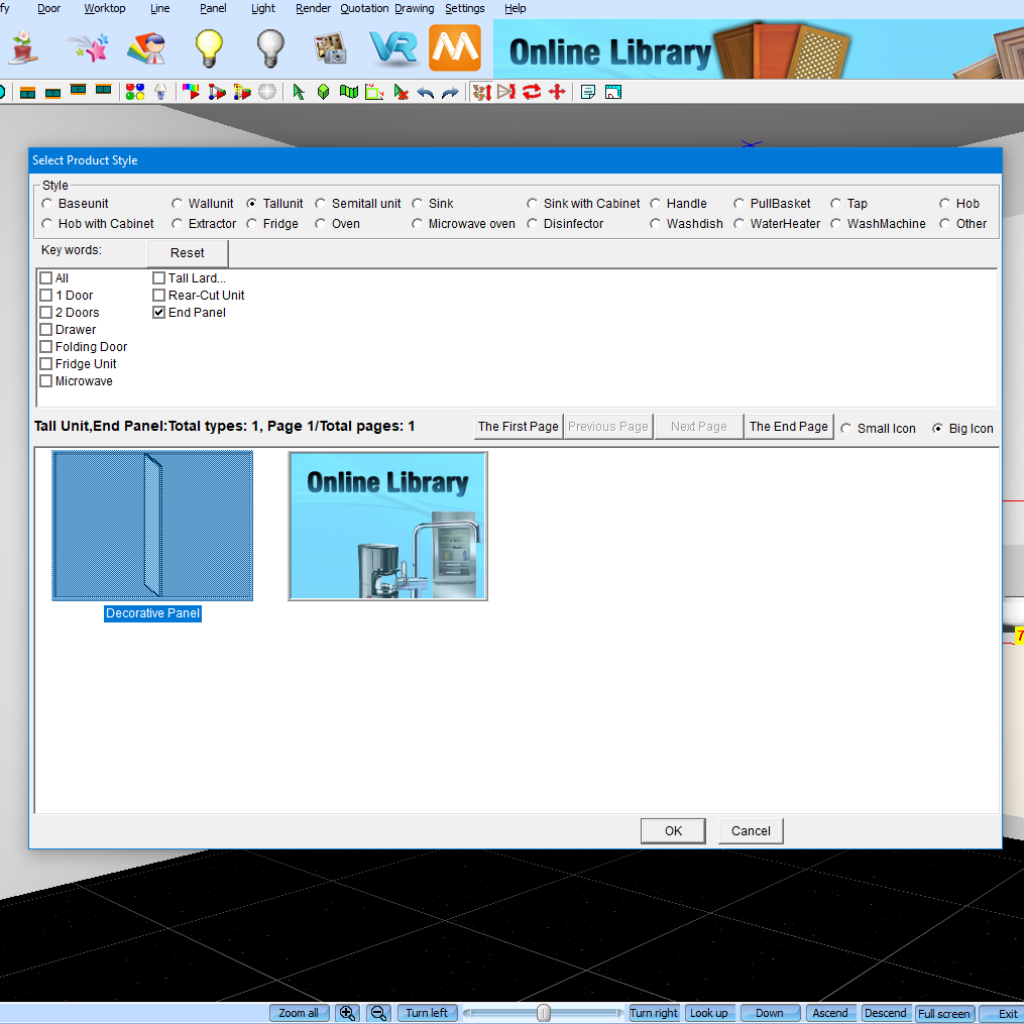
Firstly navigate to Search by Type to open the product catalogue. We’ll then select the category called Tall Units > End Panel. Now select the Decorative Panel. We’ll be using this panel as our glass screen.
2.
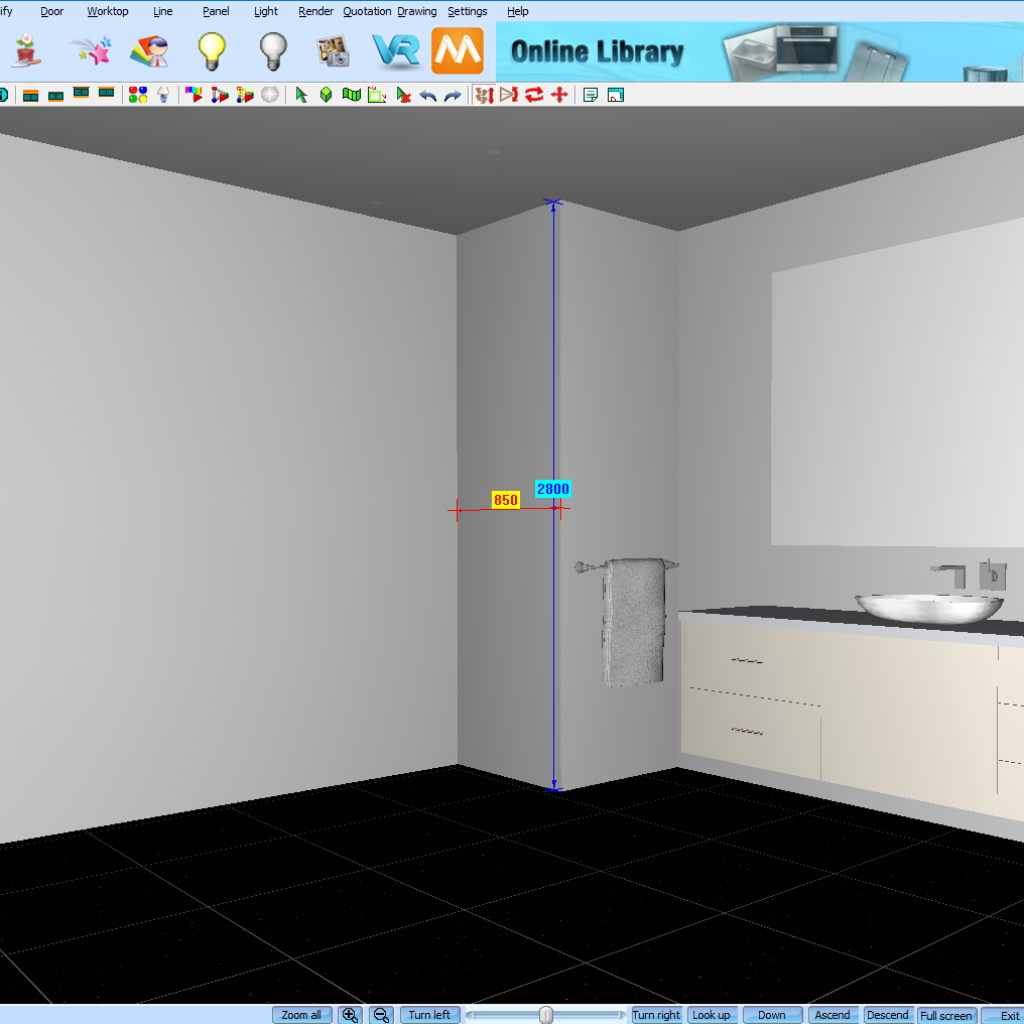
Once you have selected the Decorative Panel click OK. You’ll now be able to enter in the dimensions of this panel. For the Width field you’ll want to enter in your material thickness. In this case I have entered 10. The Depth refers to the length of the material. I have entered in 1500. Now the Height refers to the height of the material. I have entered 2100. For the Mode field I have set mine to On Floor which will place my panel directly on the floor. Once the measurements are OK click Layout and place the panel in the drawing.
3.
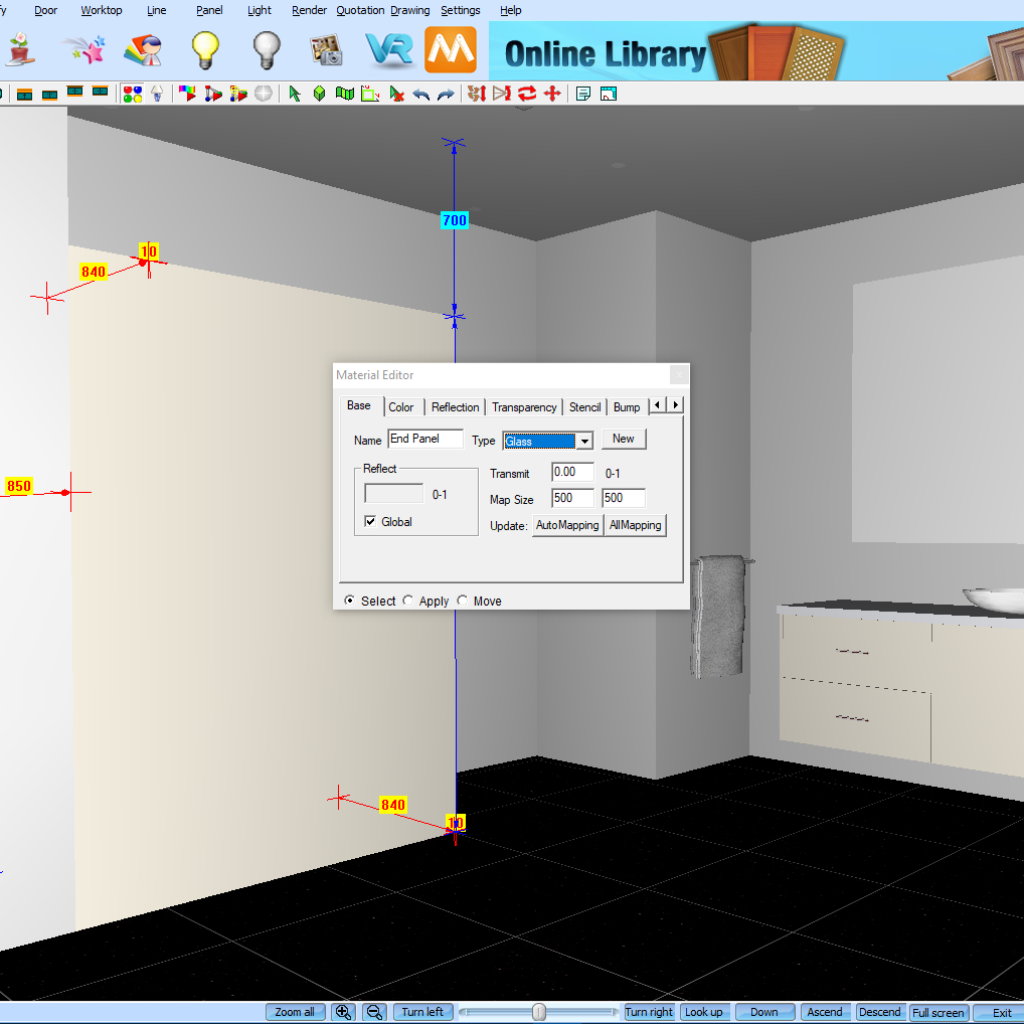
Now select the Material Editor tool by clicking the icon on your quick toolbar identified by the four coloured circles. This will allow us to select a material in our drawing and make changes such as reflection and transparency. As we want to make this into a glass panel we want to set our Type to Glass.
4.
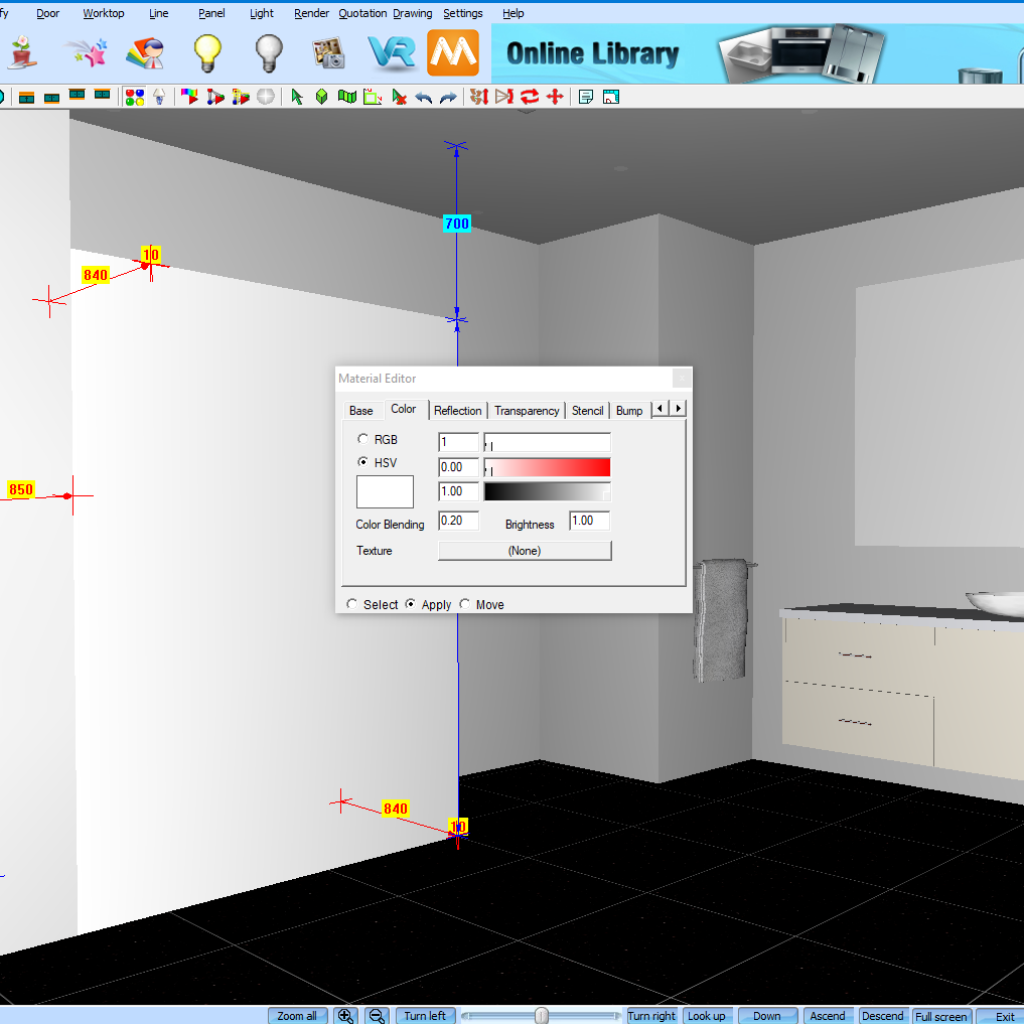
Now navigate to the Color tab. You’ll want to change your material colour to white by changing the sliders to 1, 0.00, 1.00. This will make the panel more transparent. Note that the material will not appear as glass until the drawing is rendered.
5.
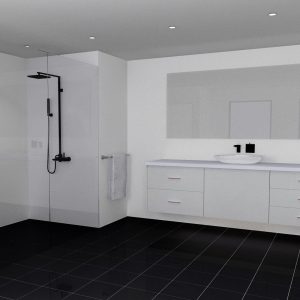
Now turn the lights on and render the drawing to preview the glass panel. If required, repeat the below steps to create another panel for your shower door.
Join in the conversation on our 3D Kitchen Design Australia – KD Max Facebook Group.
Proud of a design that you have made in KD Max? Send it through to info@cabinetsbycomputer.com and we will feature it on our website & Facebook page!


