Creating Cavity Sliding Doors in KD Max
Trying to find a cavity sliding door in the KD Max library?
Follow these simple steps to create your own cavity sliding doors in KD Max design software!
1.
To begin, navigate back to the 2D view and select Wall Hole.
We’ll be using the wall hole as our doorway for the sliding door.
Enter in your dimensions, you’ll want the elevation to be 0 so the wall hole sits on the floor. Height and width are based on your door sizing.
2.
Now navigate to Search by Type and select Tall Unit > End Panel.
The end panel will act as our sliding door.
3.
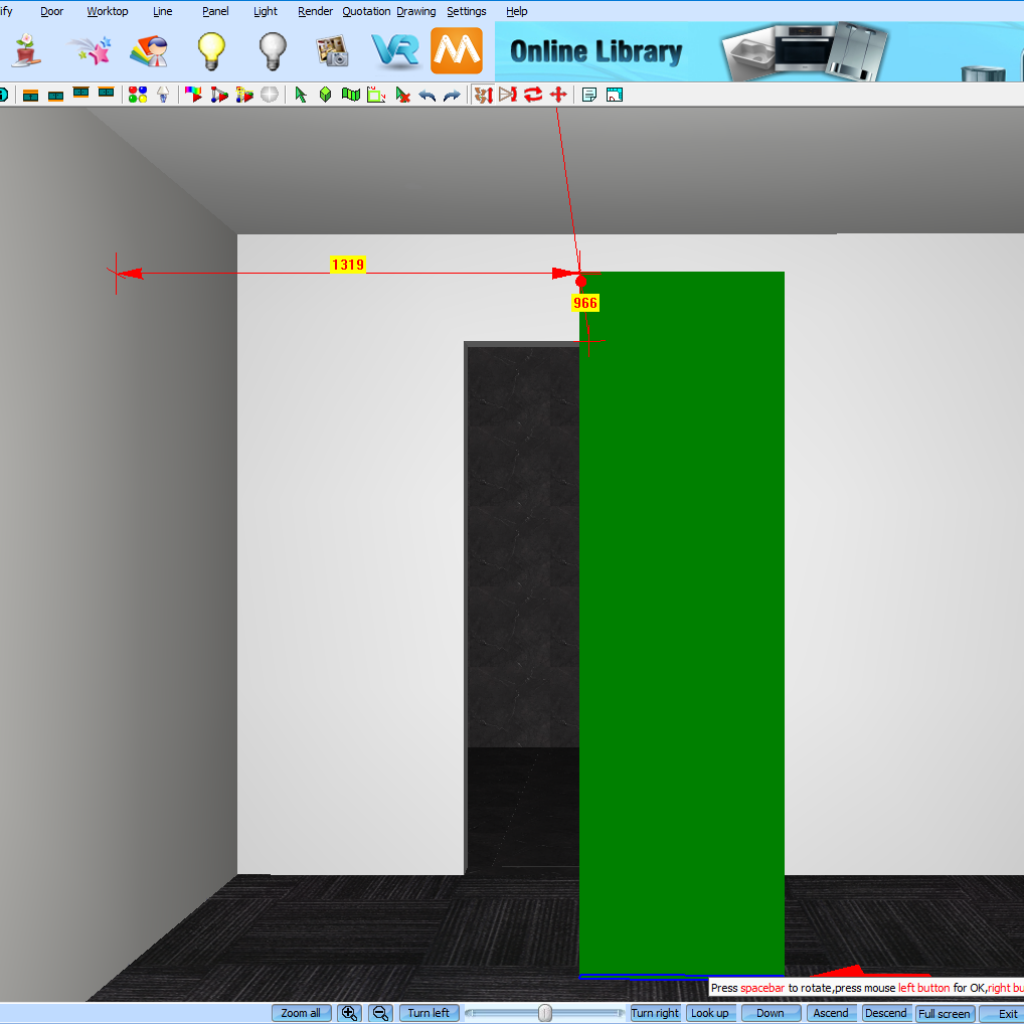
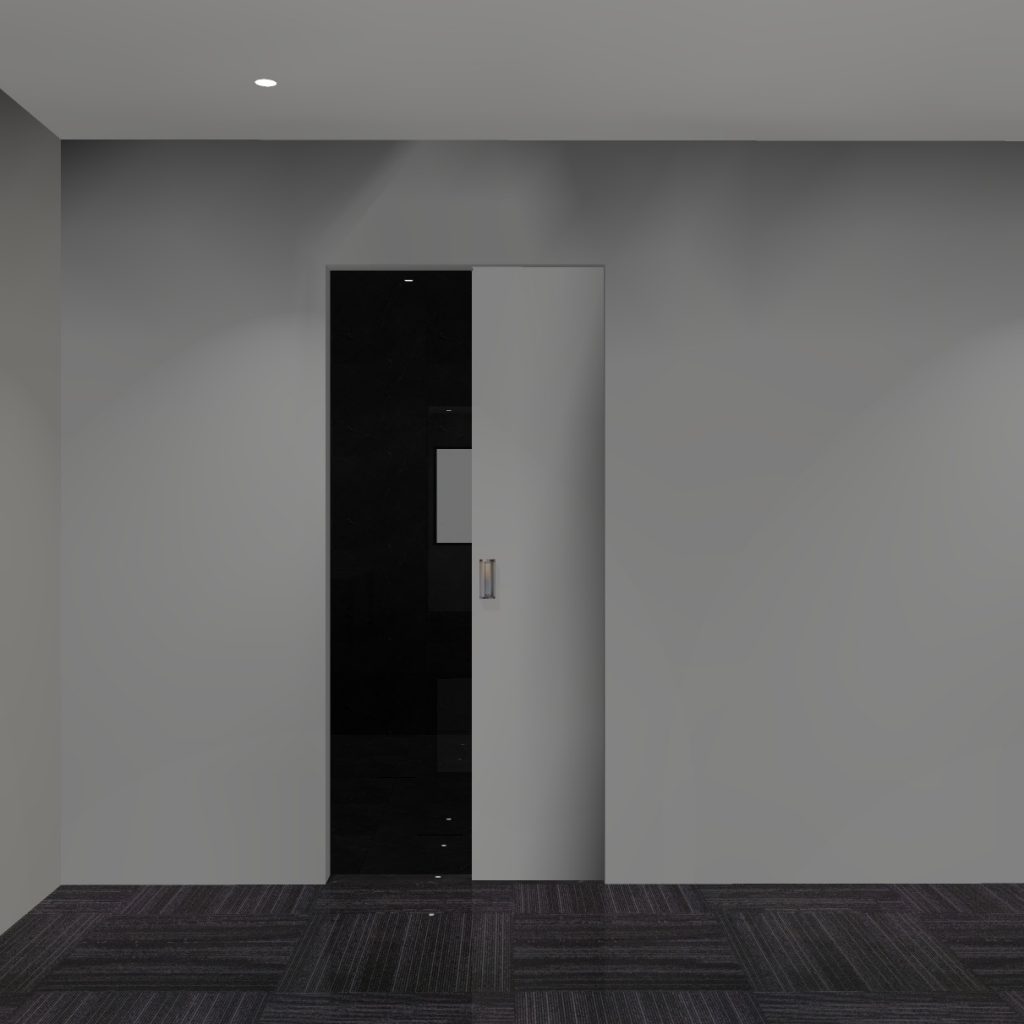
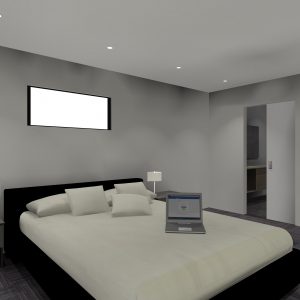
Now position the panel in the door way as required. To create the sliding door look, make the panel shorter than the doorway so the door appears opened. This can be used in bedrooms or for a butlers pantry to show cabinets in a second room.
Join in the conversation on our 3D Kitchen Design Australia – KD Max Facebook Group.
Proud of a design that you have made in KD Max? Send it through to info@cabinetsbycomputer.com and we will feature it on our website & Facebook page!


