
HOW IT WORKS
Watch our KD Max kitchen project demonstration or check out the quick four step overview below to show how quickly KD Max 3D design software can help you create a photorealistic kitchen render. Keep in mind, this was created by a person with KD Max experience.

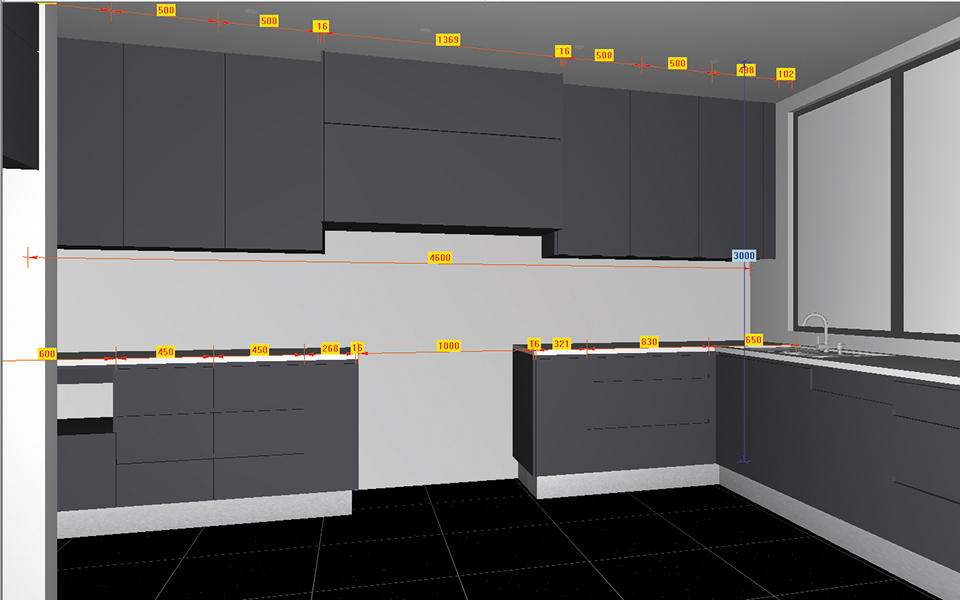
Project Set Up
Develop your draft floor plan from your first consultation or brief with builder/interior designer/owner.
Enter your measurements and draw your floor plan complete with walls and windows within KD Max. Setting up the overall structure of your project and global setting eg. default door colours, bench height and depth, will allow the following steps to work seamlessly.


Drag & Drop
Switch to the 3D view of your design. Select products, enter required dimensions, and easily drag & drop into desired positions. Simple as that! There’s an abundance of intuitive features to help you reflect the design space.
Once the structure of your project is in place you can then move onto the next step to create a photo-realistic visual of your design.


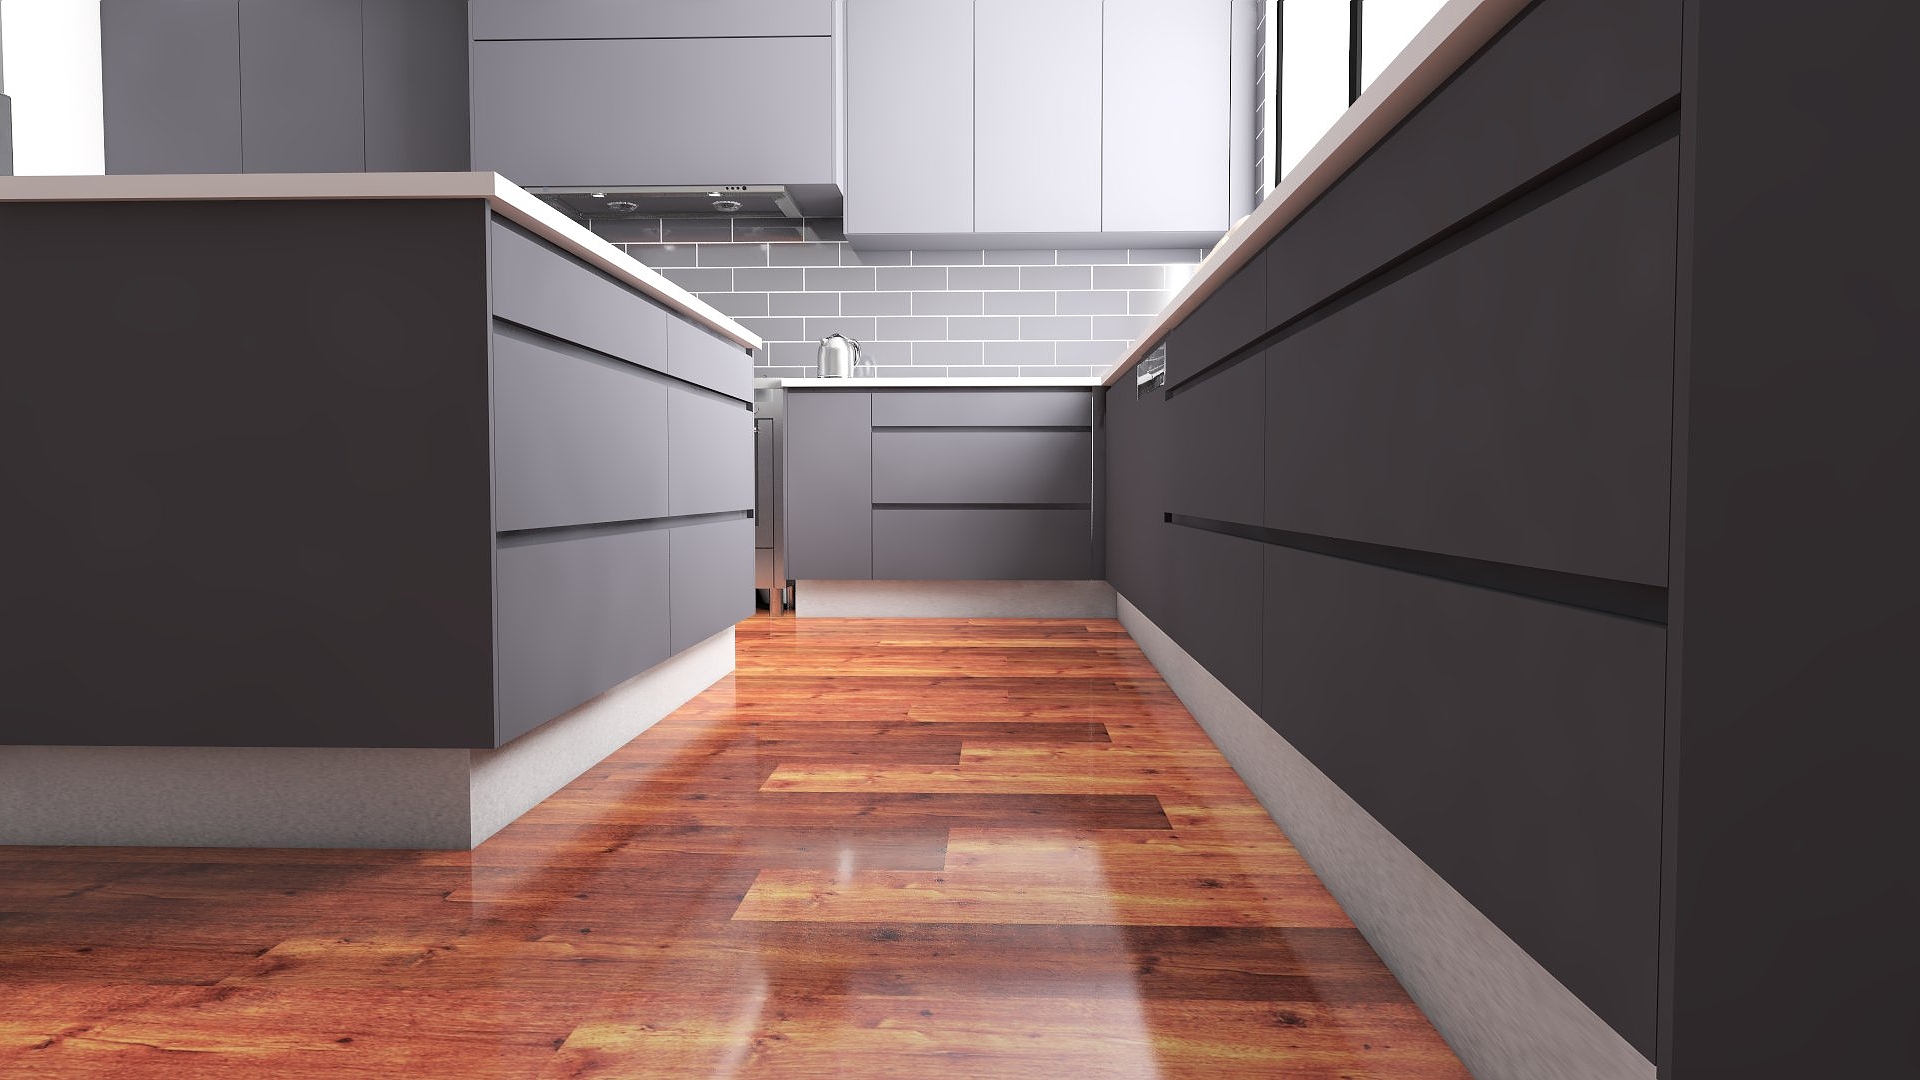
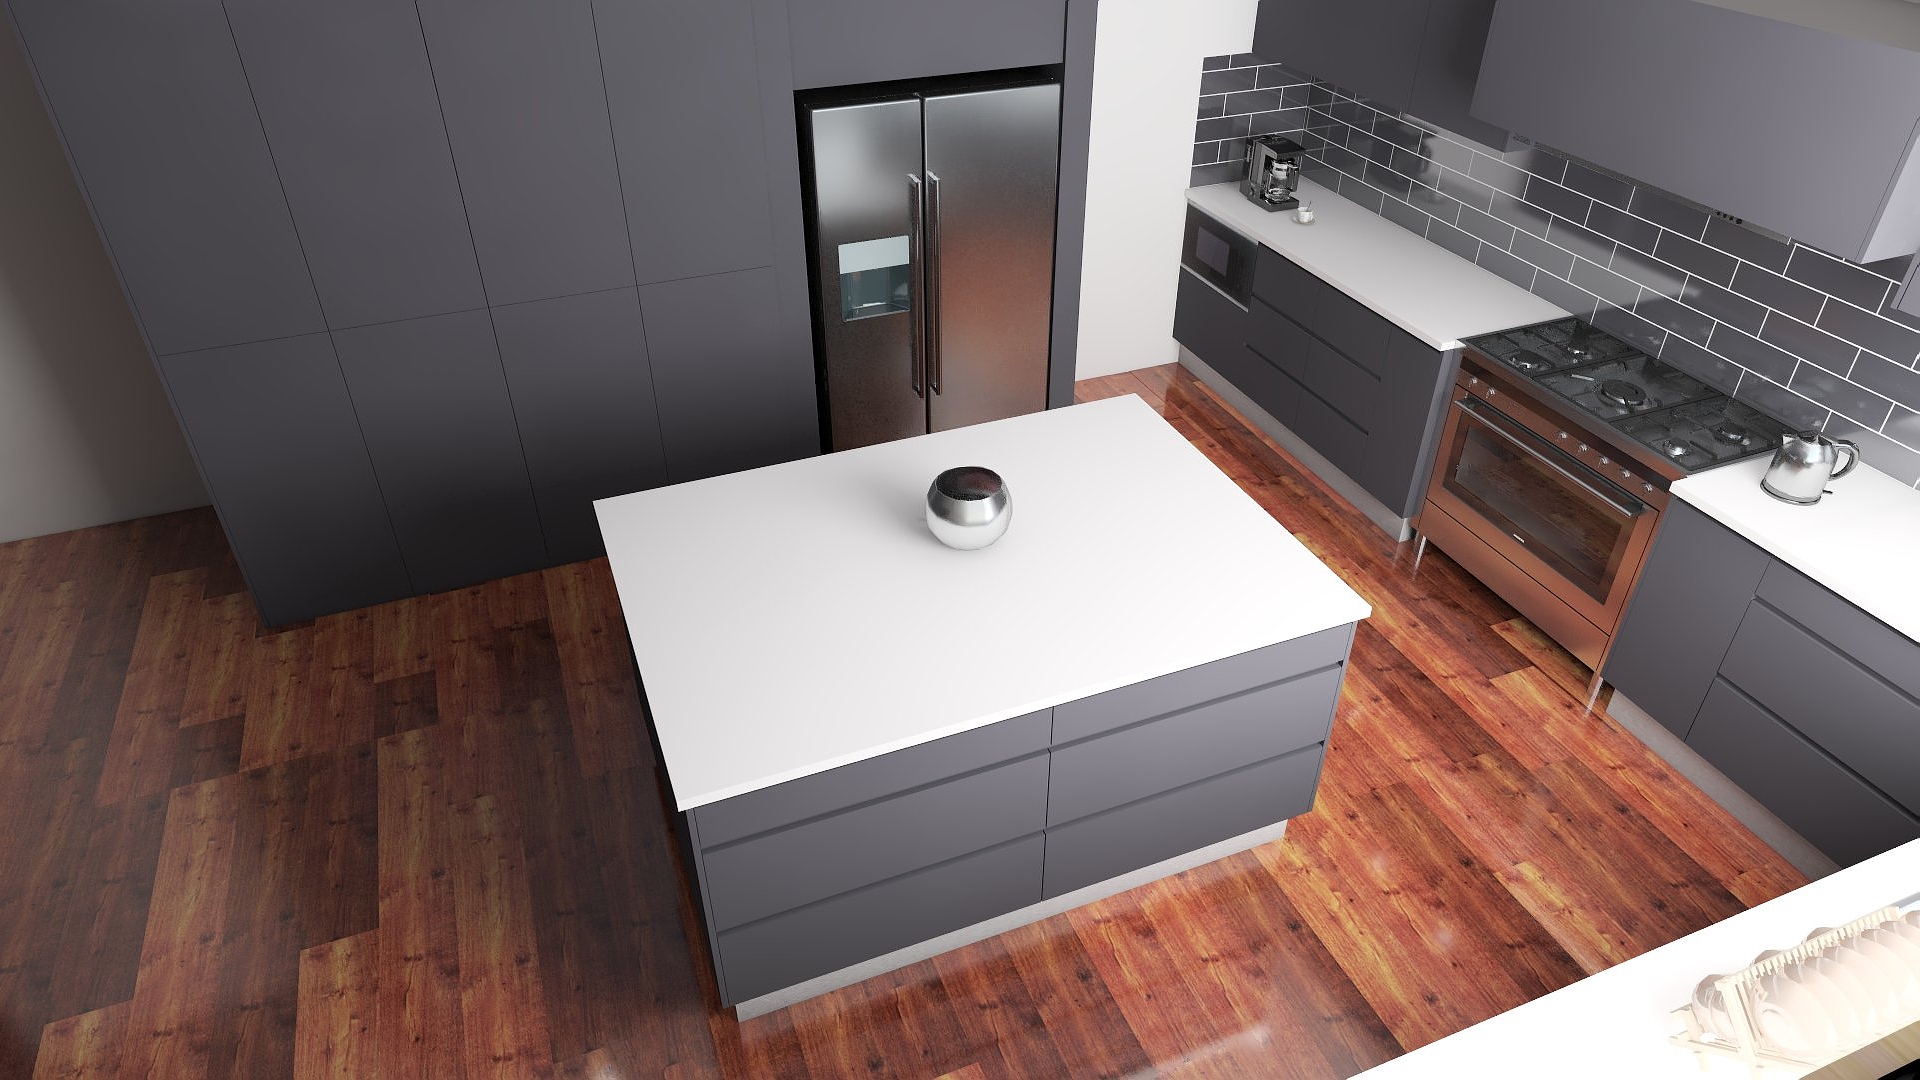
Render
Rendering in KD Max allows you to generate high quality designs. Select your desired quality, resolution, and aspect-ratio. Submit your render to generate photo-realistic quality.


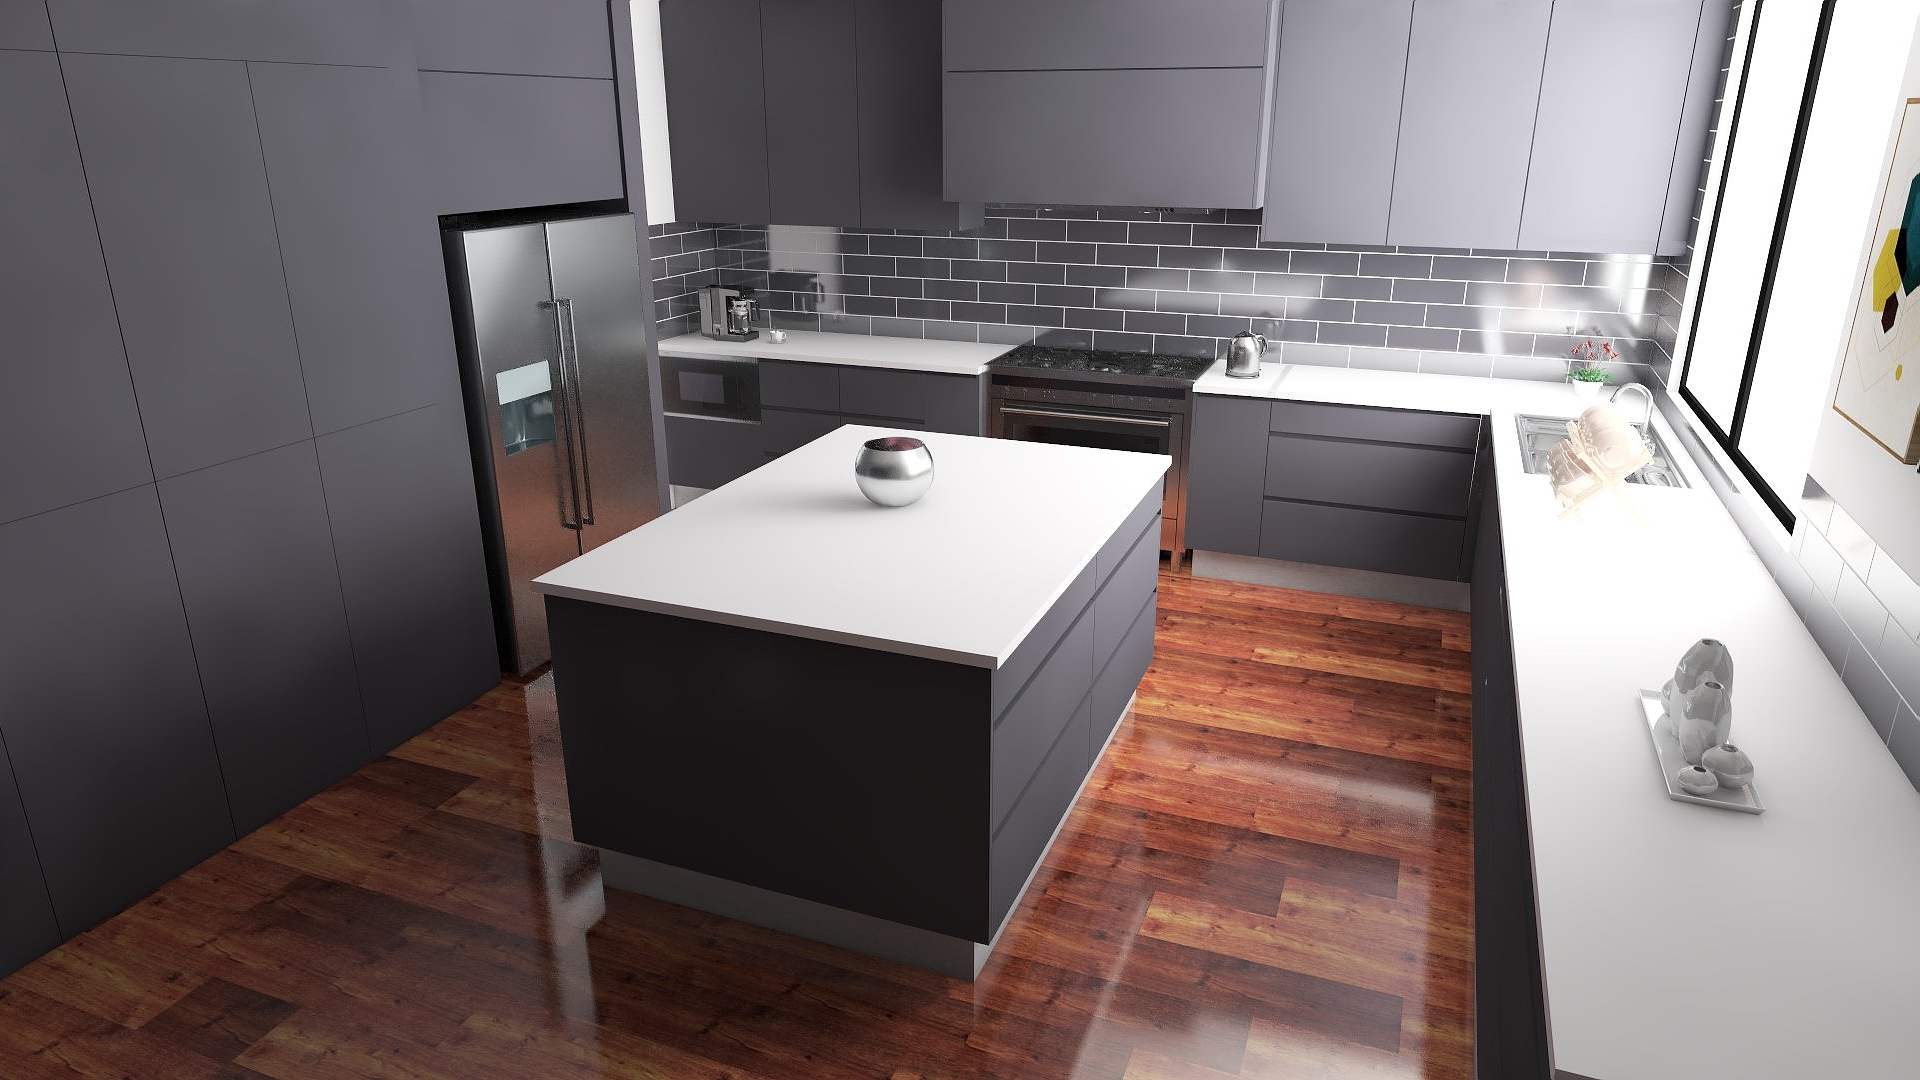
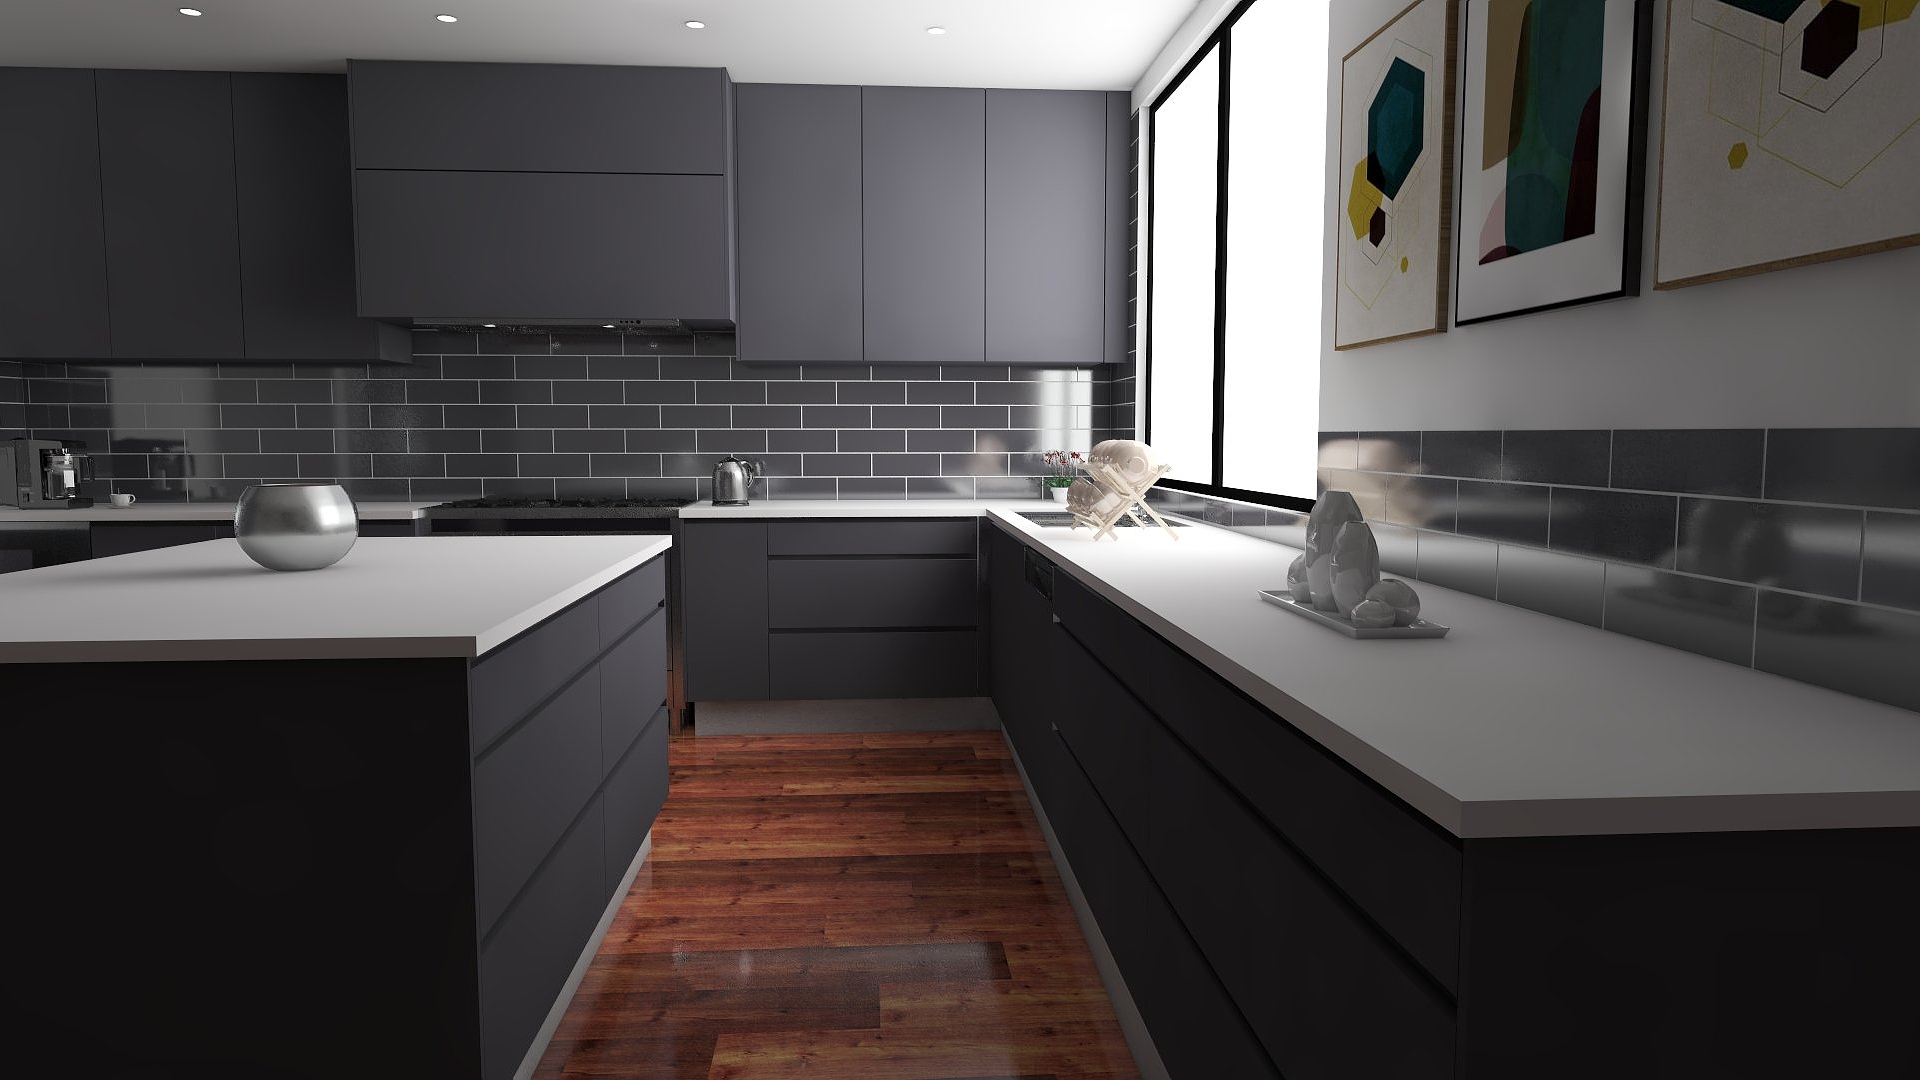
Create your image gallery
After rendering is finished, return to your working design and move the camera to explore alternate angles of your project, or completely alter your design. View and export your final renderings into a range of different files types and resolution settings. Including Jpegs, PDF’s etc.

BONUS:
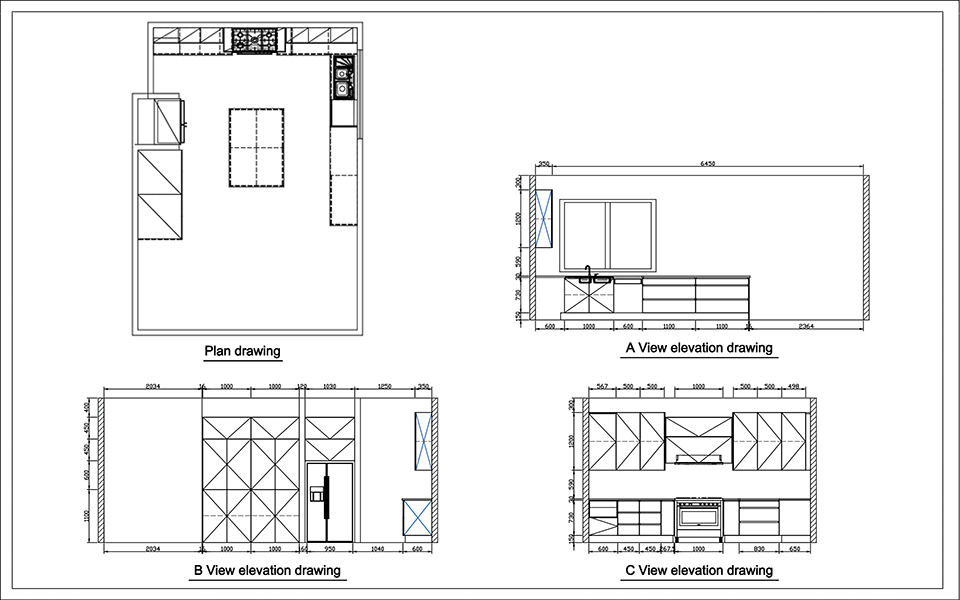
Produce detailed Plans and Elevations
Generate dimensioned plans from the 3D render, complete with elevations for greater accuracy throughout the construction process.
KD Max also allows you to back-up and restore all of your important data within one click.

