
V10 | Create a Pitched Ceiling
Need help with creating a sloped ceiling in your design?
Here we go through the steps necessary to create a sloping ceiling design in KD Max.
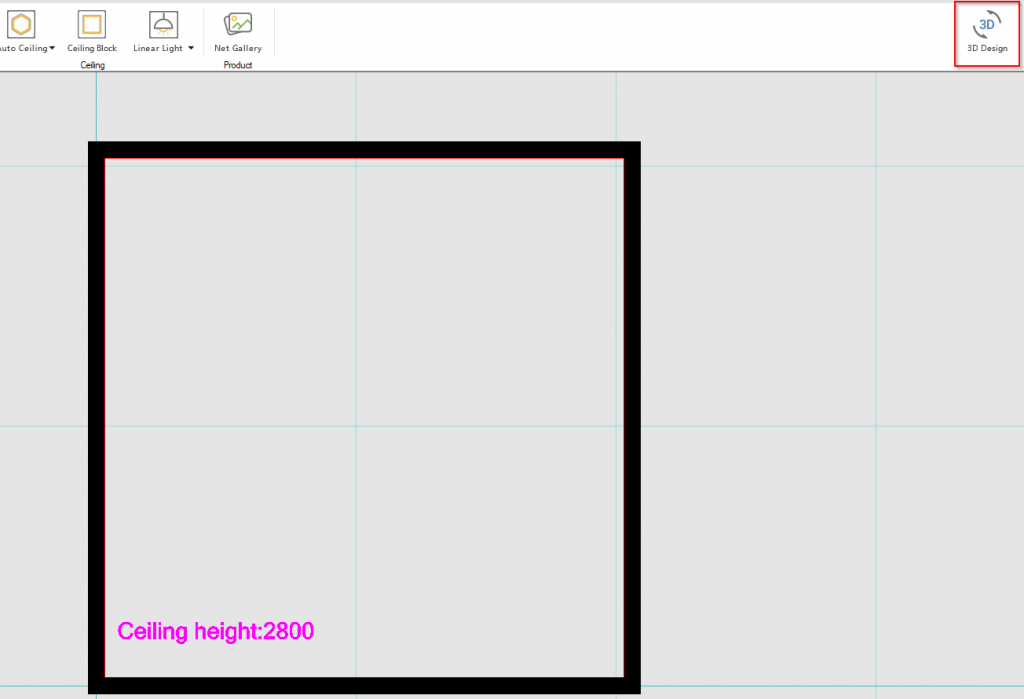
1.
First, install a ceiling for the room. This can be done by navigating to Room > Auto Ceiling and selecting the middle of the room whilst in 2D View mode.

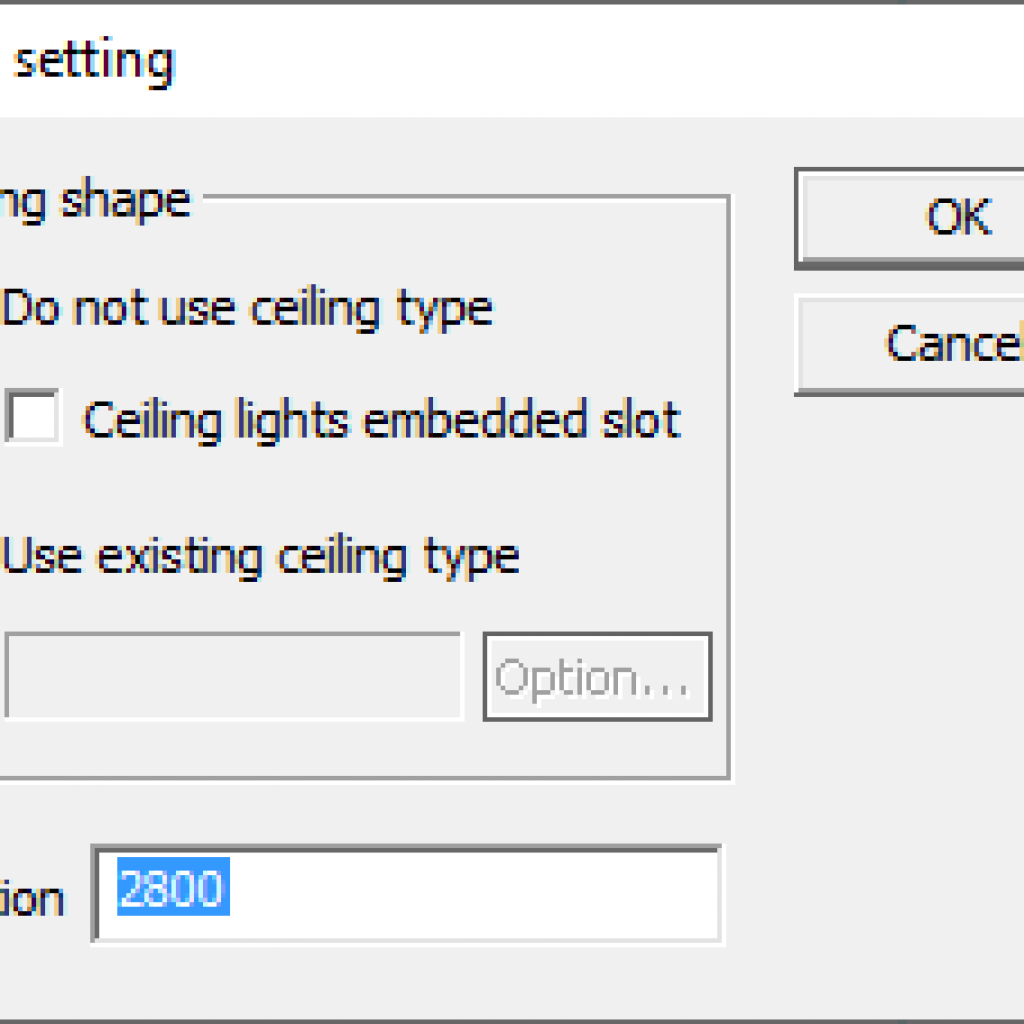
2.
When prompted to do so, enter the ceiling height. In this example, 2800 has been selected as the height.
3.
Navigate to the 3D layout of the room and set whatever pre-set is desired.
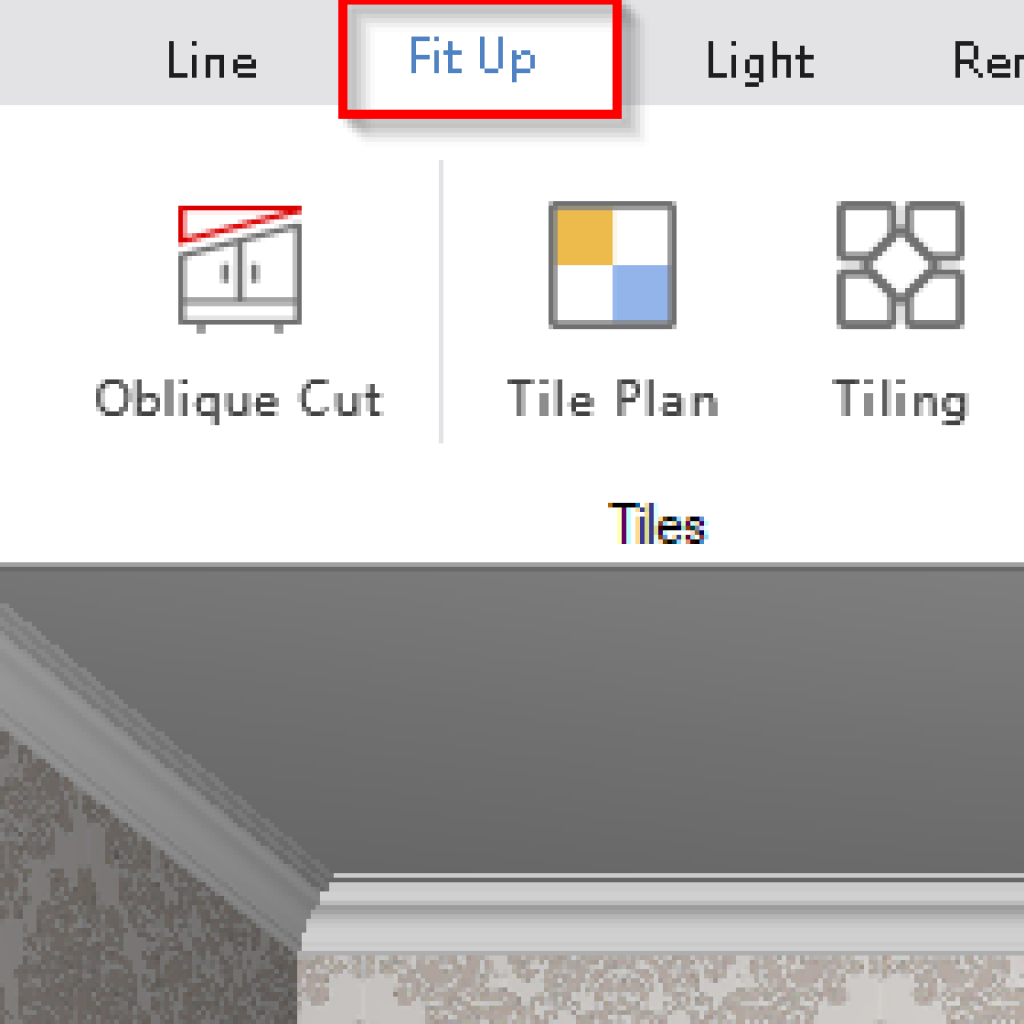
4.
To create a sloping ceiling design, navigate to Fit Up > Ceiling.
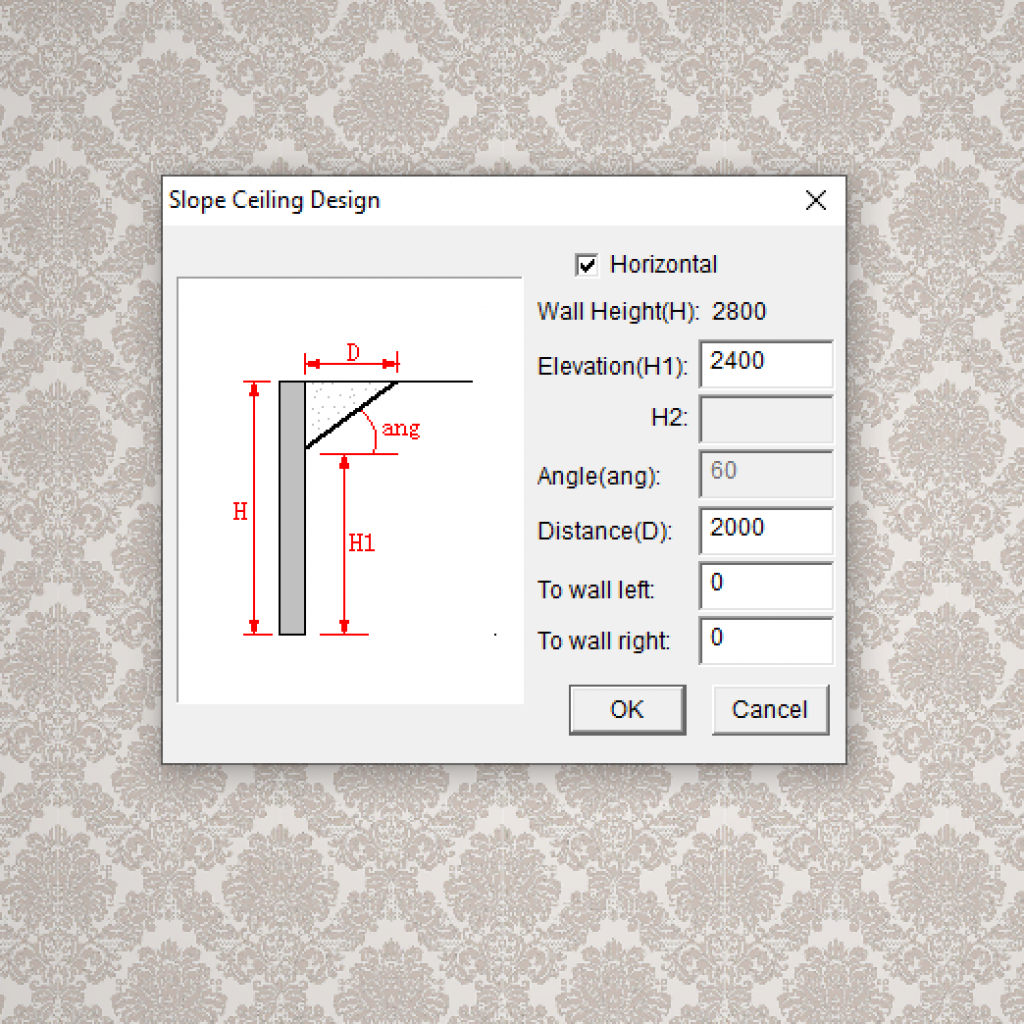
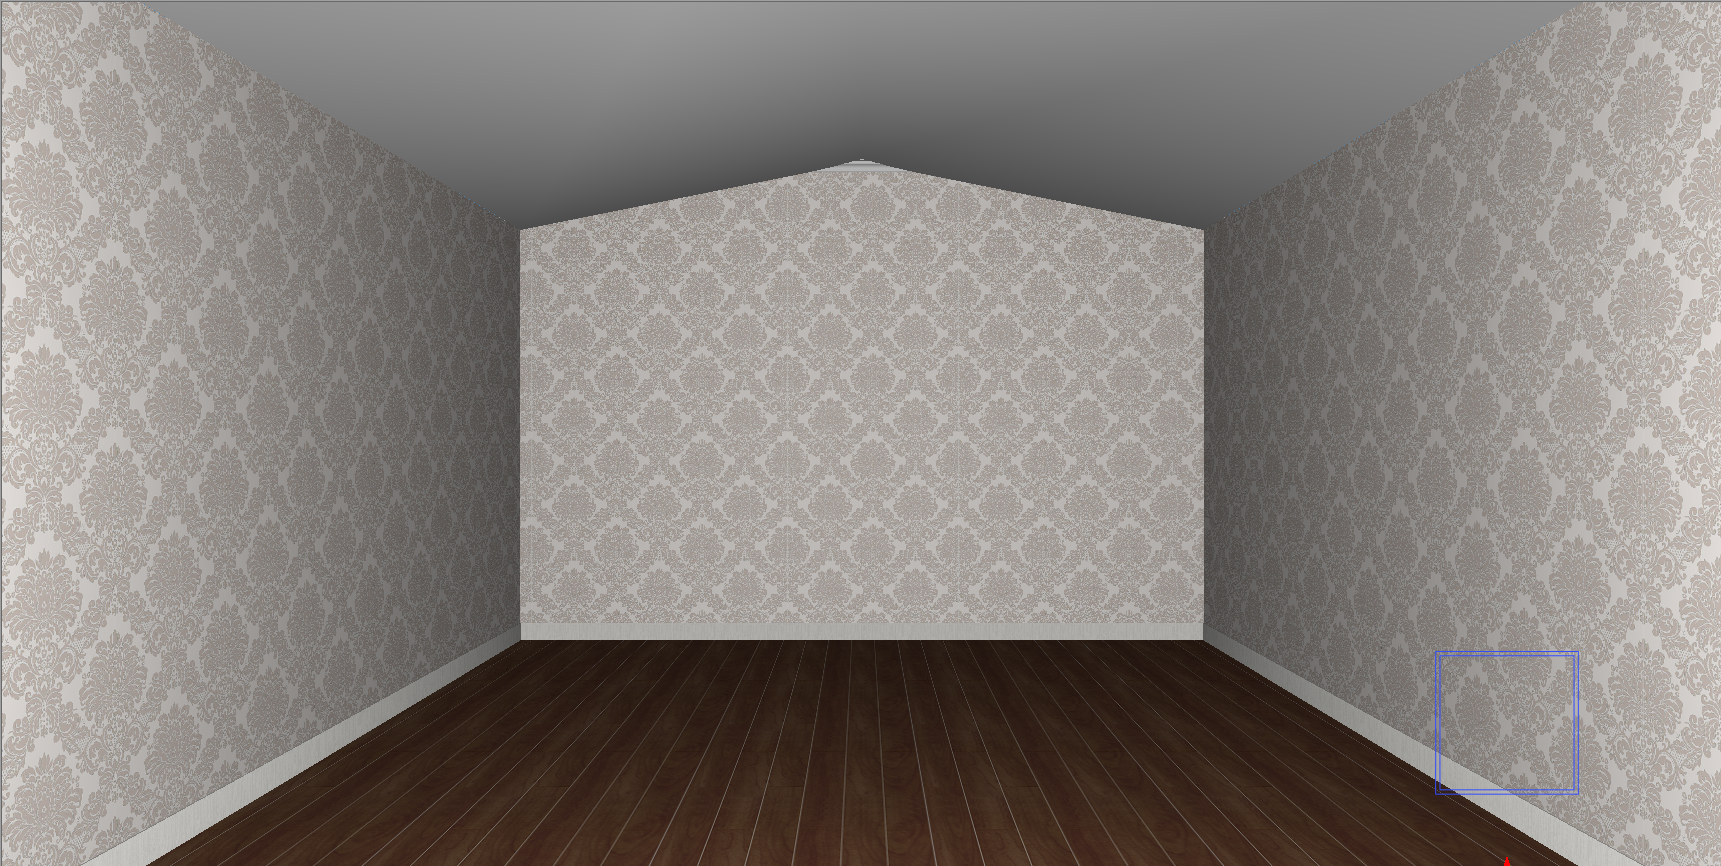
5.
Now select the relevant wall for the pitch to come off. This will prompt a pop-up box. Fill in the fields as required. An example has been provided.
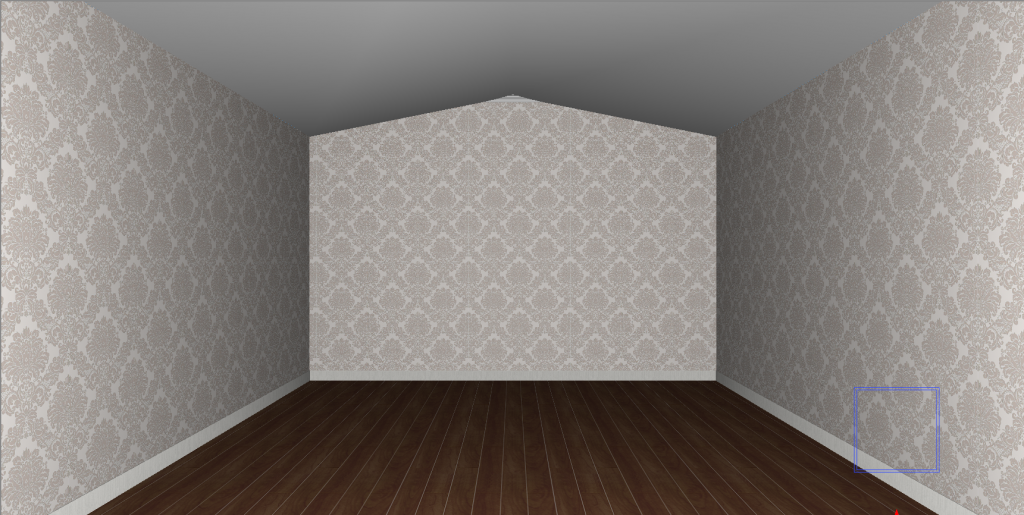
6.
Repeat step 5 on the adjacent wall.
Now the room will have a pitched ceiling, and designing can commence.
Join in the conversation on our 3D Kitchen Design Australia – KD Max Facebook Group.
Do you have any handy tips that you use in KD Max? Send them through to info@cabinetsbycomputer.com and we will feature them on our website & Facebook page!


