
Creating Tiled Splashbacks
No longer just an afterthought in the design process, Splashbacks are now often used to completely transform a kitchen by creating a strong focal point.
The advent of the newly integrated Tiling Function in KD Max Version 6 means that creating a quick, accurate and appealing tiled surfaces on your design is now just a few clicks away.

With the resurgence of tiled splashbacks in modern kitchens, you may find your clients asking for this feature to be incorporated in their design.
1.
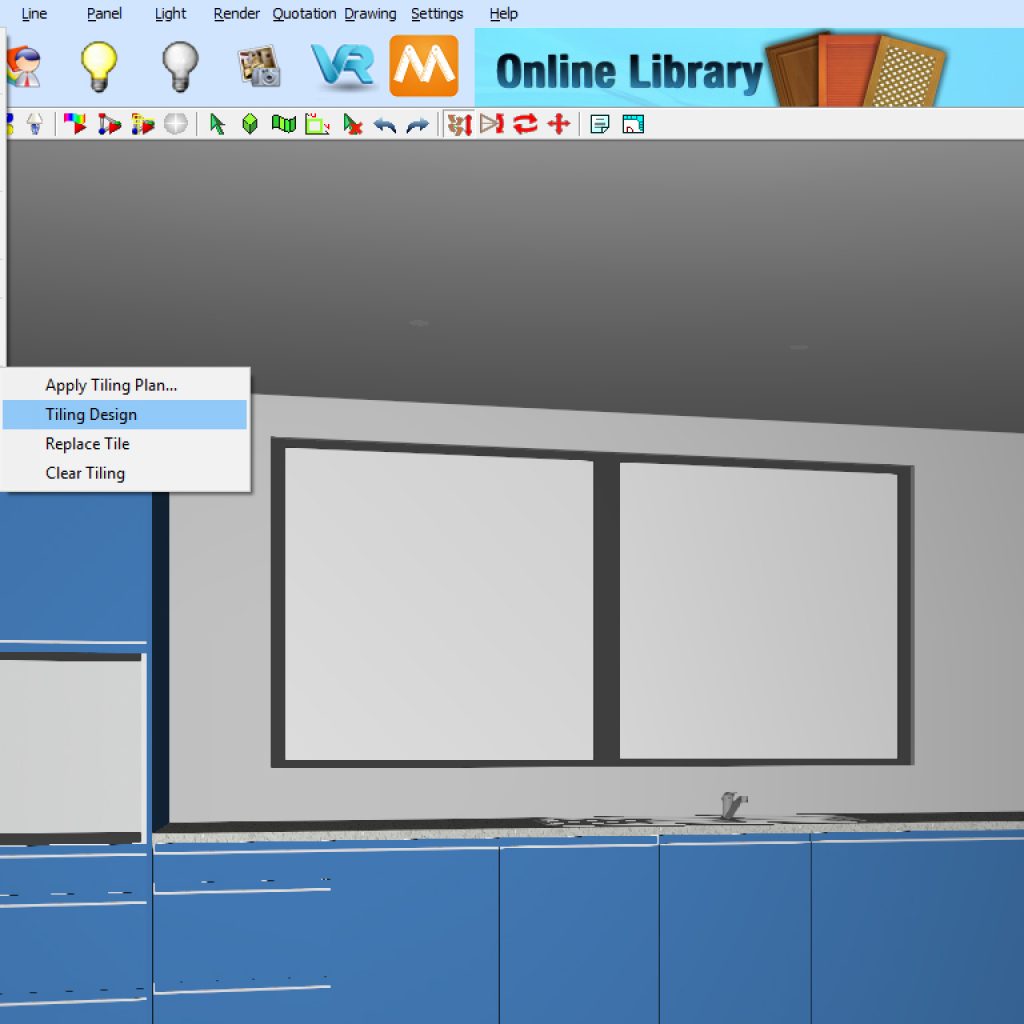
To add in a tiled splashback, you will need to use the Tiling function (V6 only) to define your desired section on the wall.
This function is located under the menu title Built-In > Tiling > Tiling Design
You will now be prompted to ‘Select a region to be titled‘,
Click on the wall you wish to add your tiled splashback.
2.
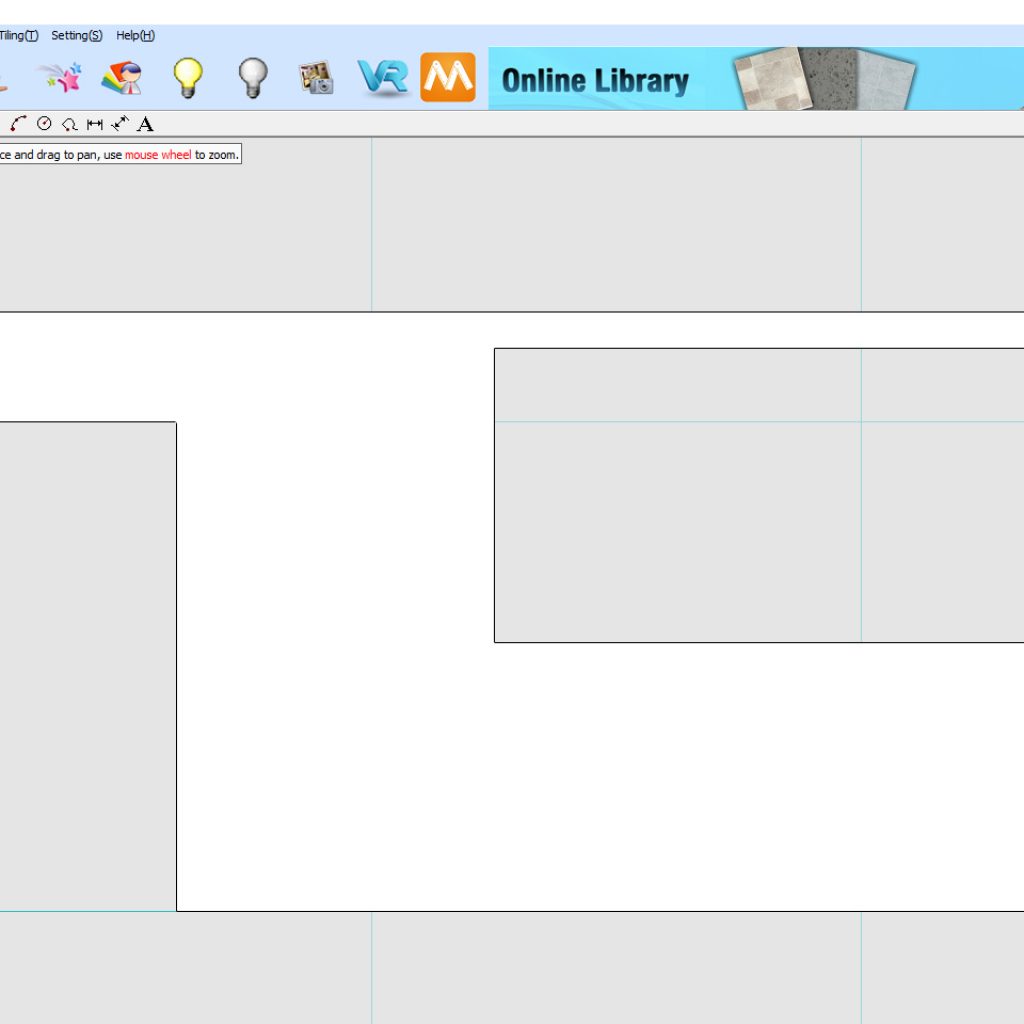
You will now be taken back to ‘Room’ which is the 2D layout aspect of KD Max.
Your selected wall will now be displayed, with any doors and windows cut out of the design.
3.
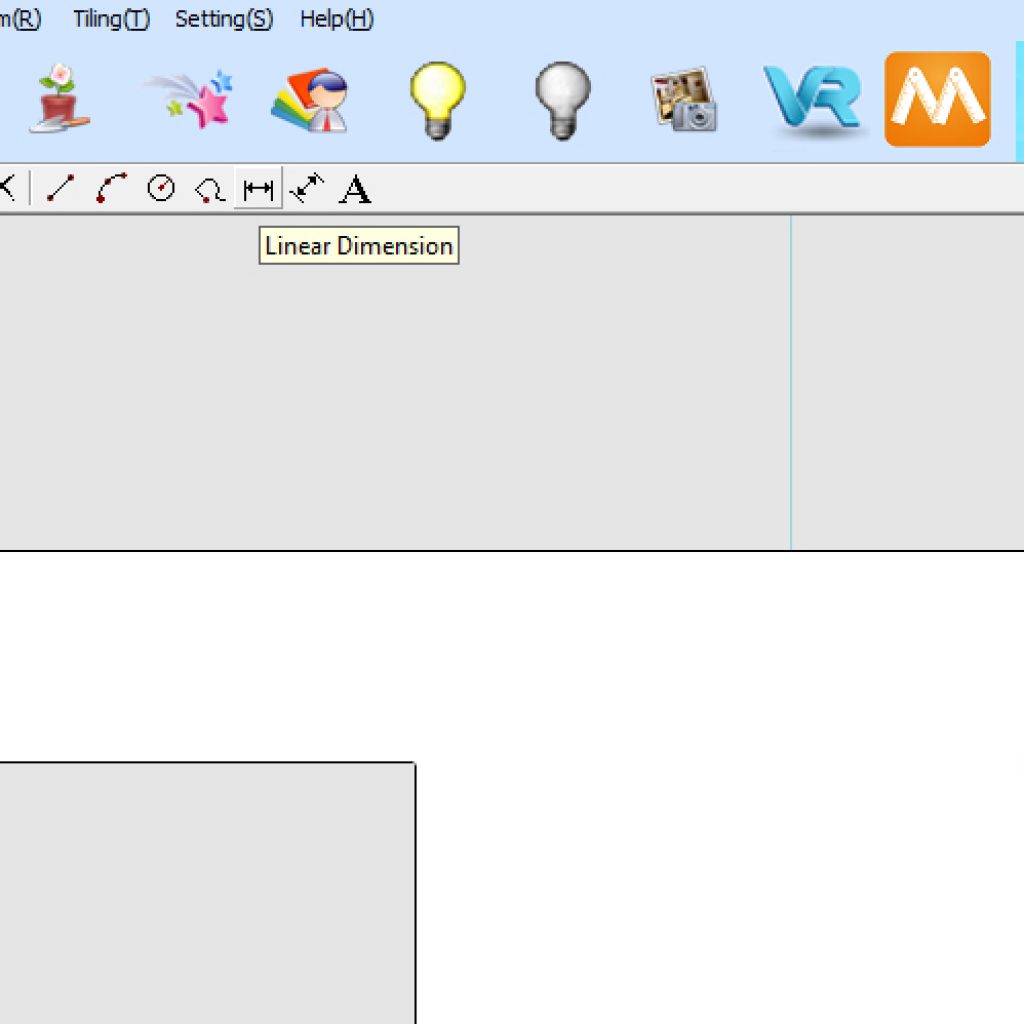
Before adding the splashback, you can draw in dimensions using the linear dimension tool of where your splashback will be positioned. This serves 2 purposes: firstly to ensure your splashback is positioned accurately, and secondly to create points to quickly snap your design to when defining your area to be tiled.
This step can be skipped if you want to free draw in your splash back.
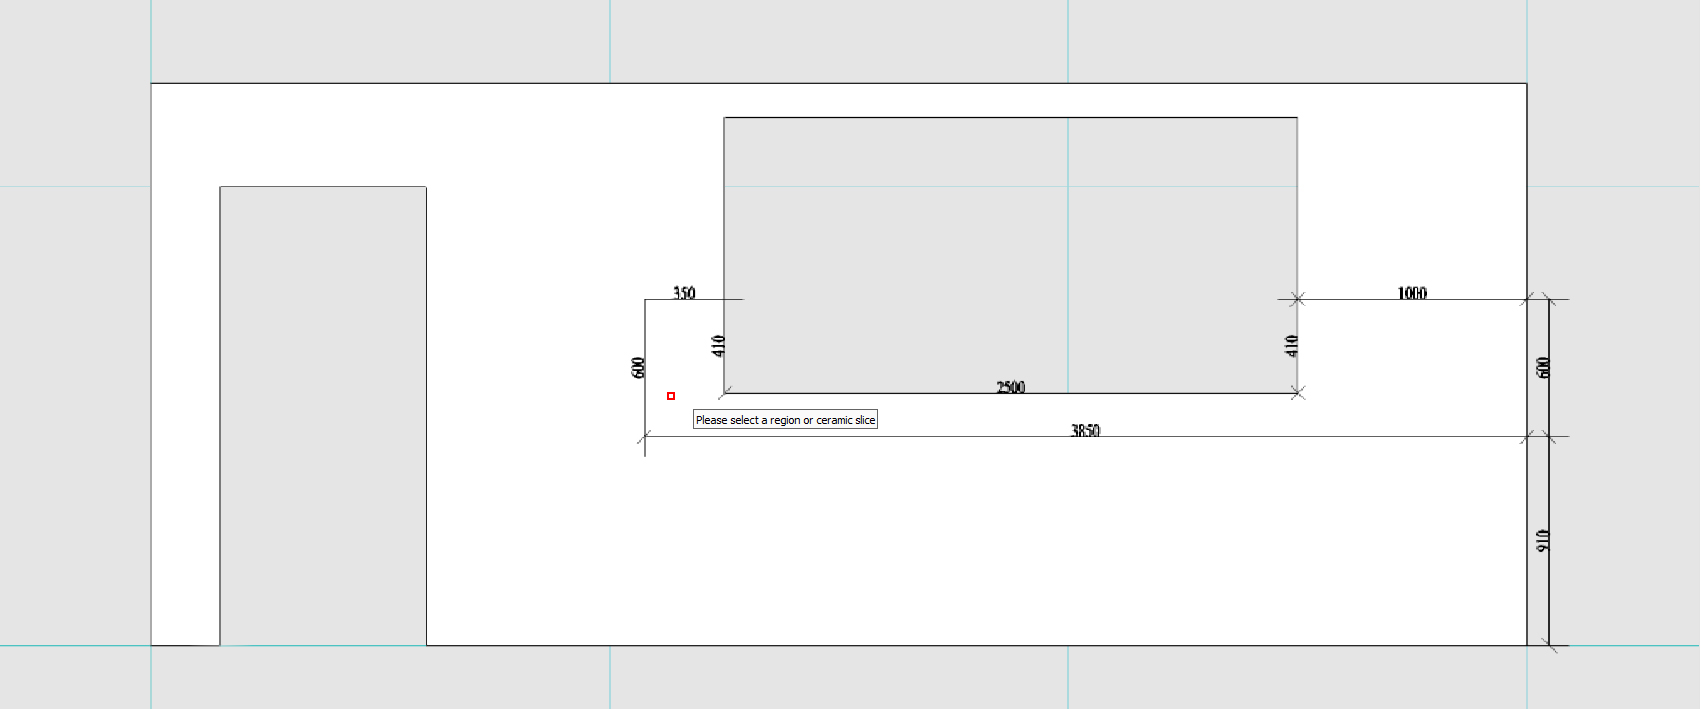
4.
Using the dimension tool draw in all the corners of your required splashback space.
Start at the bottom corner and set the bench height, followed by the splash back height, then add in dimensions to mark points around any windows.
TIP: Use BtoCAD to look at your room elevation to check dimensions.


5.
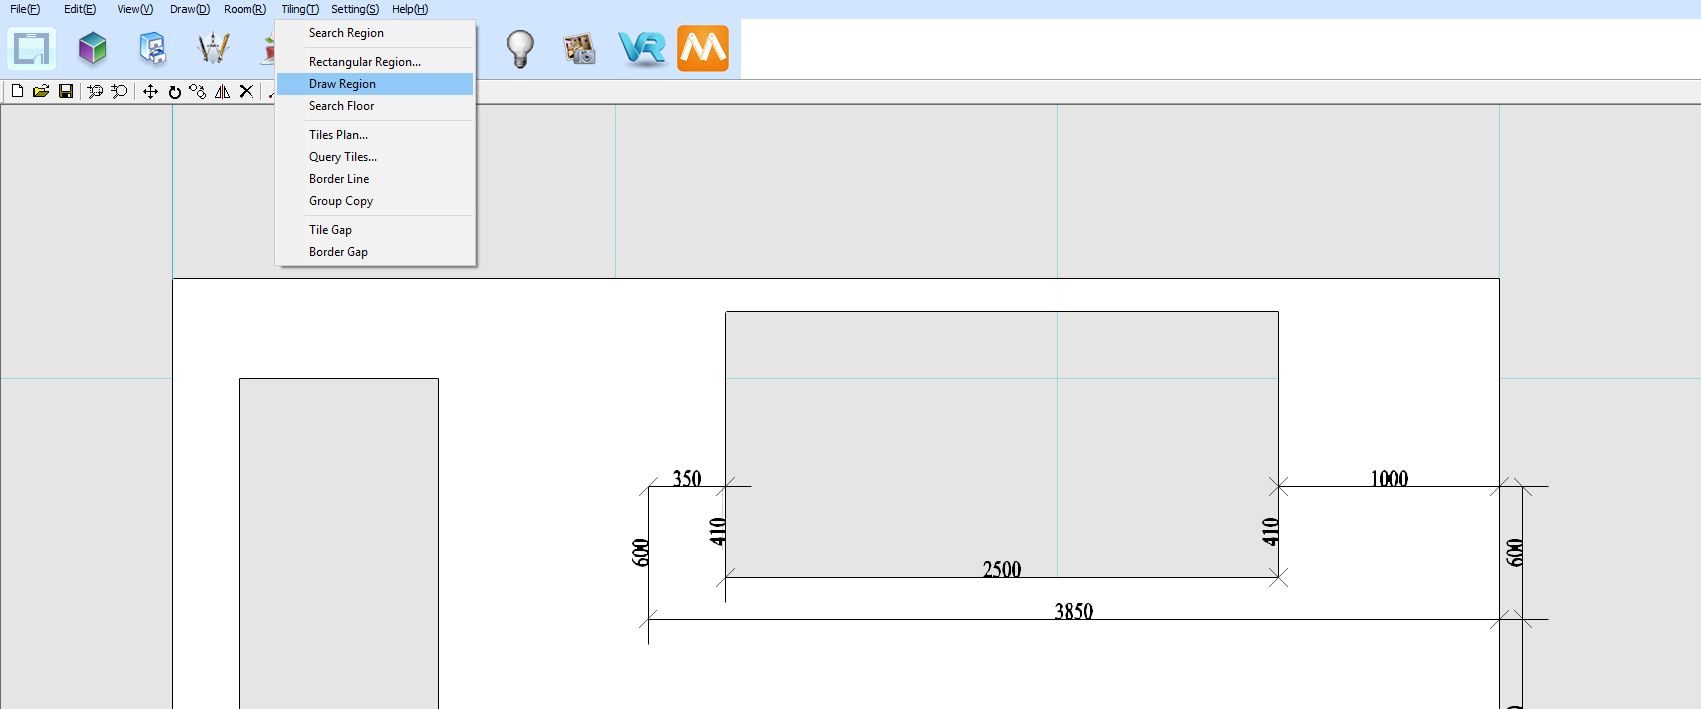
Once your dimensions have been mapped out for your splashback, you can quickly and easily define your tiled section.
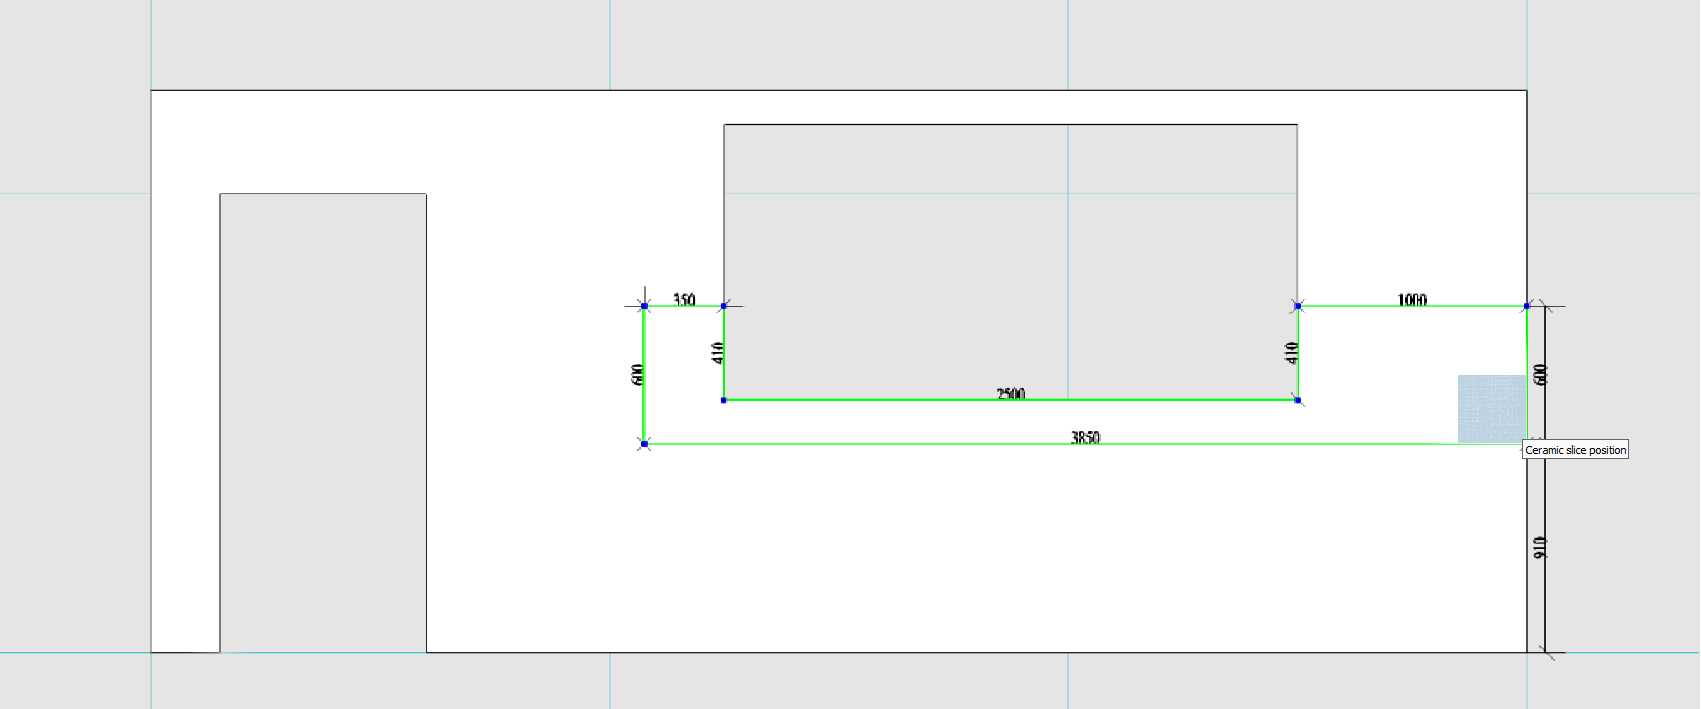
6.
Click Tiling > Draw Region. You will now be prompted for the start point. Simply click on one of the pre-drawn dimensions then connect the dots to define the area you are having tiled.
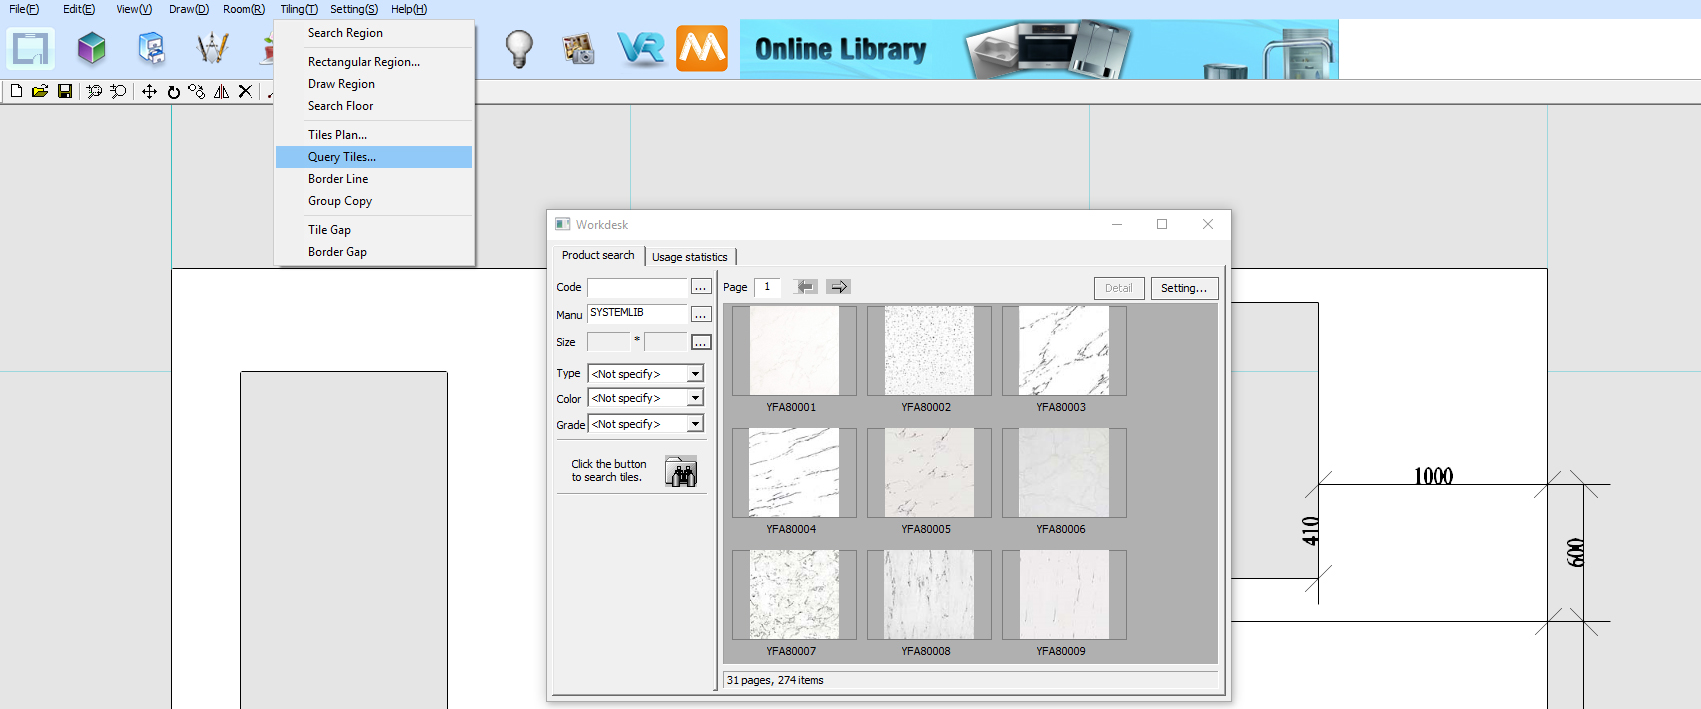
7.
Click Tilling > Query Tiles. The Workdesk popup will show – from here you can select a tile from the library then double click it to proceed with this selection.
8.
Click inside the tiled region that you created earlier.
9.
Place your selected tile in your preferred starting location.
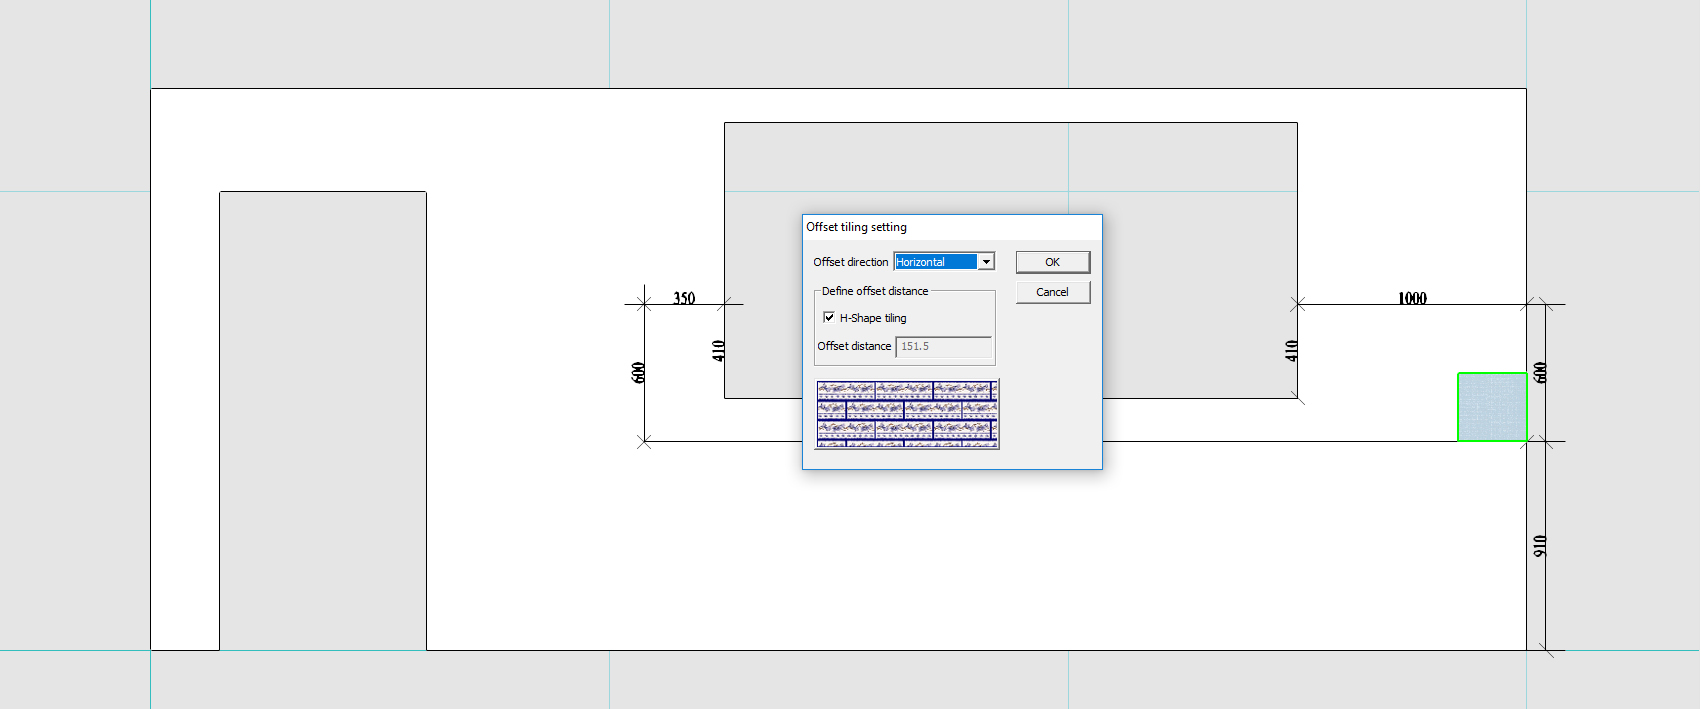
10.
Right click on your selected tile that you have just placed and select offset tiling. The Offset tiling setting will pop up, simply click OK.
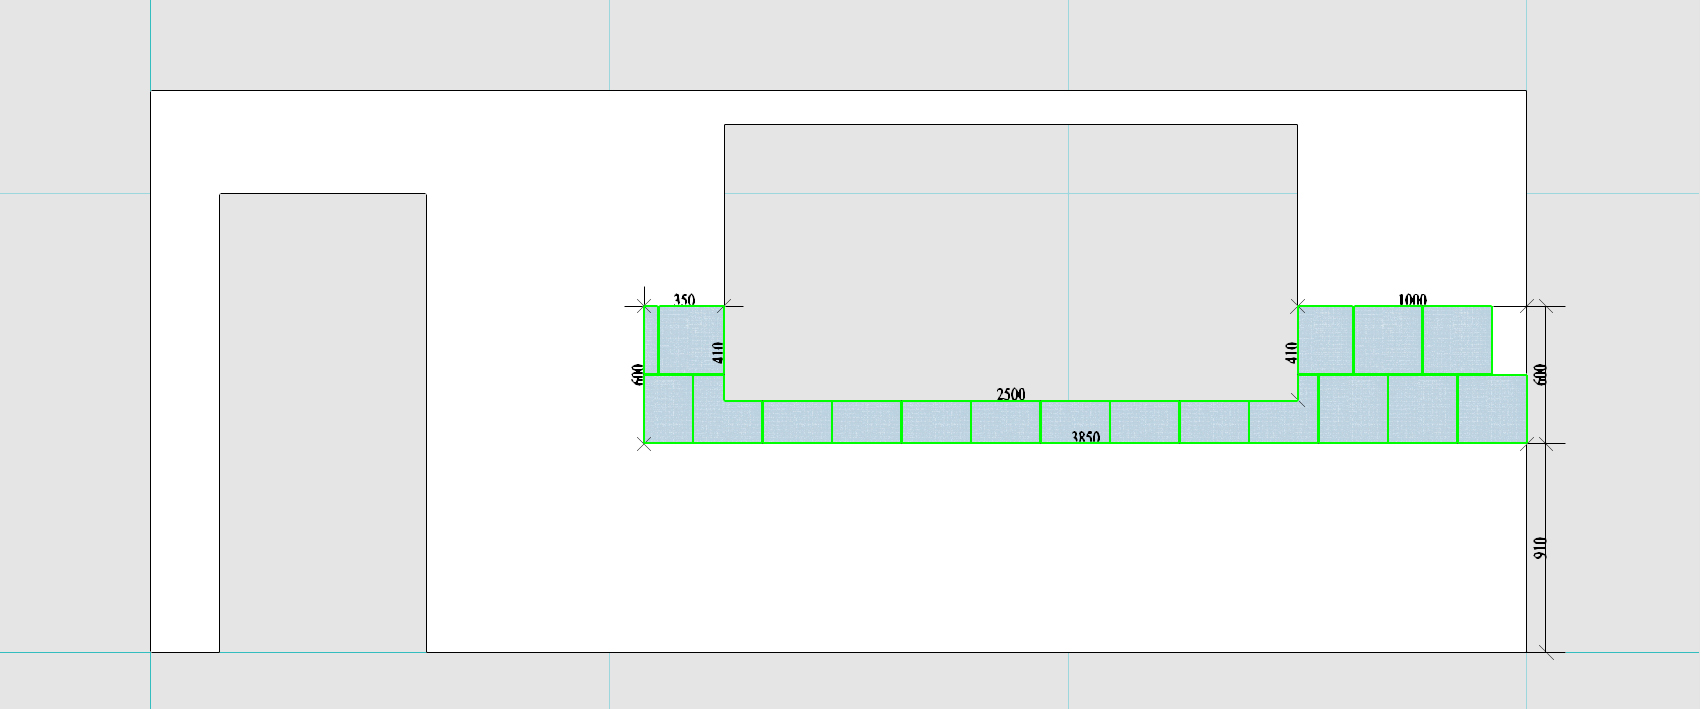
11.
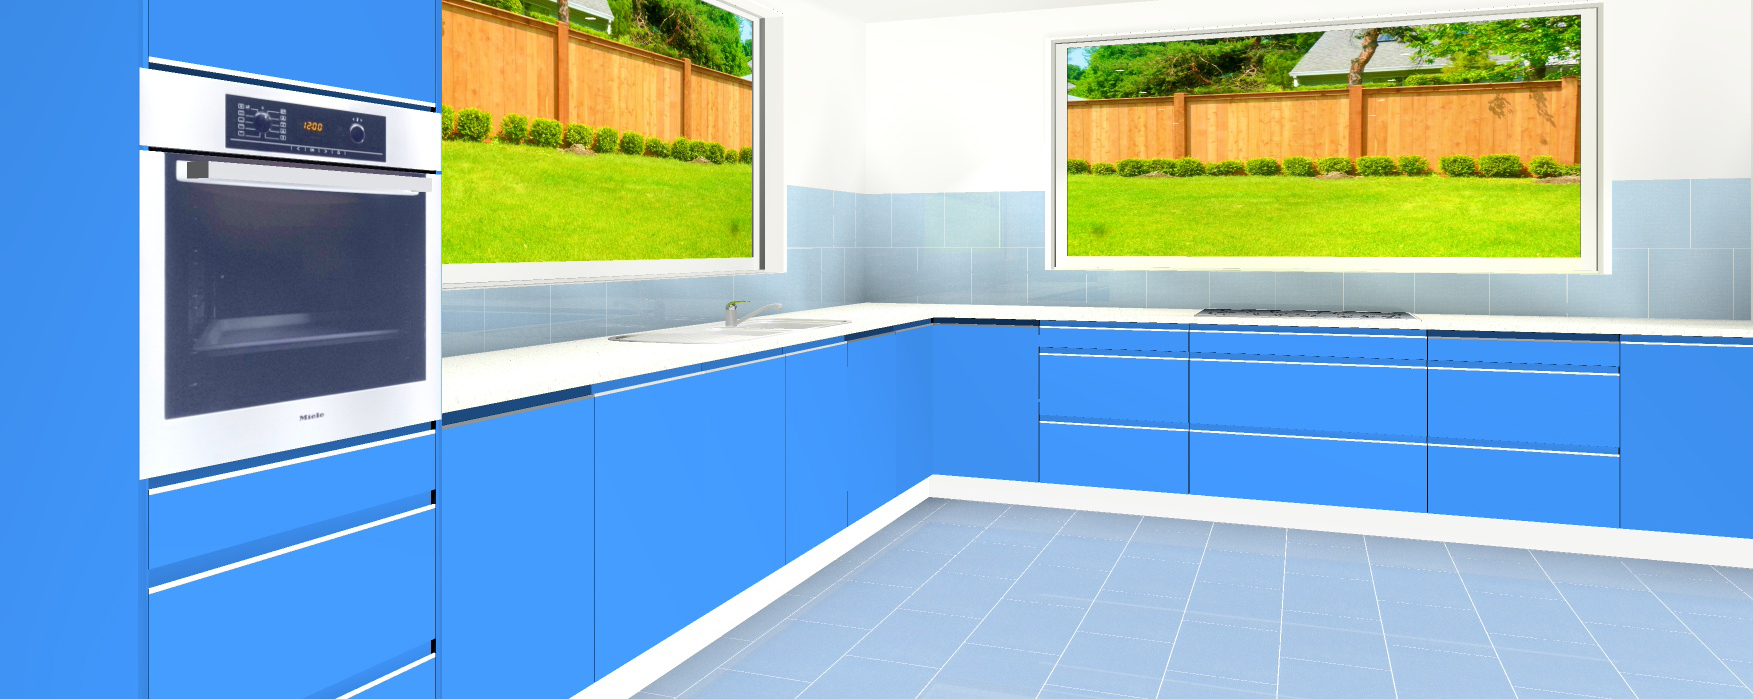
Next, move your cursor over to the opposite corner of your tiled region & left click to accept. Finish by clicking on the 3D button to view your tiled region.
NOTE: If you are using offset tiling you will have to do this twice as it wont do the space directly above your tile.
Join in the conversation on our 3D Kitchen Design Australia – KD Max Facebook Group.
Do you have any handy tips that you use in KD Max? Send them through to info@cabinetsbycomputer.com and we will feature them on our website & Facebook page!

