
Sliding Doors in KD Max
So you need to draw up a design for a client incorporating their new built-in robe with sliding doors, but not sure how to complete the look using KD Max?
Here we go through the steps necessary to install and change the look of Sliding Doors.
1.
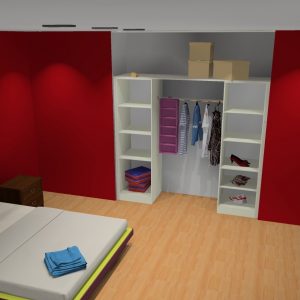
First you need to install a decorative panel on the ceiling above where you want to install your sliding doors for your robes. KD Max requires this panel as a reference point for attaching the doors. Use the Third option under Wall Unit>End Panel>Decorative Panel as highlighted.
2.
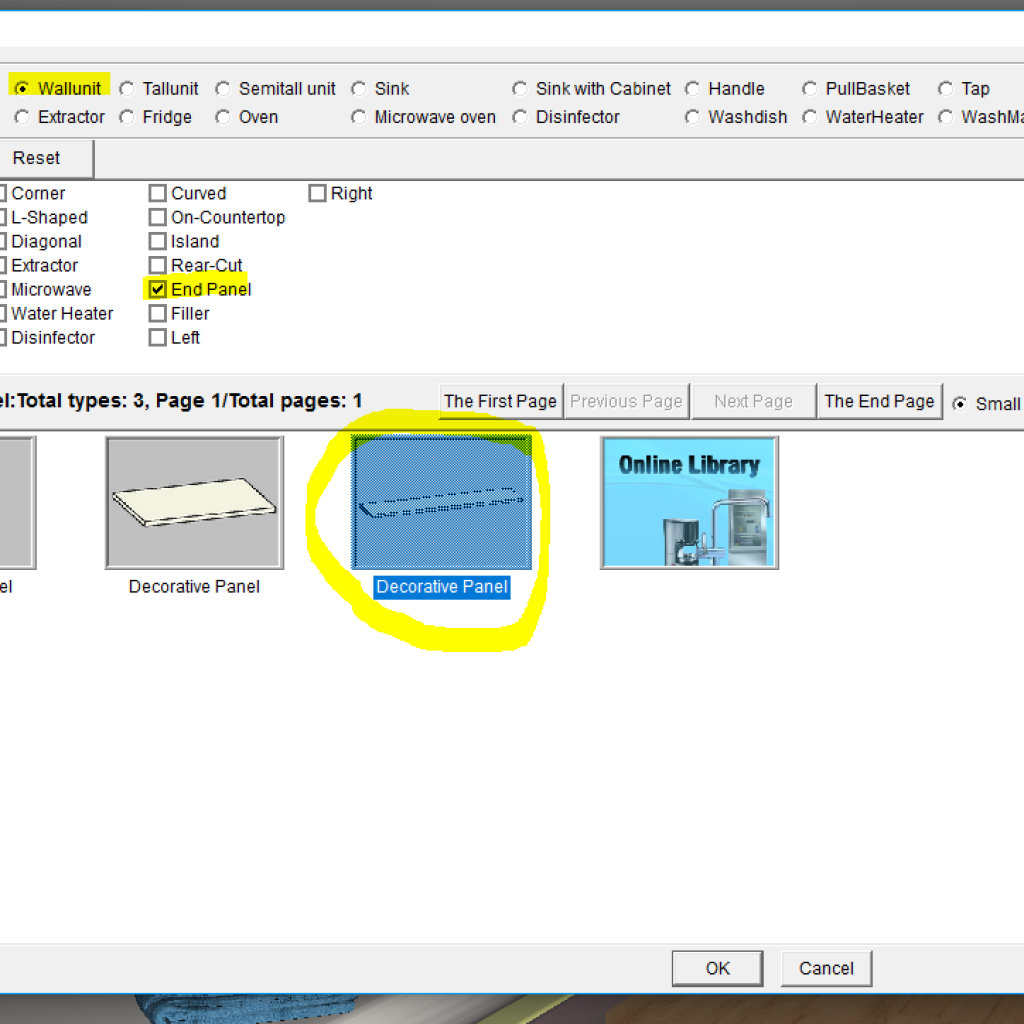
Install the decorative panel at wallunit elevation, with the top height being equal to your ceiling height (in this instance, 2800)
3.
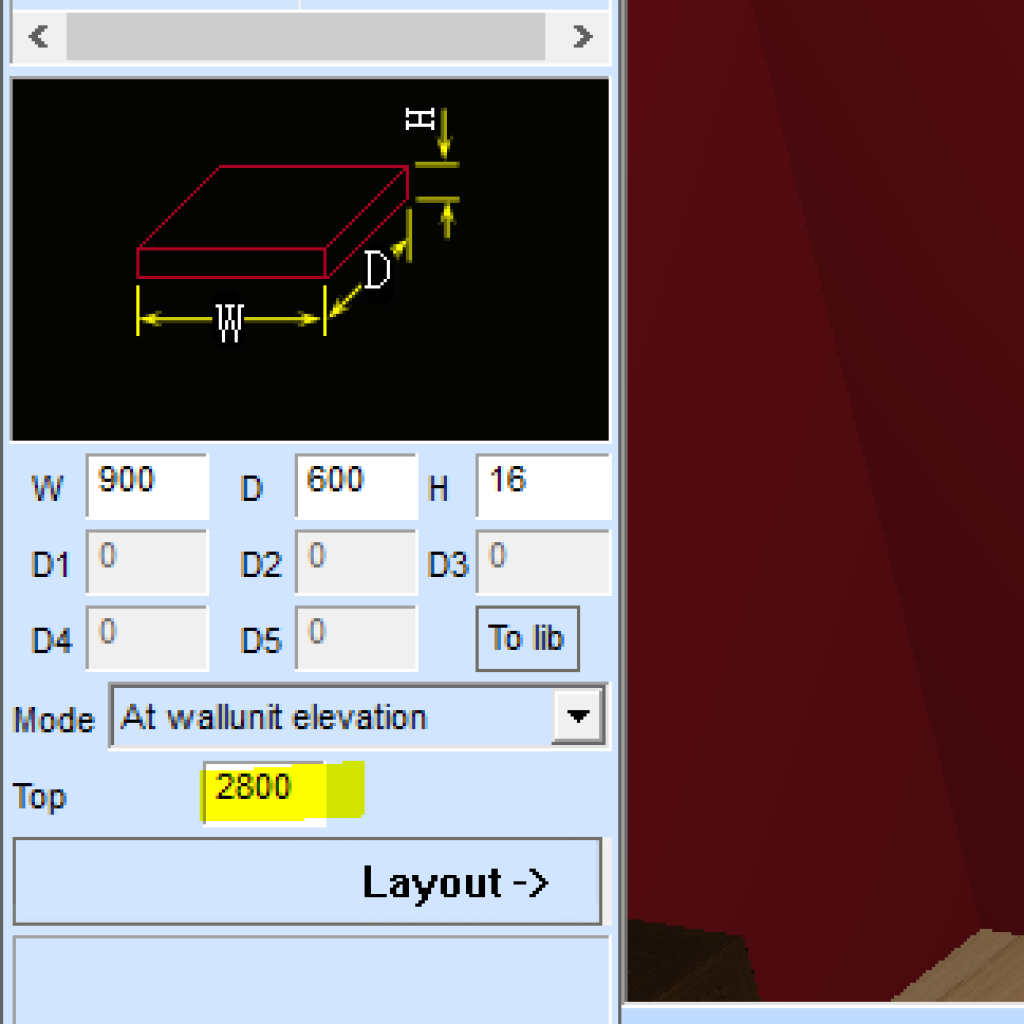
Extend your panel to cover the distance between each wall (or whatever distance you are wanting your sliding doors to cover.
4.
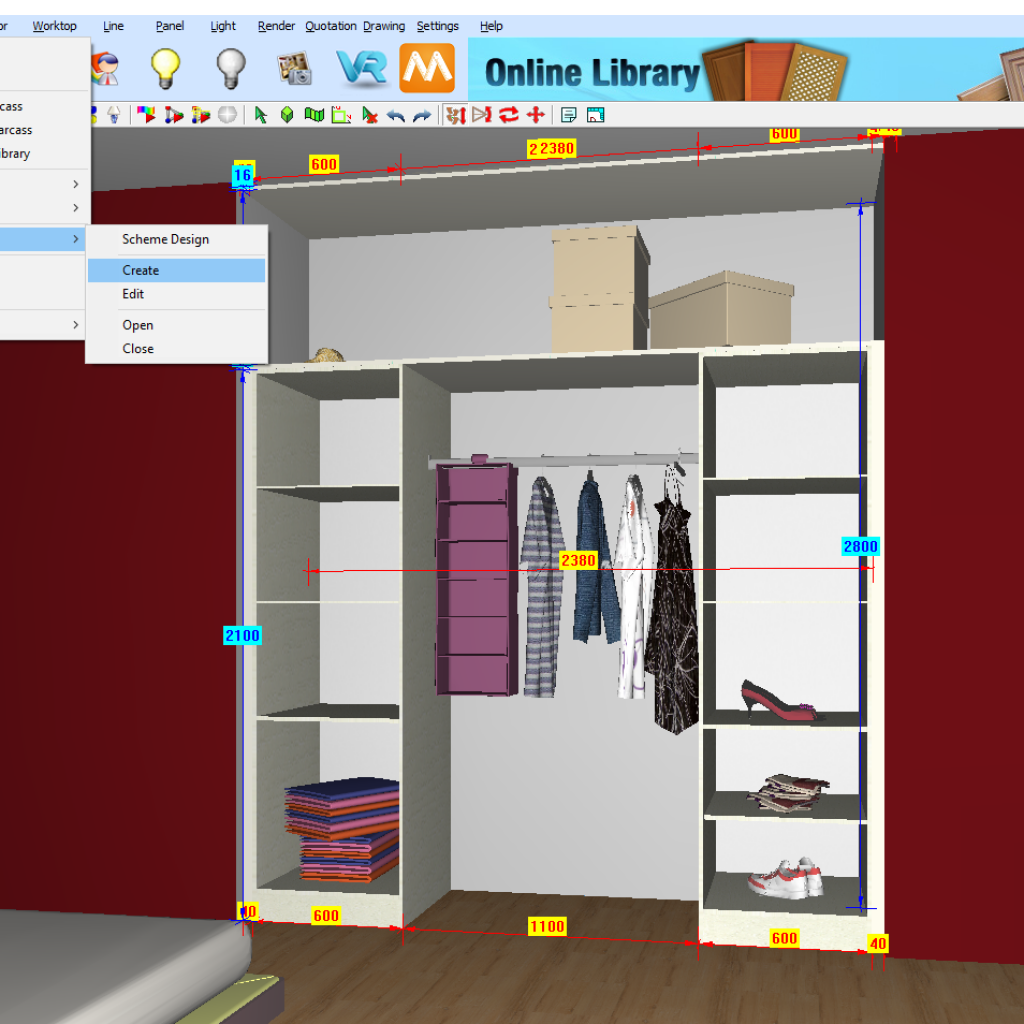
Once you have installed the decorative panel, click ‘Built-In’ on your toolbar, then Sliding Door>Create
5.
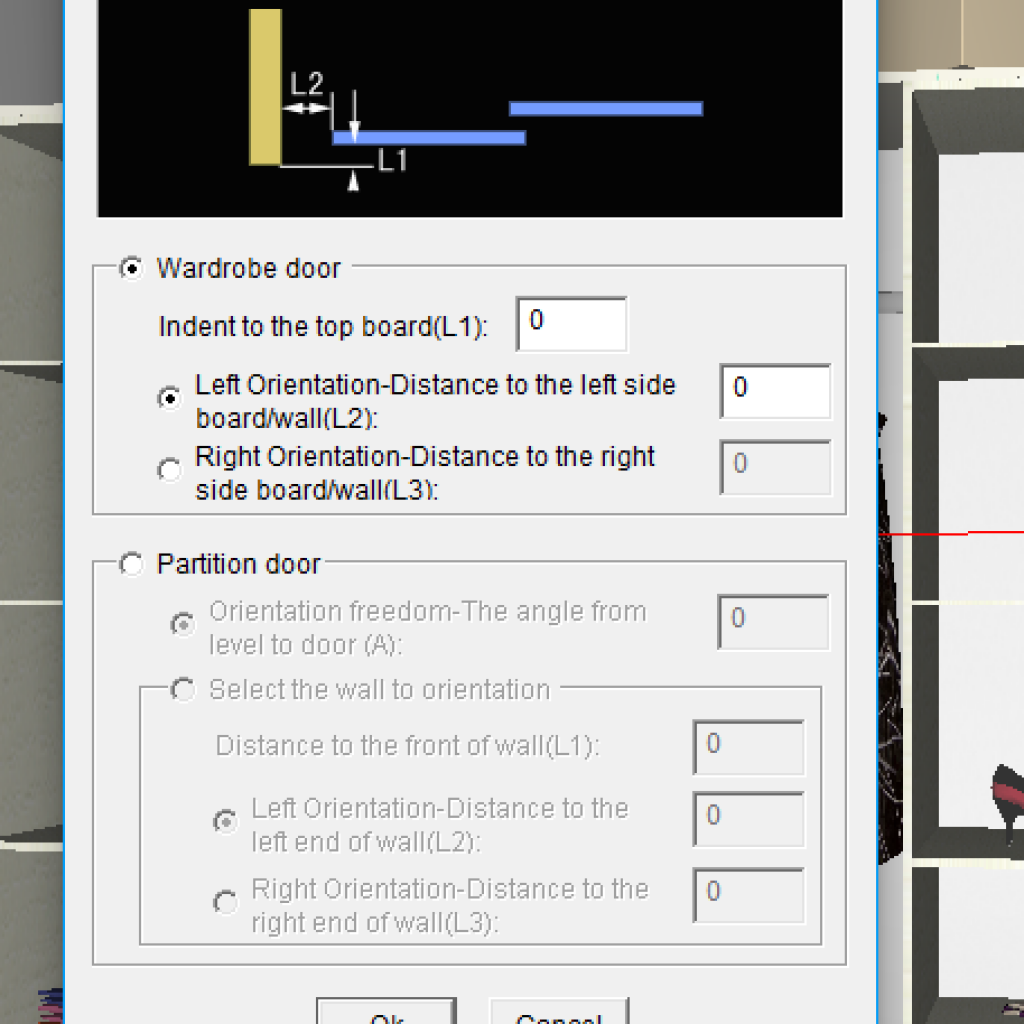
Door Design pop up: this gives you the ability to change the gaps between where the sliding doors start, and also the gap between the front and back sliding door. Click OK to confirm your settings.
6.
Select the left side wall where your sliding door will be attached, the right side wall, the top panel just created, followed finally by the floor.

7.
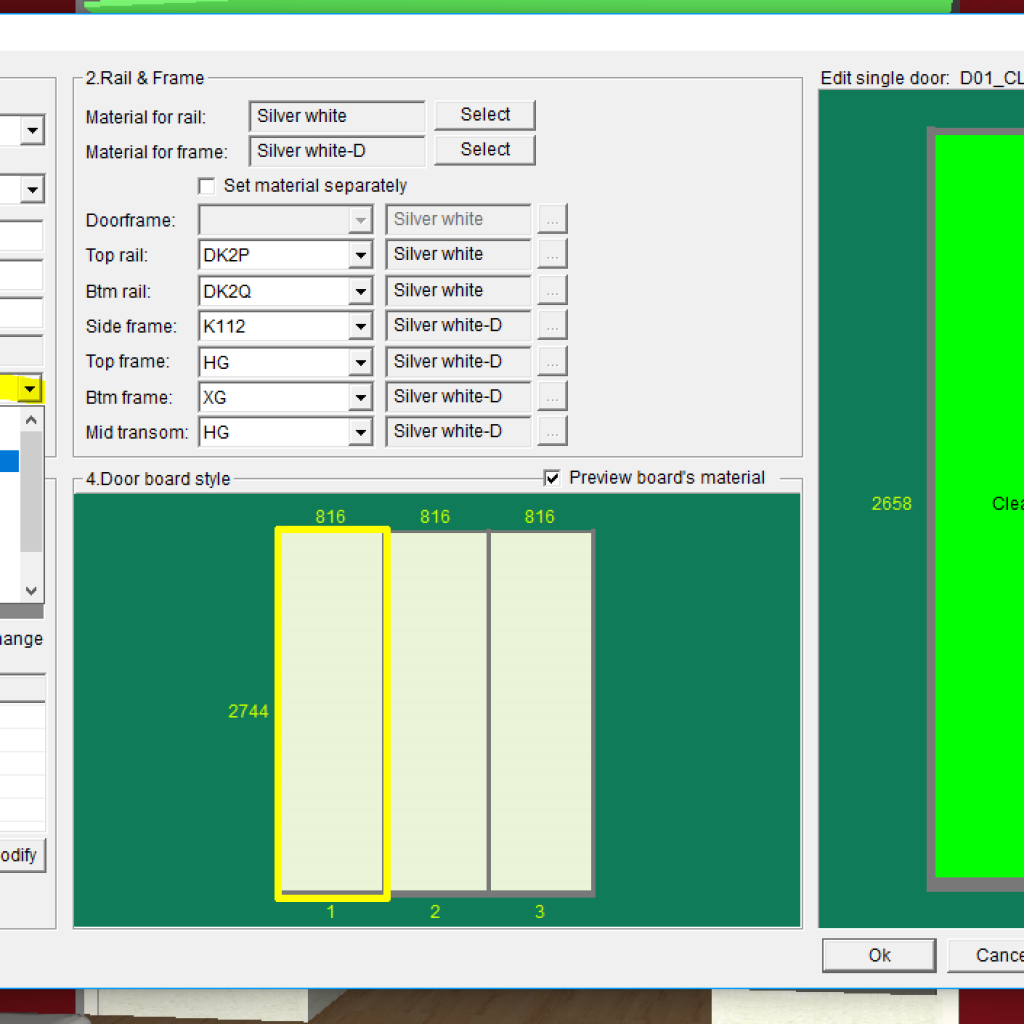
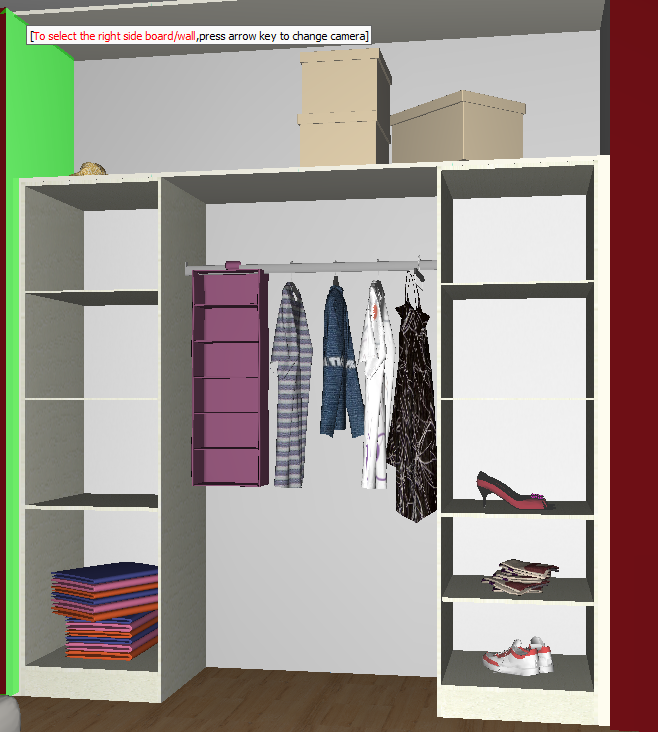
Slide Door Design: This section is where you can set up all the specifics for your sliding doors including number of doors, colours & style of doors and sizing.
Once happy with your selections, click OK.
8.
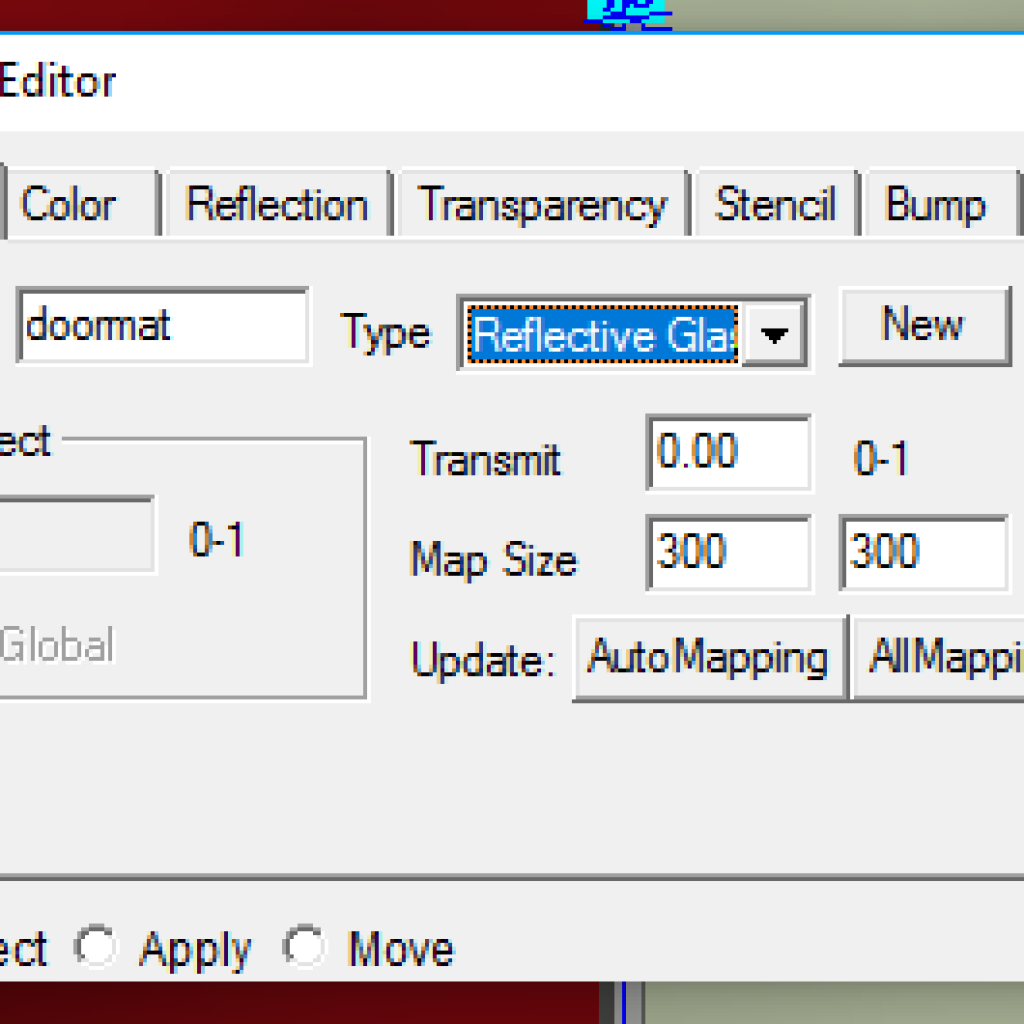
To create a mirror finish, select the material editor ![]() and click on your sliding door – and change the Type to ‘Reflective Glass’
and click on your sliding door – and change the Type to ‘Reflective Glass’
9.
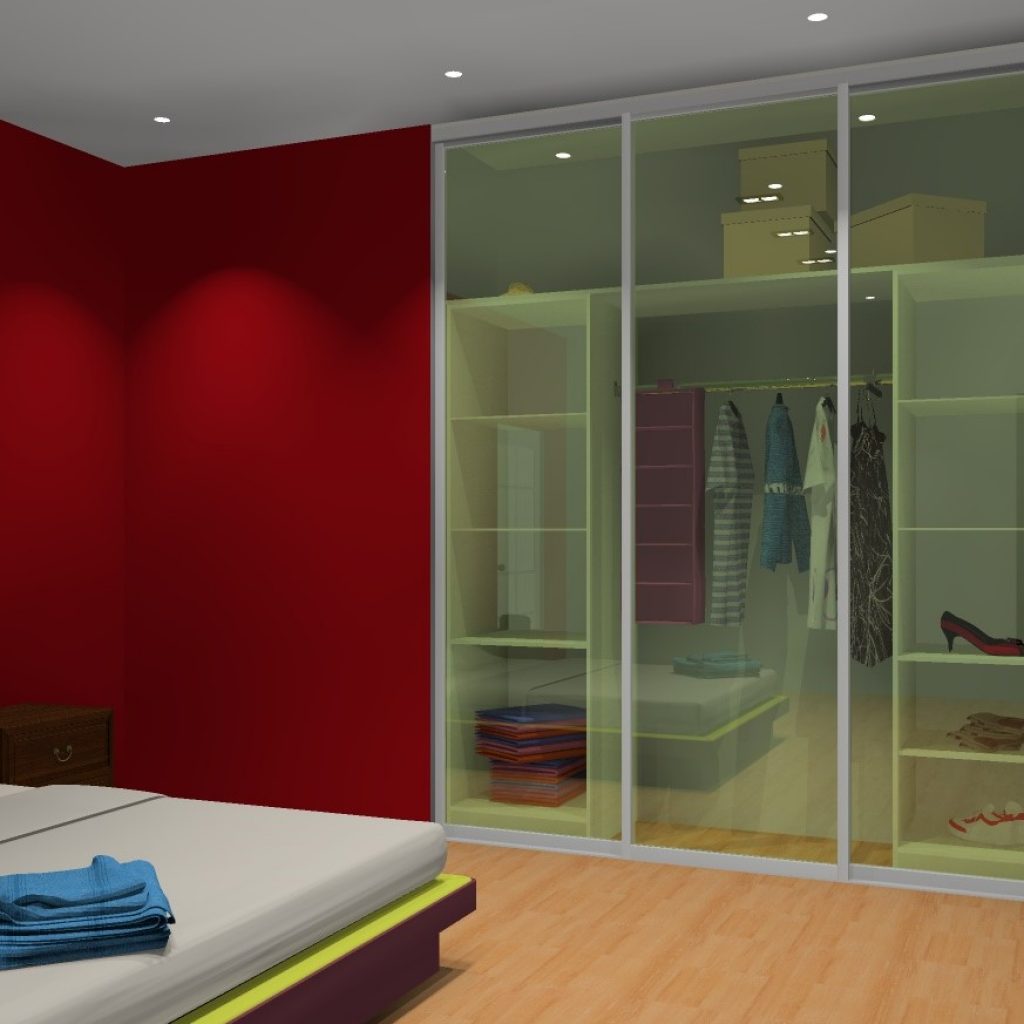
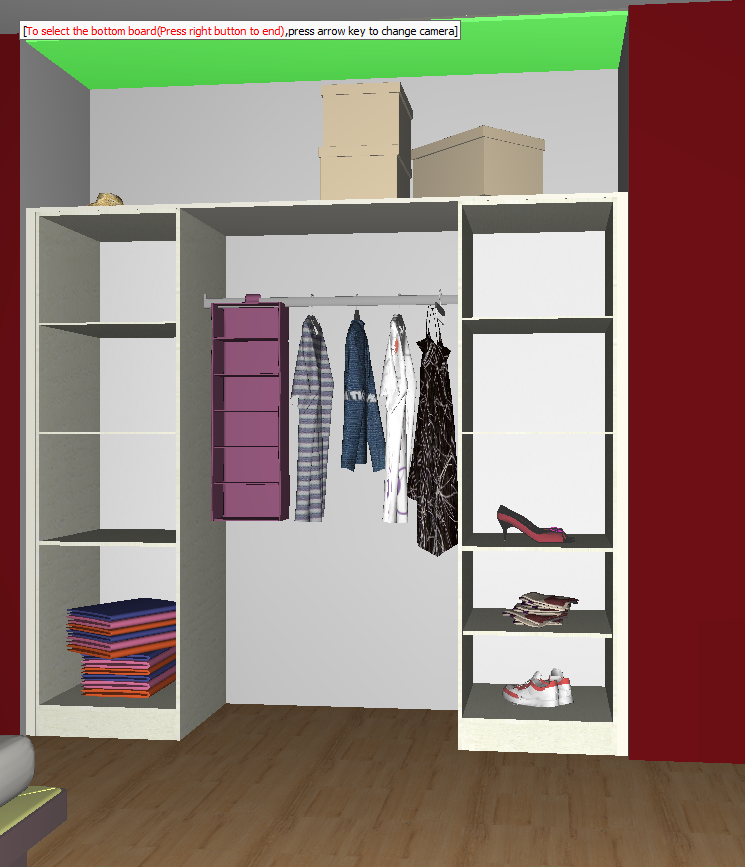
If you rendered at this point, you would end up with this type of result:
10.
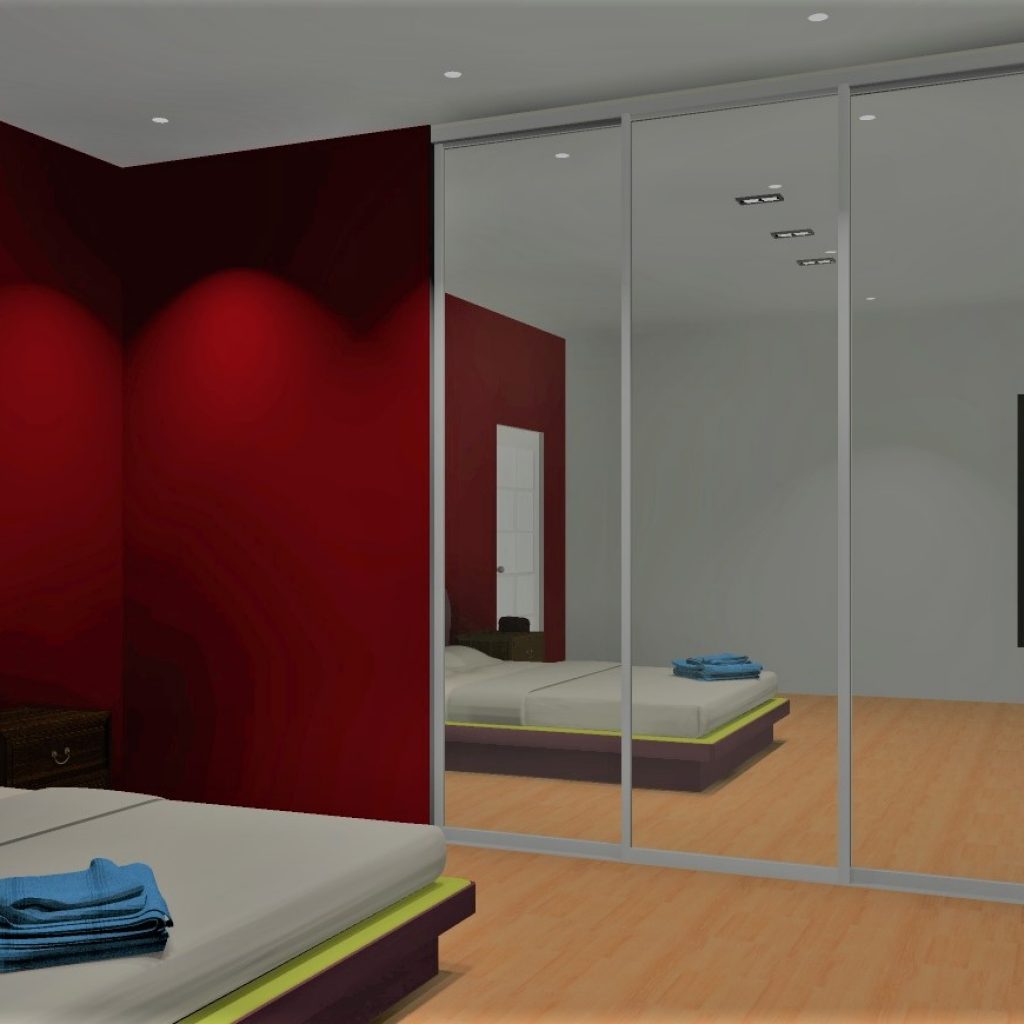
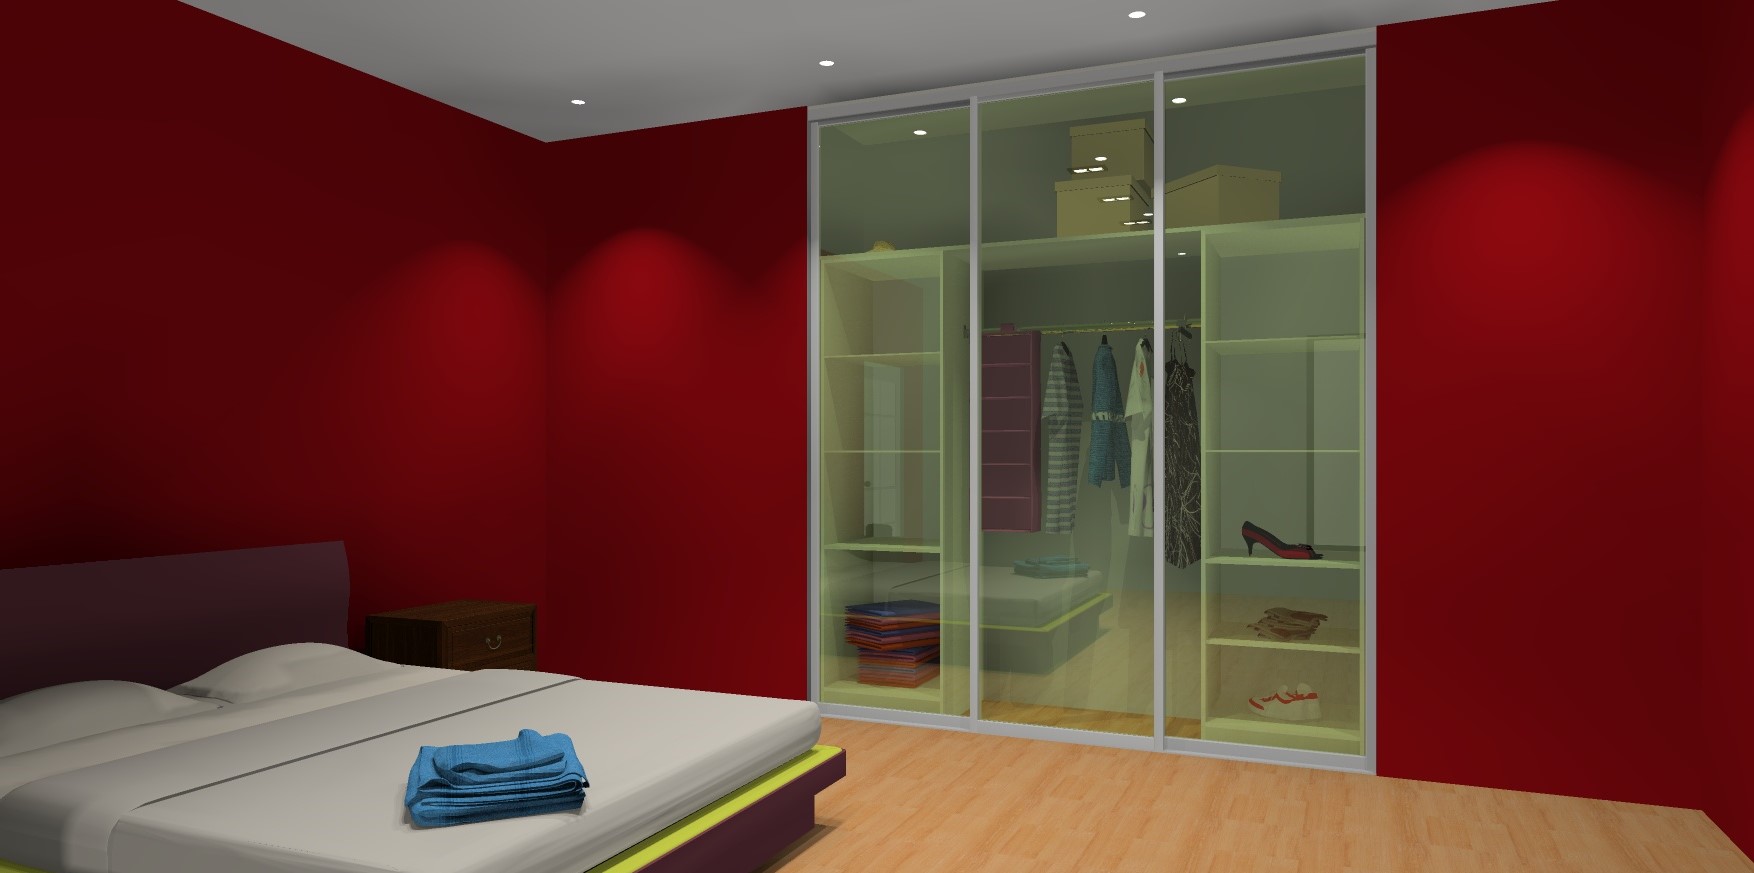
However, by changing the ‘Transparency’ in your Material Editor to 0.00, you can turn the glass into a Mirror finish.
Join in the conversation on our 3D Kitchen Design Australia – KD Max Facebook Group.
Proud of some robes that you have made in KD Max? Send them through to info@cabinetsbycomputer.com and we will feature it on our website & Facebook page!

