
V10 | Changing Hardware Colour
Are you dealing with fussy customers who’d love to see their new project with brass tapware or black handles? KD Max allows you to change the colour of hardware quick and easily through the material edit function.
Follow these steps to learn how.
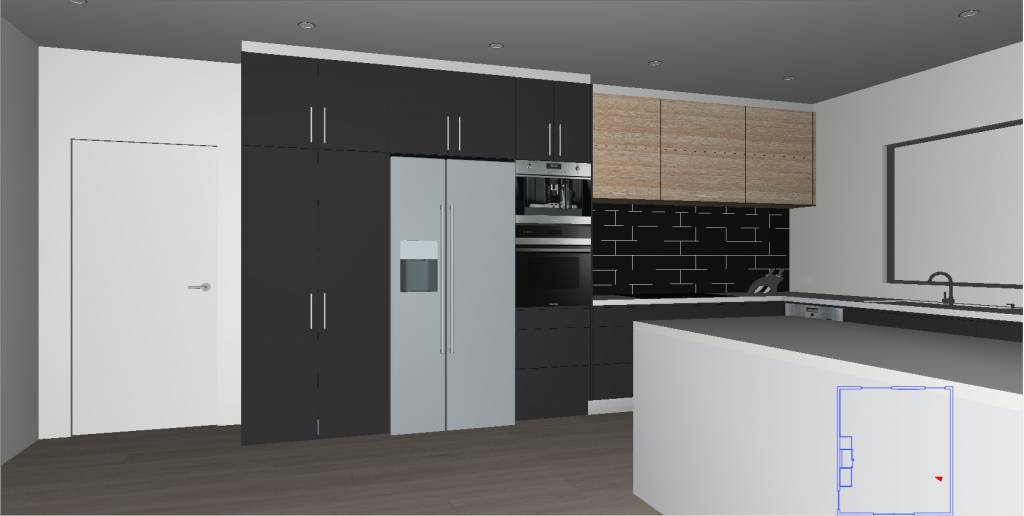
1.
To begin, simply lay out the hardware to use in the project. Disregard the current colour as this will be changed later in the process.
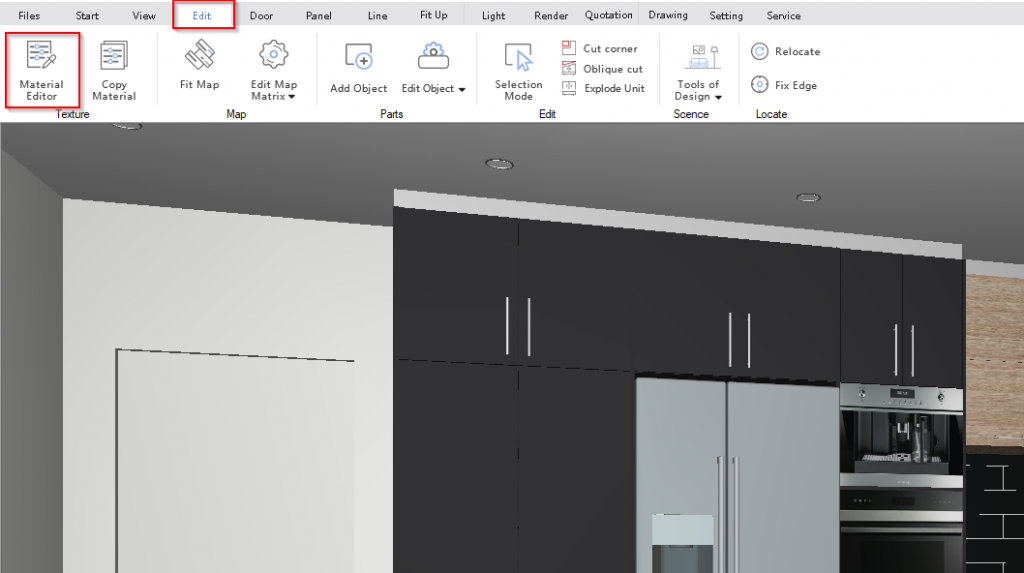
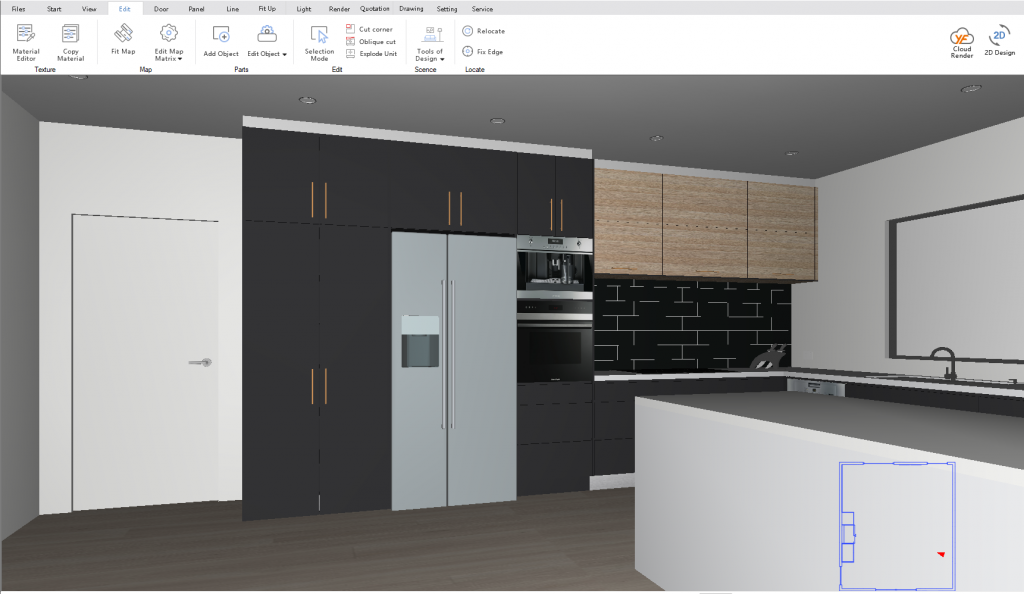
2.
Now navigate to Edit > Material Editor to open the material edit function. This is the tool that is used to edit any surface in KD Max such as door colours, reflection levels and glass surfaces.
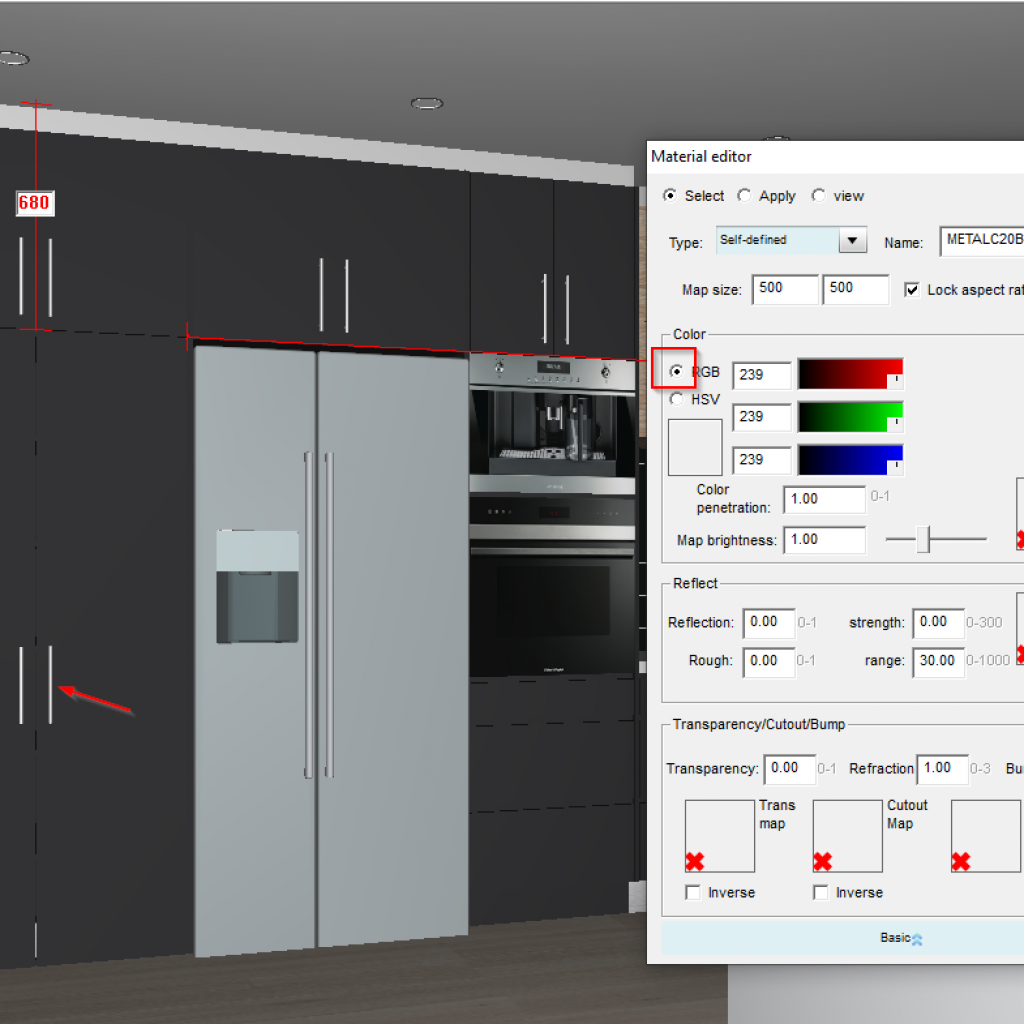
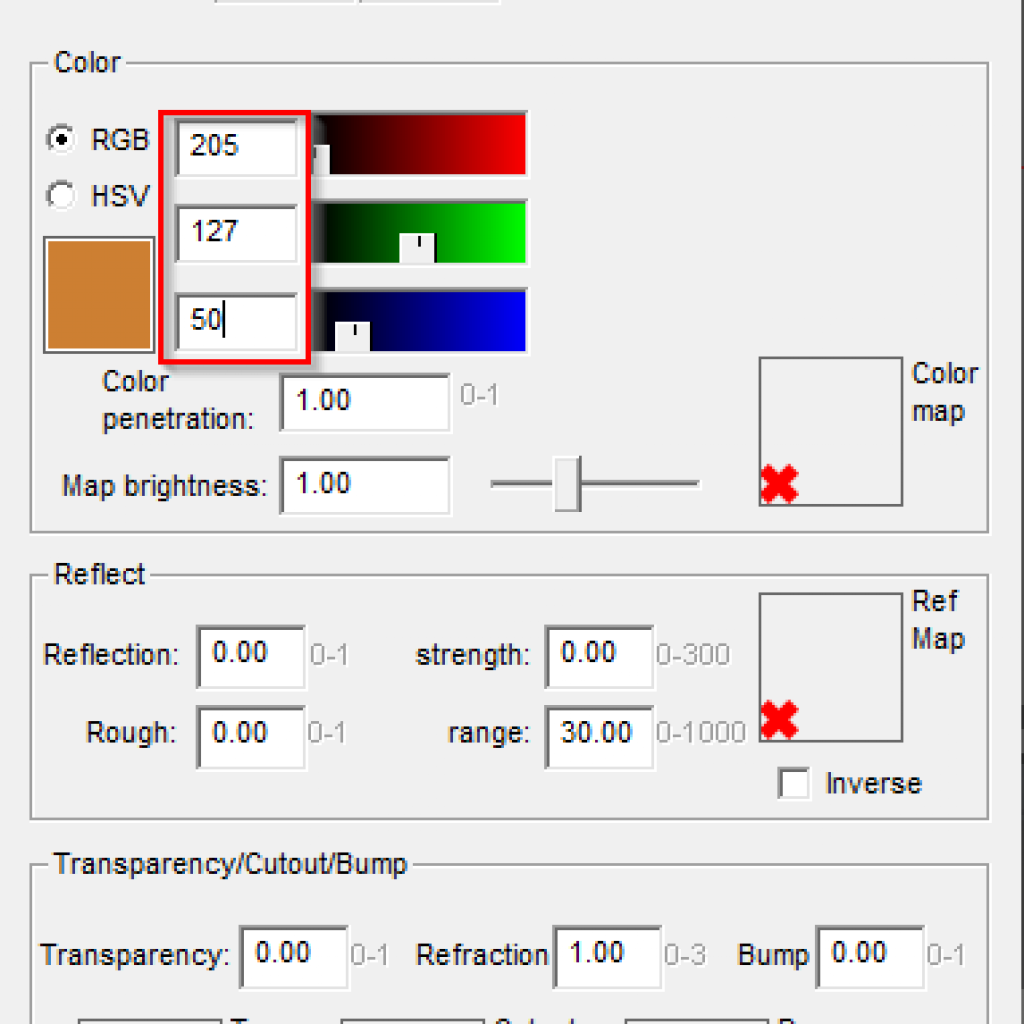
3.
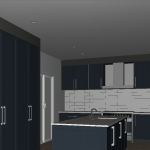
Now with the material edit popup box open, select the desired hardware and set the colour mode to RGB . In this example, the colour of the handles will be changed.
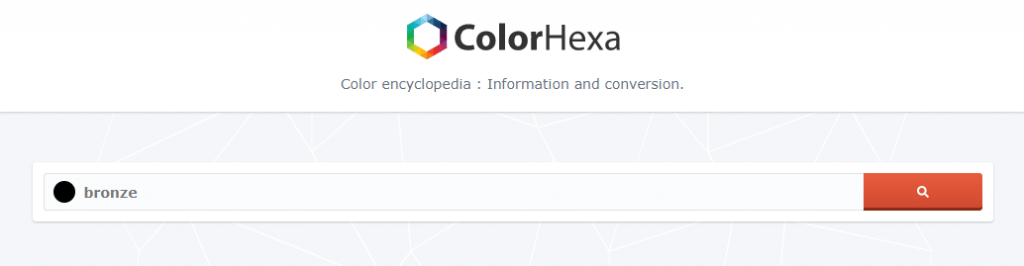
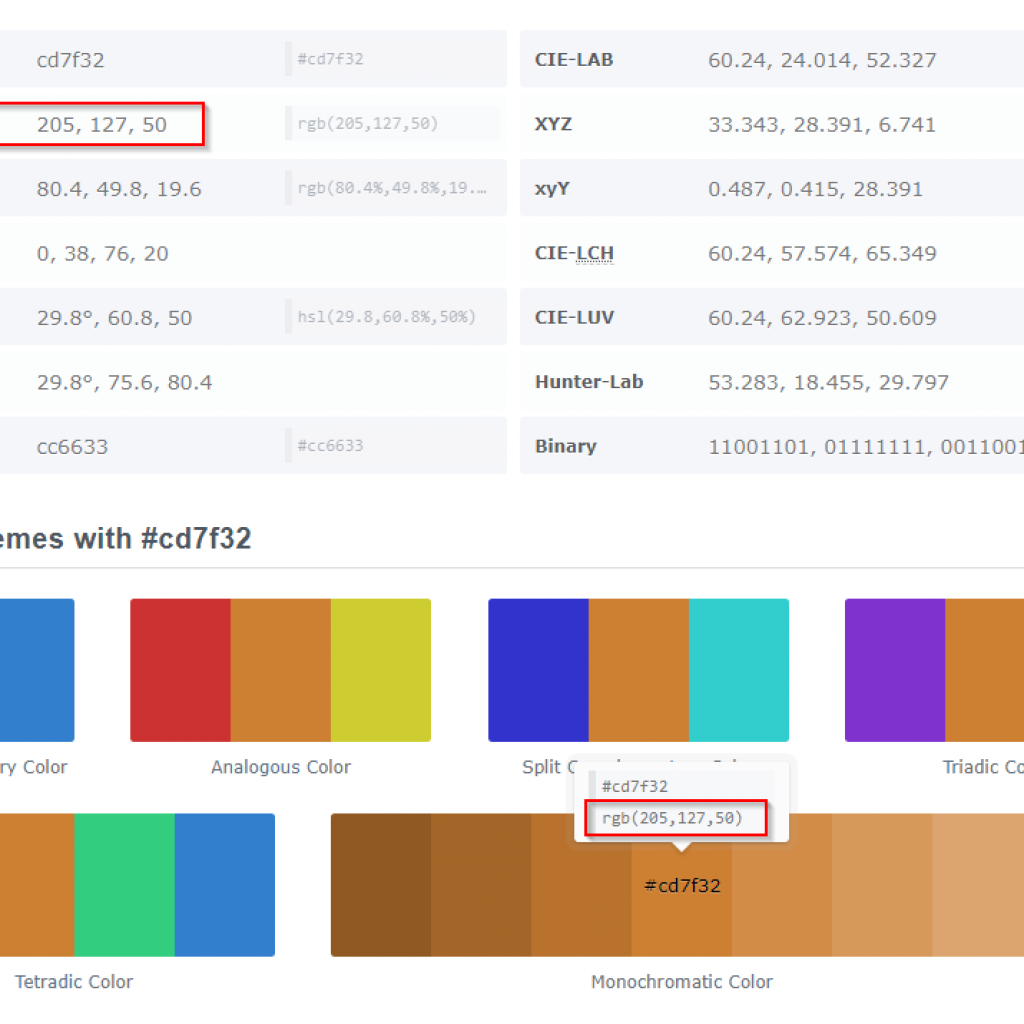
4.
Now, to change the colours, use the RGB colour sliders to select a desired colour. A useful site for checking RGB values is https://www.colorhexa.com/. In this example, the handles will become bronze (“bronze” has been searched in colorhexa), note the RGB values and input them into the colour changer.
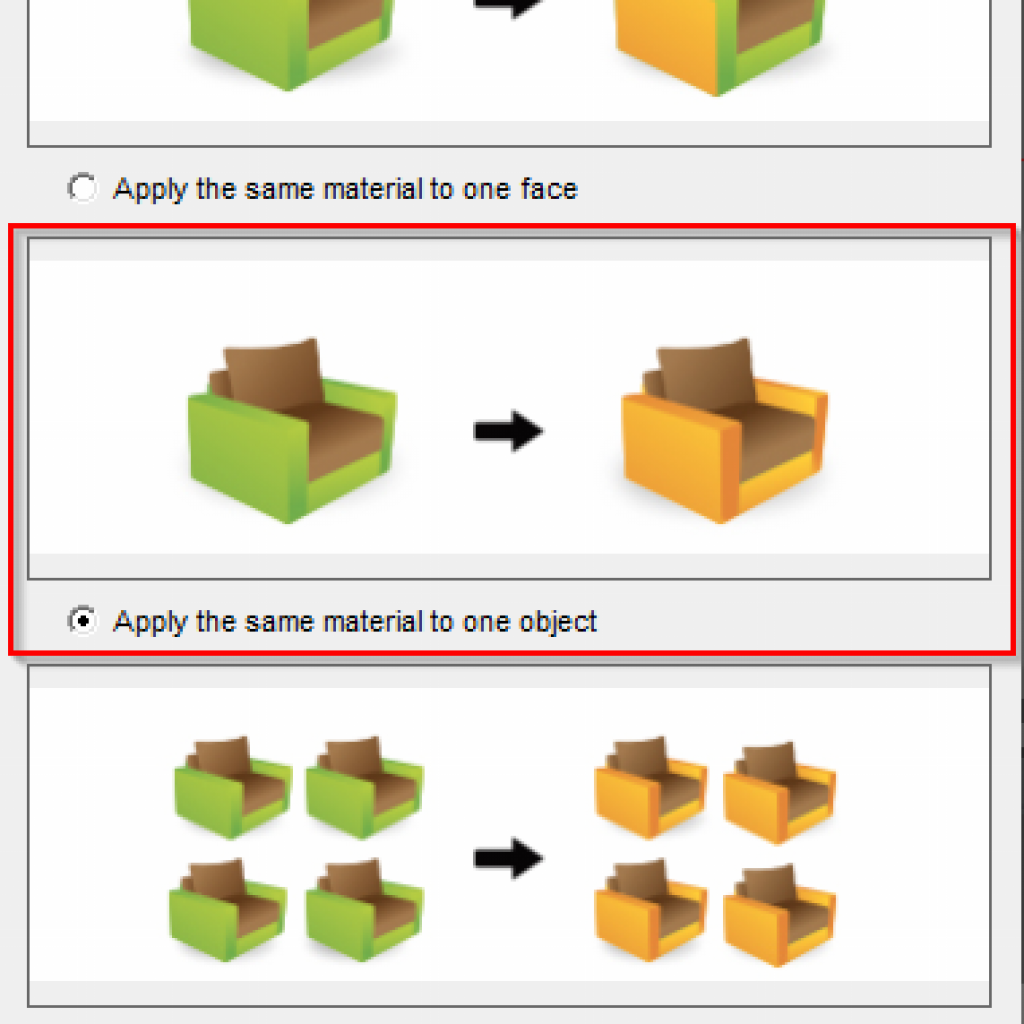
5.
After the values have been input into the colour changer, switch to the apply tab and change the mode to the second option, “apply the same material to one object”. Select the specific hardware in the drawing with a left-click to apply the new colour.
Join in the conversation on our 3D Kitchen Design Australia – KD Max Facebook Group.
Do you have any handy tips that you use in KD Max? Send them through to info@cabinetsbycomputer.com and we will feature them on our website & Facebook page!

