
How to Add a Door Profile To Side Panels in KD Max
Want to apply a door profile to your side panels in KD Max to keep the look of your kitchen consistent?
Follow these simple steps to quickly apply a profile to your end panels!
1.
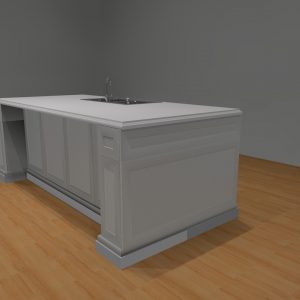
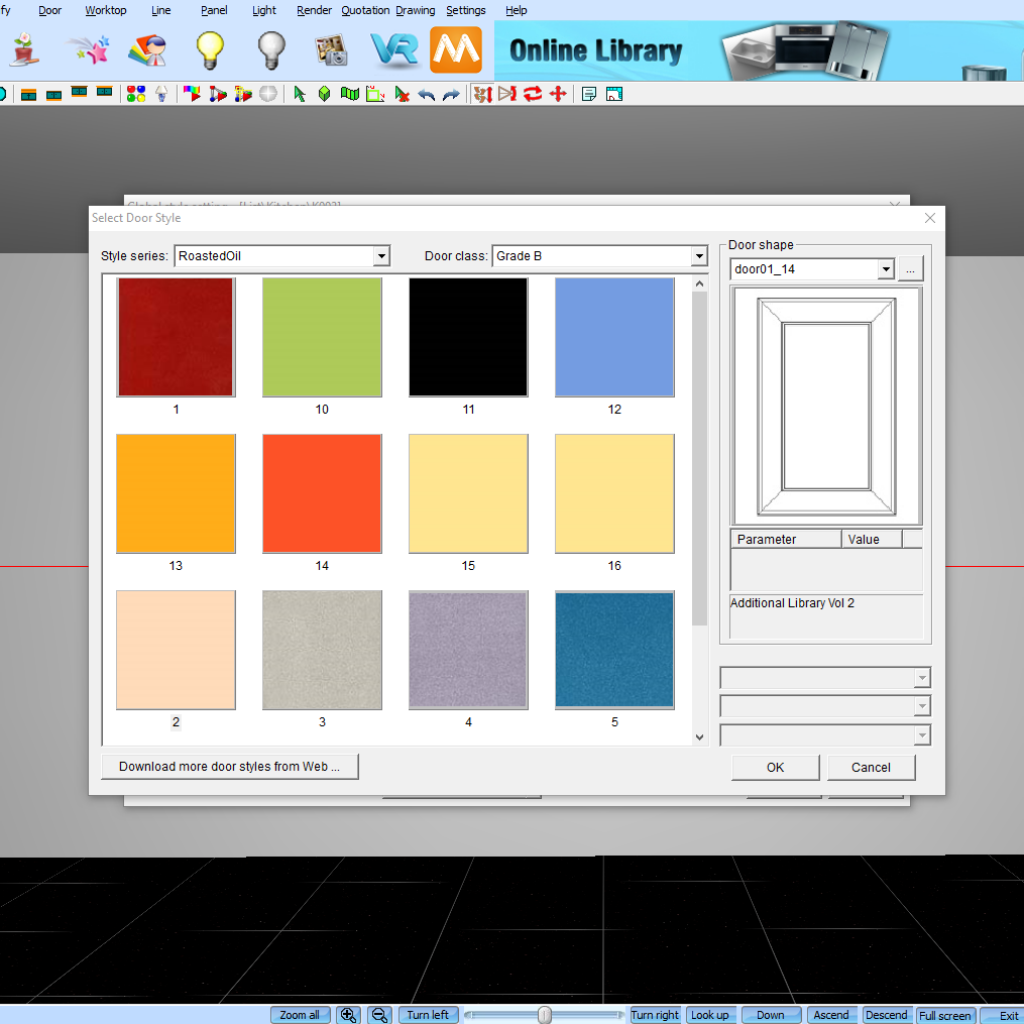
Firstly ensure you have a door profile applied to your current drawing. This can be done through Settings > Global Style Settings > Door. You’ll then be able to select the colour of you’re cabinetry as well as the door shape.
2.
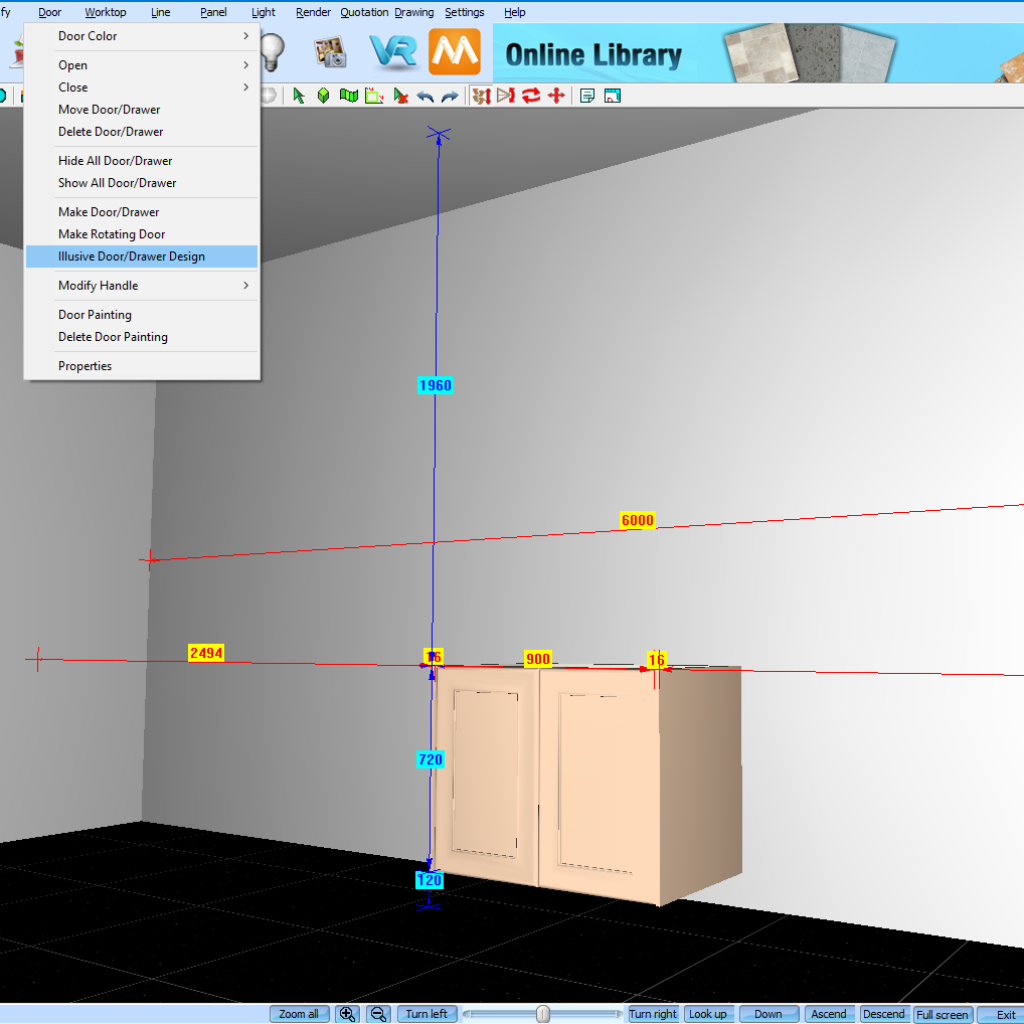
Now navigate to Door > Illusive Door / Drawer Design. A pop-up box will prompt asking you to select how you’d like to install your illusive door. Click Select the Panel to Attach and click OK.
3.
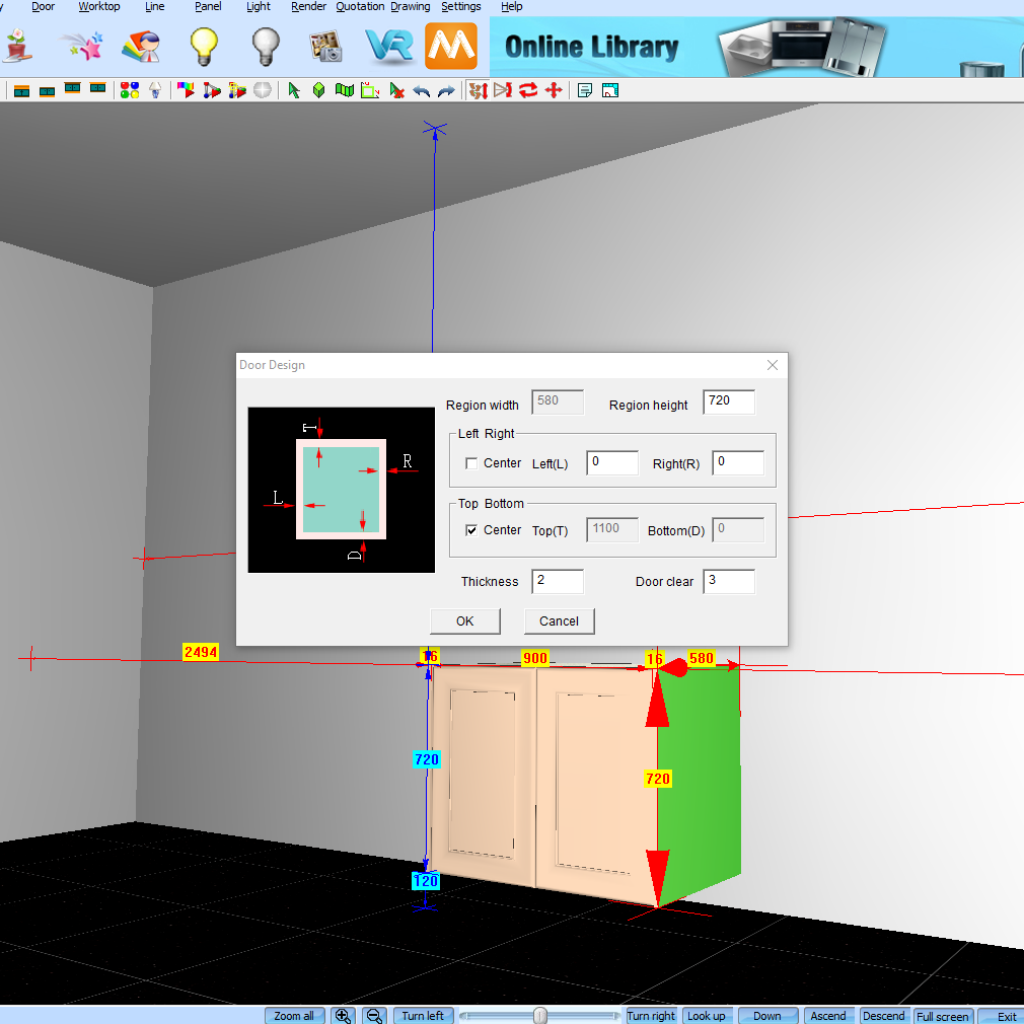
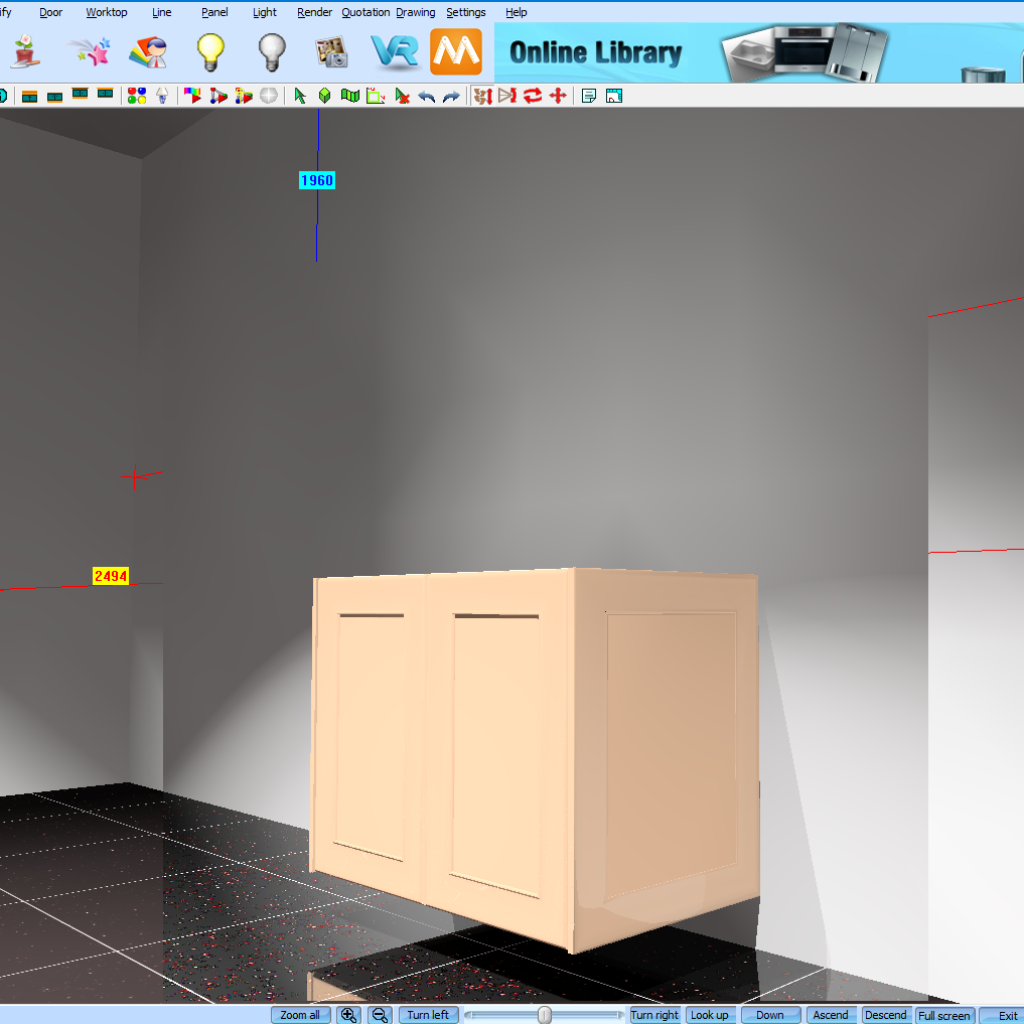
Select the panel you’d like to apply your door profile to by left clicking the mouse. A Door Design pop-up will prompt which will allow you to set the Region Width, Region Height, Position, Thickness and Door Clear of the panel.
4.
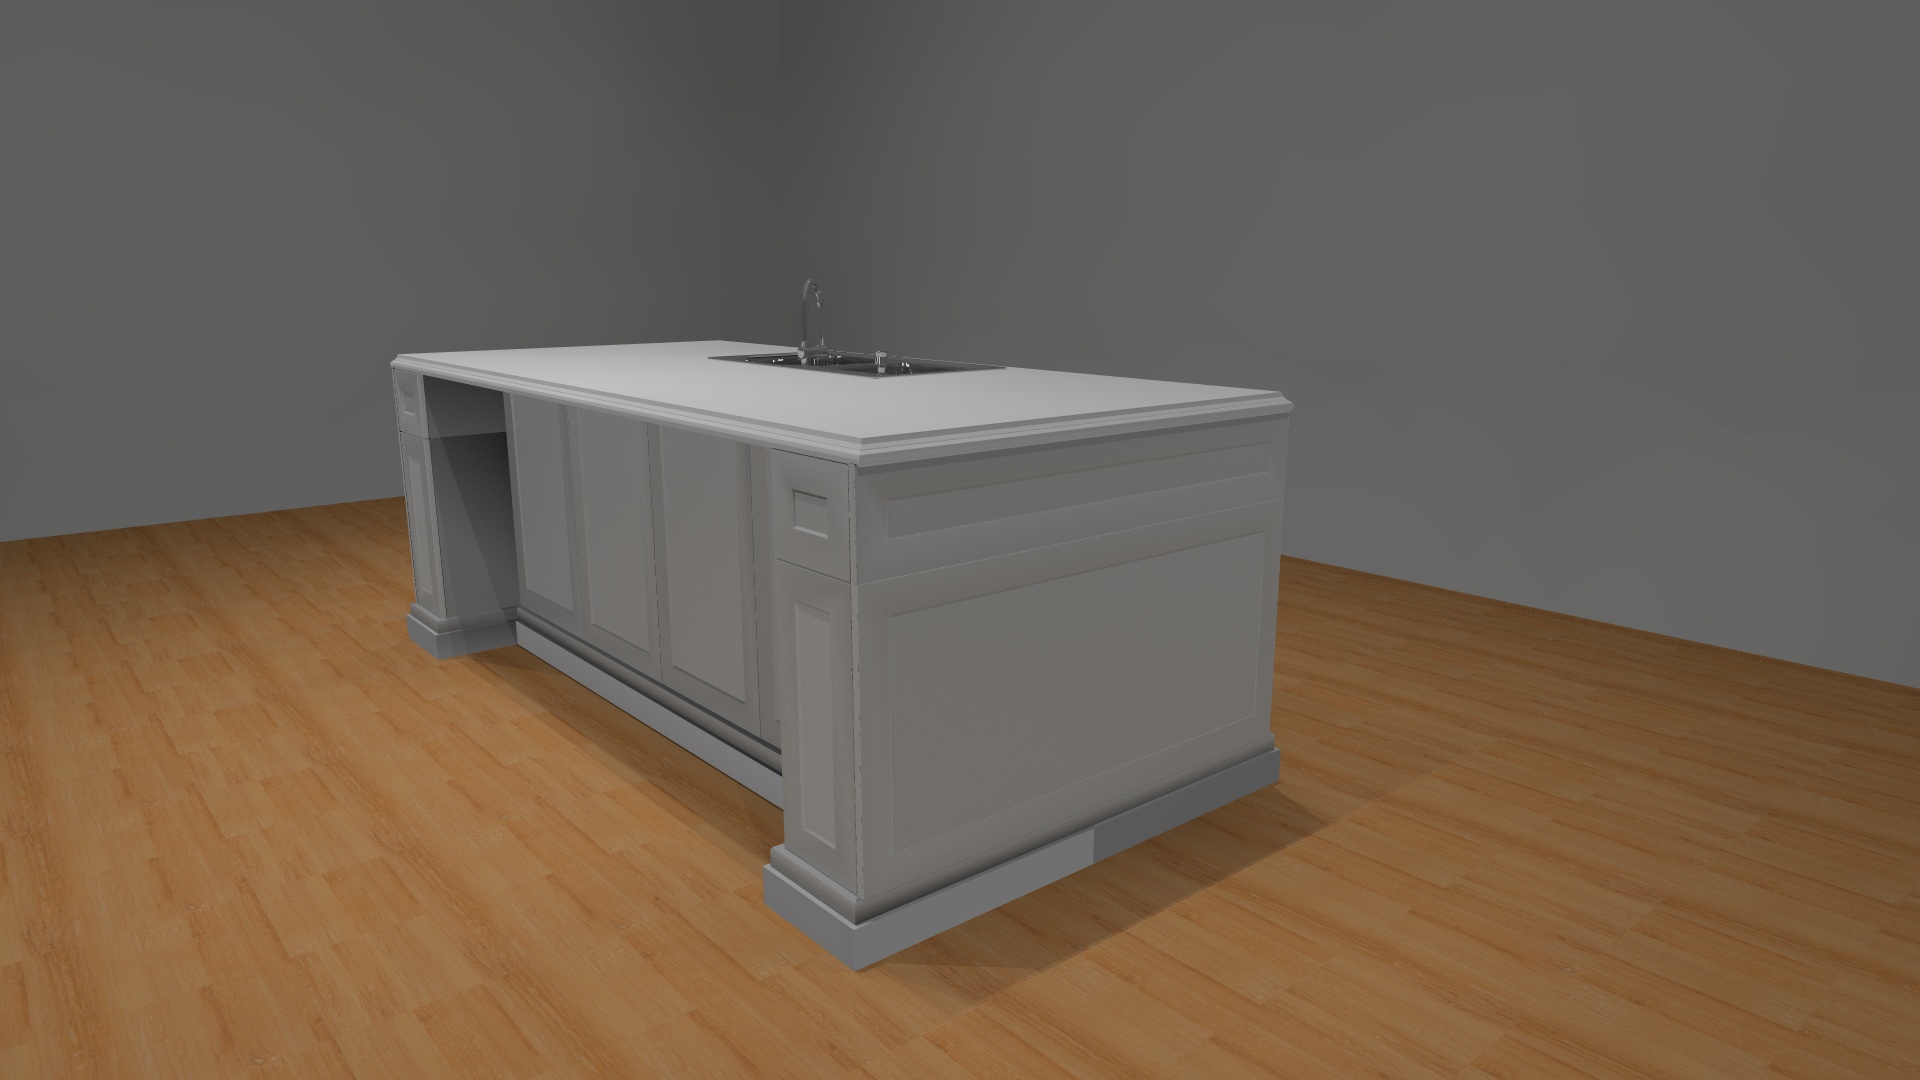
Now click OK and the door profile will now be applied to the end panel that was selected previously. Repeat the above steps to all the end panels in the drawing to finish the look.
Join in the conversation on our 3D Kitchen Design Australia – KD Max Facebook Group.
Proud of a design that you have made in KD Max? Send it through to info@cabinetsbycomputer.com and we will feature it on our website & Facebook page!
Want to see a video of the above tutorial? Check out the following link. Adding Door Profiles To End Panels


